Join Winedering as a Host Agency   

Manage SubAgents Easily

Are you a Host Agency working with multiple SubAgents?

With Winedering, you can:

  • Invite your SubAgents to register on the platform

  • Monitor their performance in real time

  • Manage commissions transparently

  • Collect the earnings generated

  • Receive the commissions generated by your SubAgents directly into your wallet

A single tool to coordinate your network, track results, and optimize your earnings.


How to Invite Your SubAgents

Log in to your admin area.
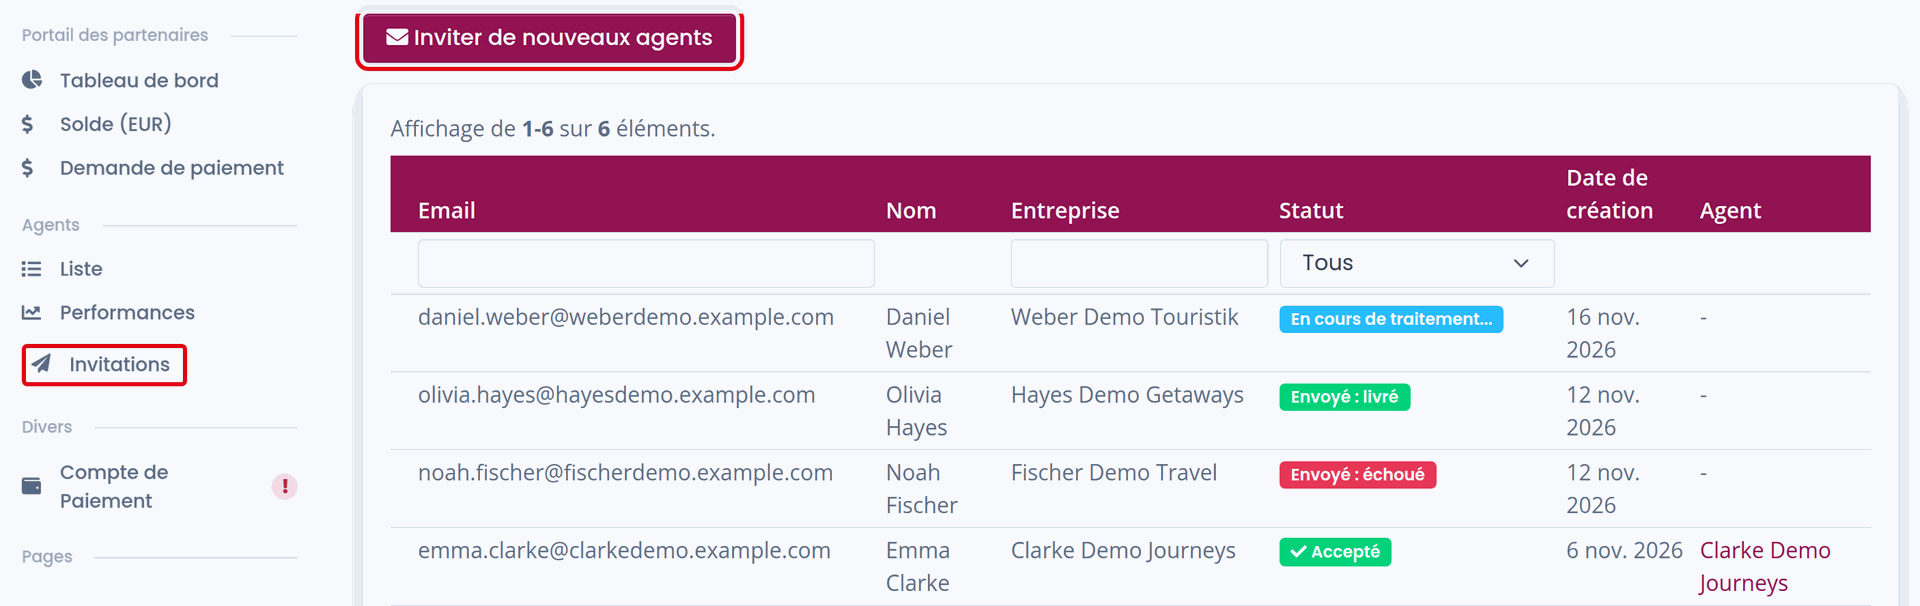
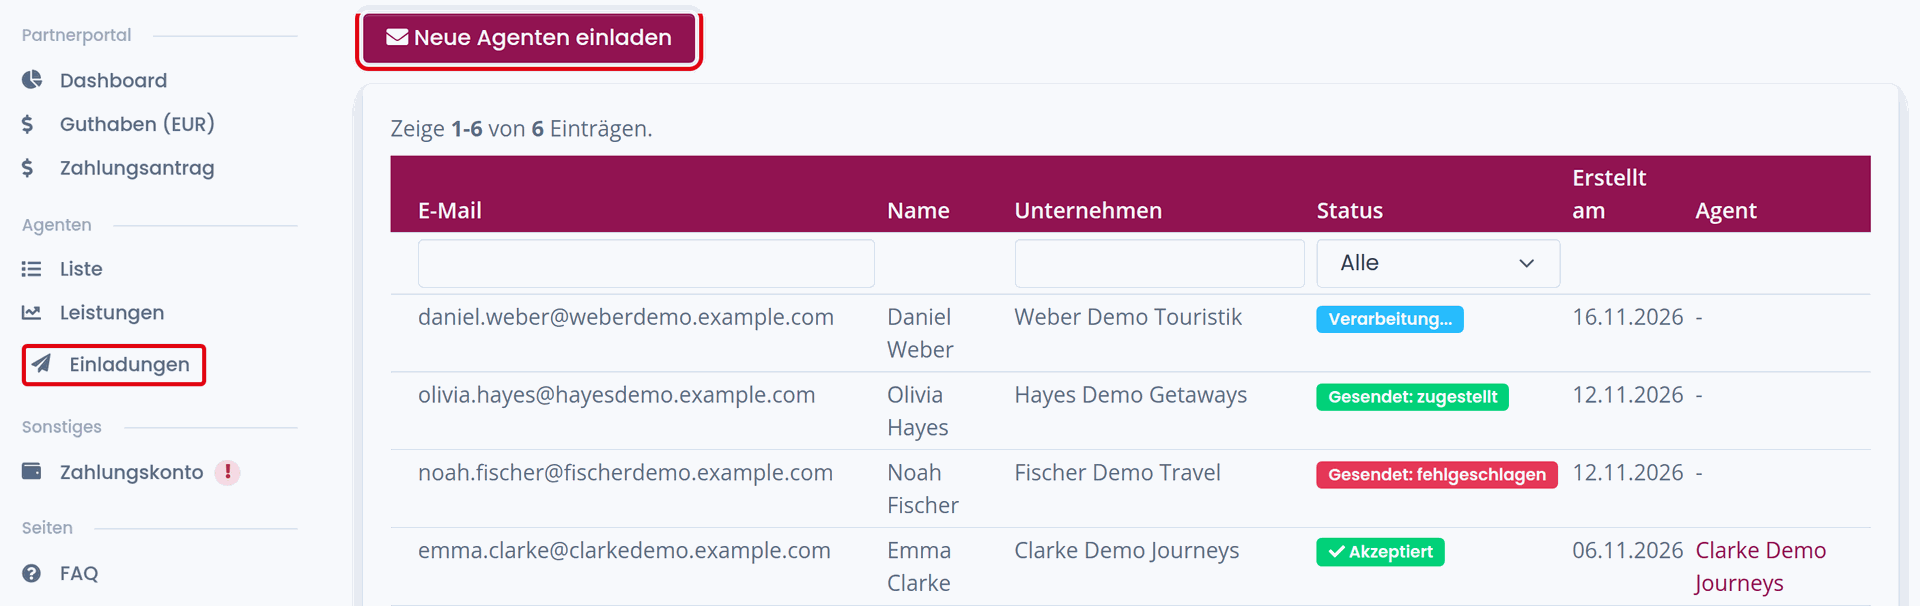
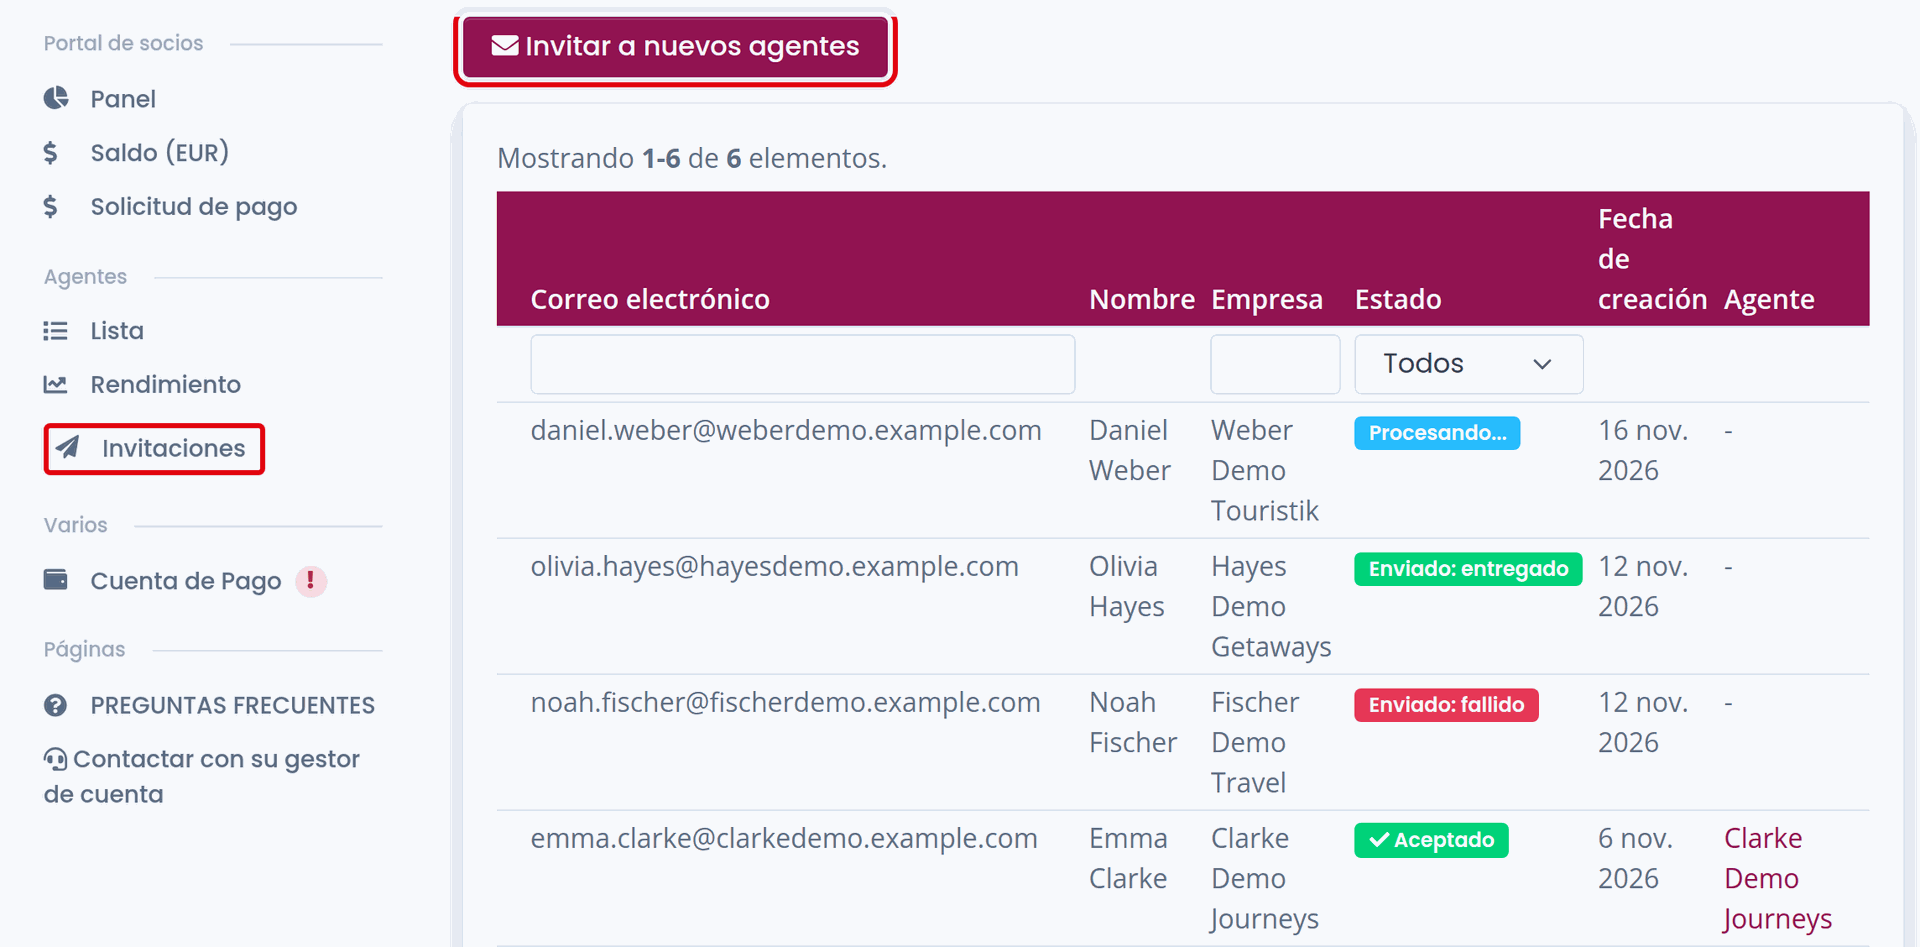
From the left-hand menu, click on “Invites”, then click the “Invite new agents” button.
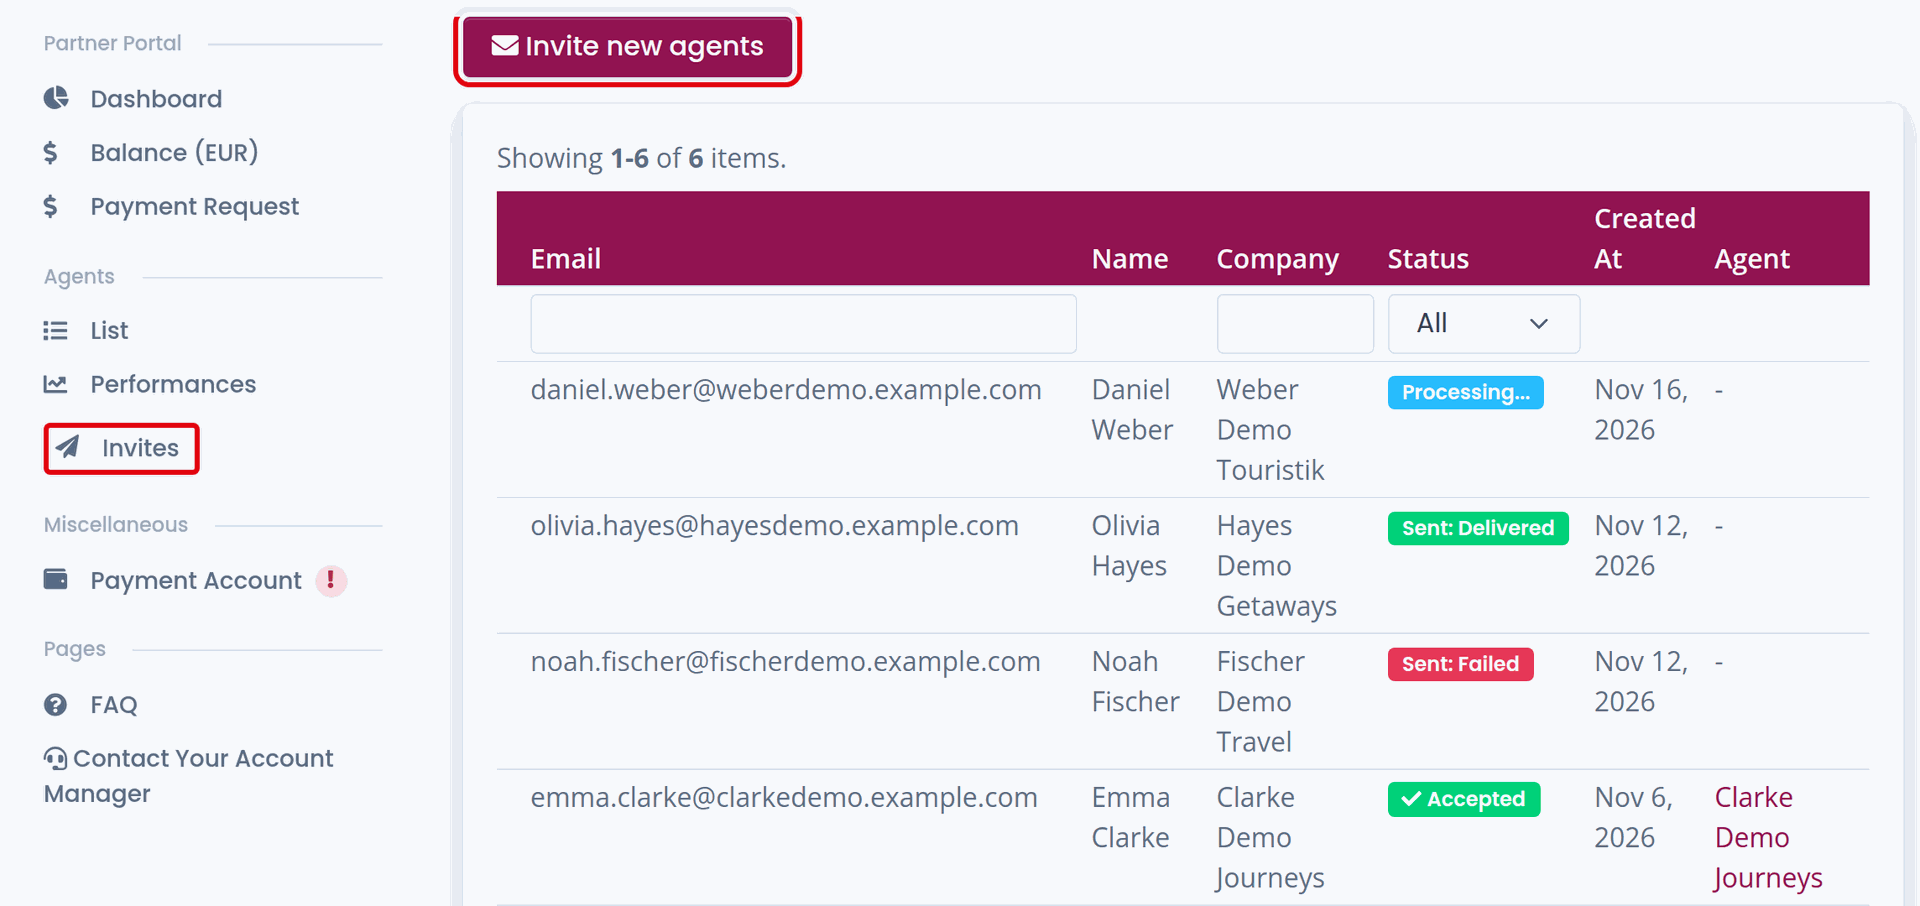
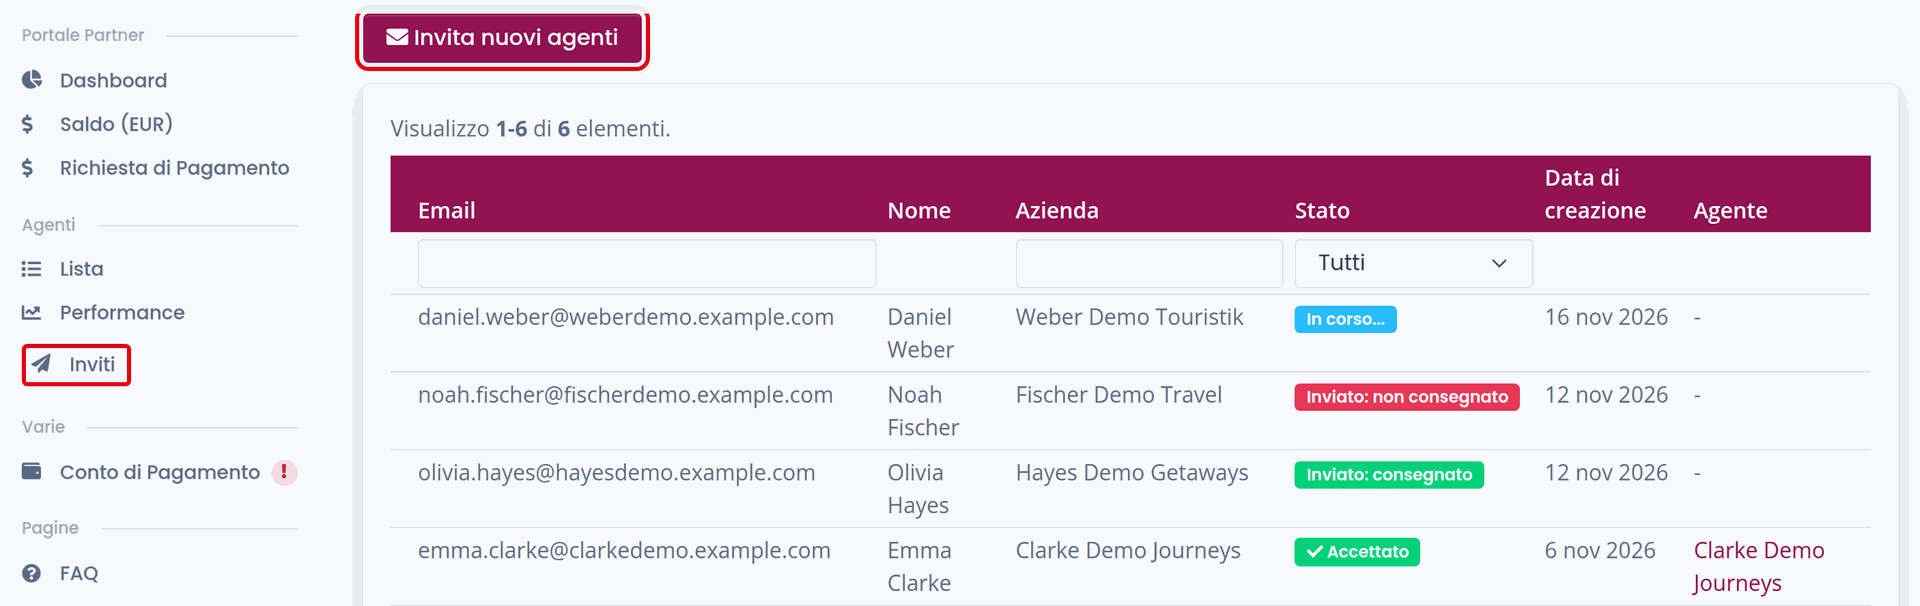
Invites page in the Agents menu with the Invite new agents buttonInvites page in the Agents menu with the Invite new agents buttonInvites page in the Agents menu with the Invite new agents buttonInvites page in the Agents menu with the Invite new agents buttonInvites page in the Agents menu with the Invite new agents button

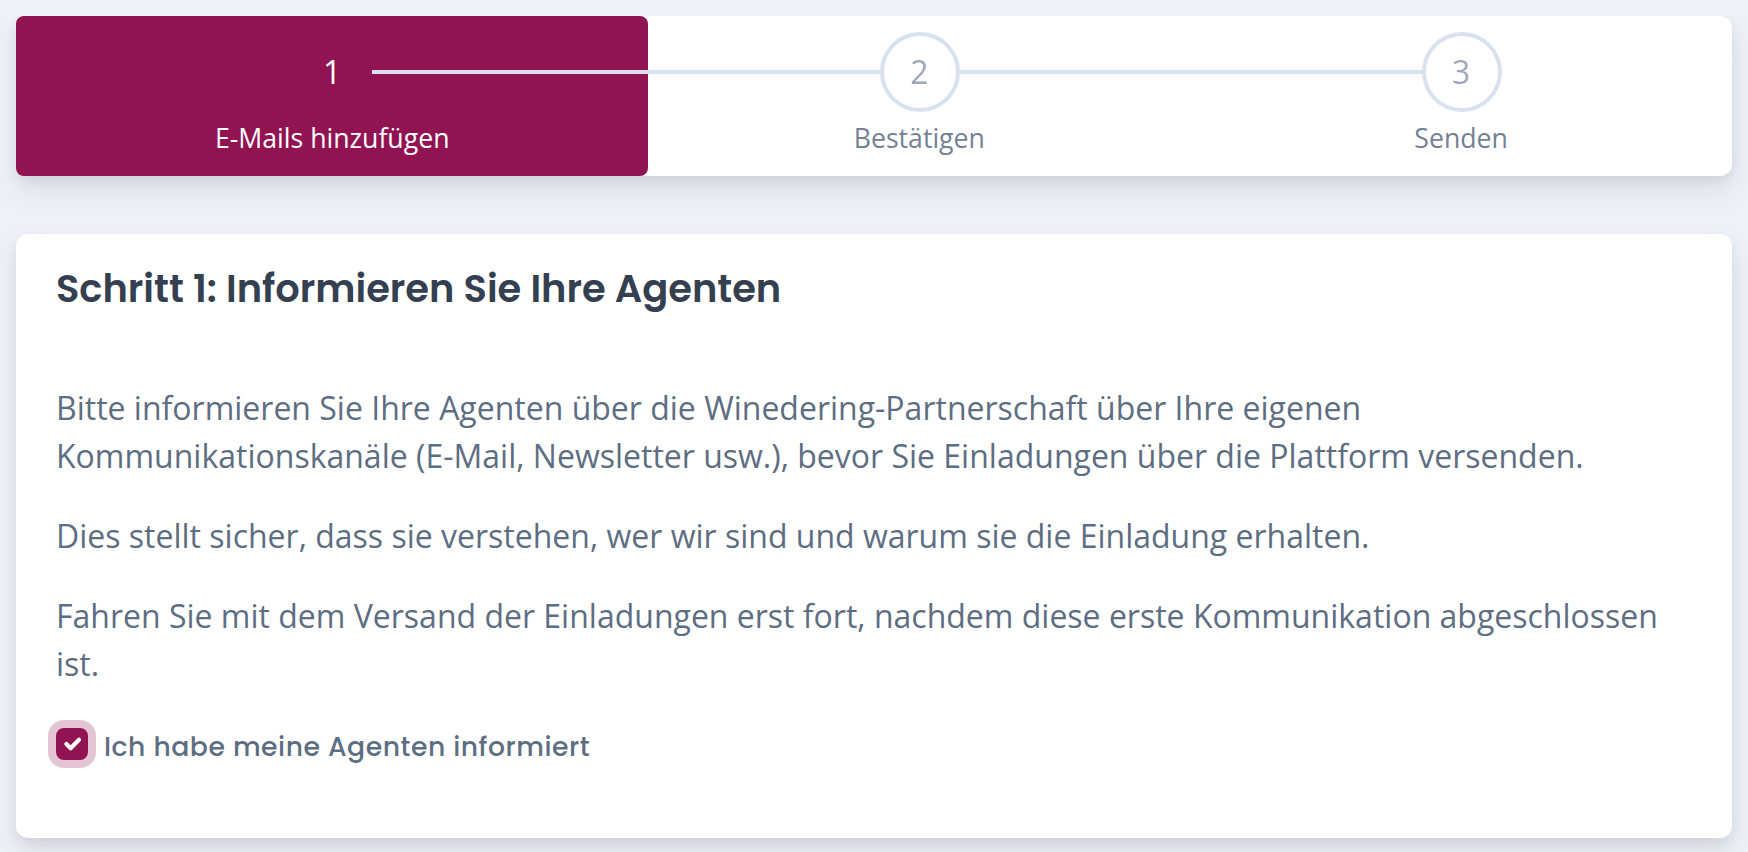
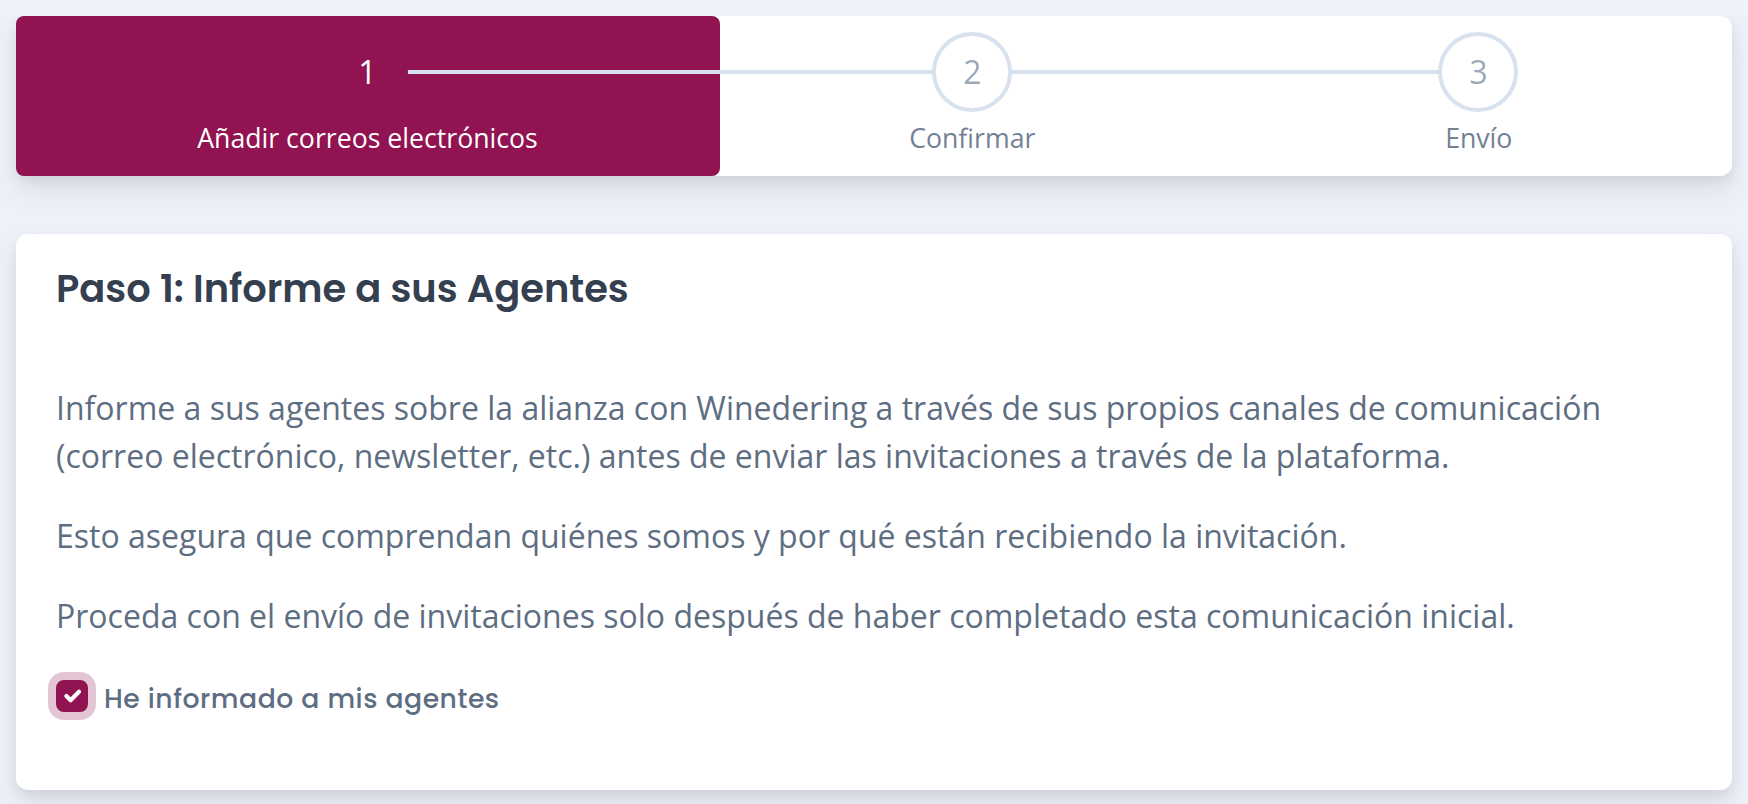
Step 1 - Inform Your SubAgents

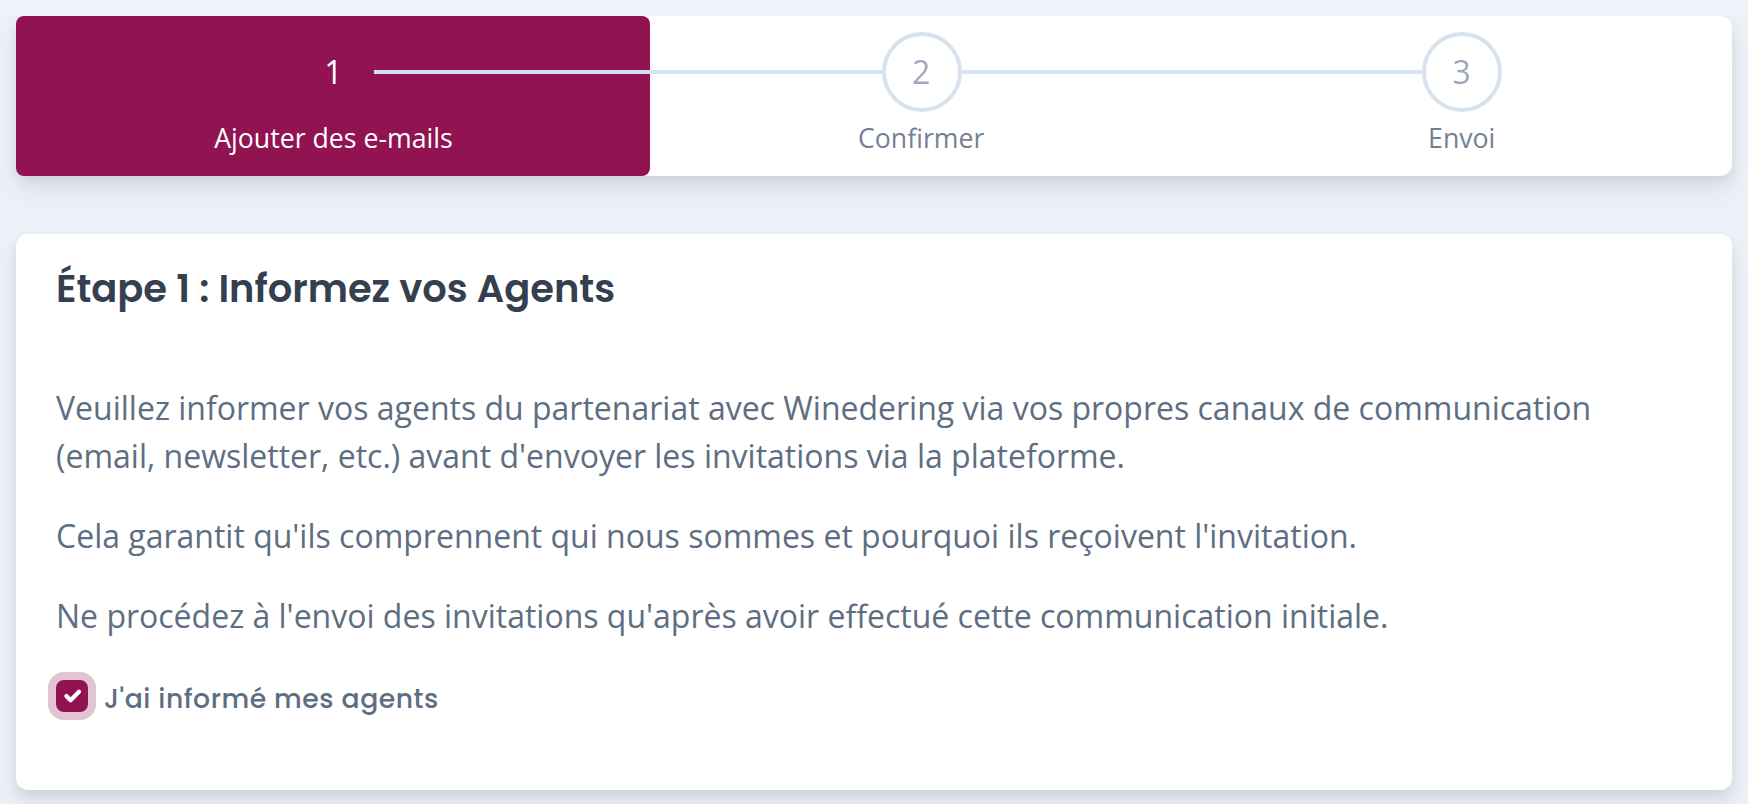
Before sending invitations from the platform, please inform your SubAgents that they will soon receive an invitation from Winedering to access the portal as your SubAgents.

This step is essential: your agents will already know what the invitation is about and will trust it.
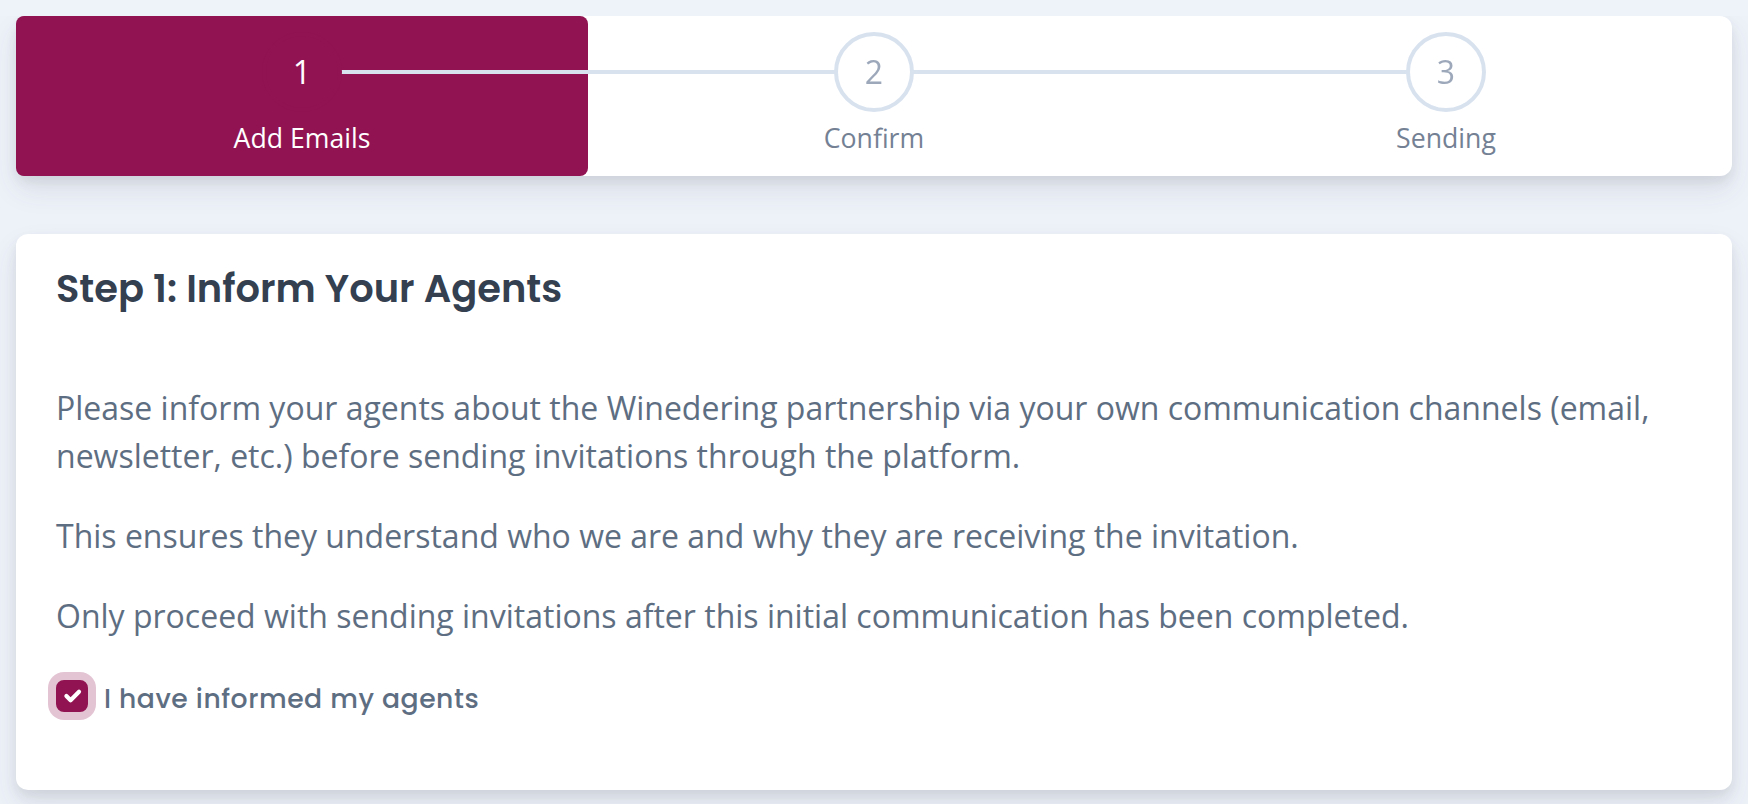
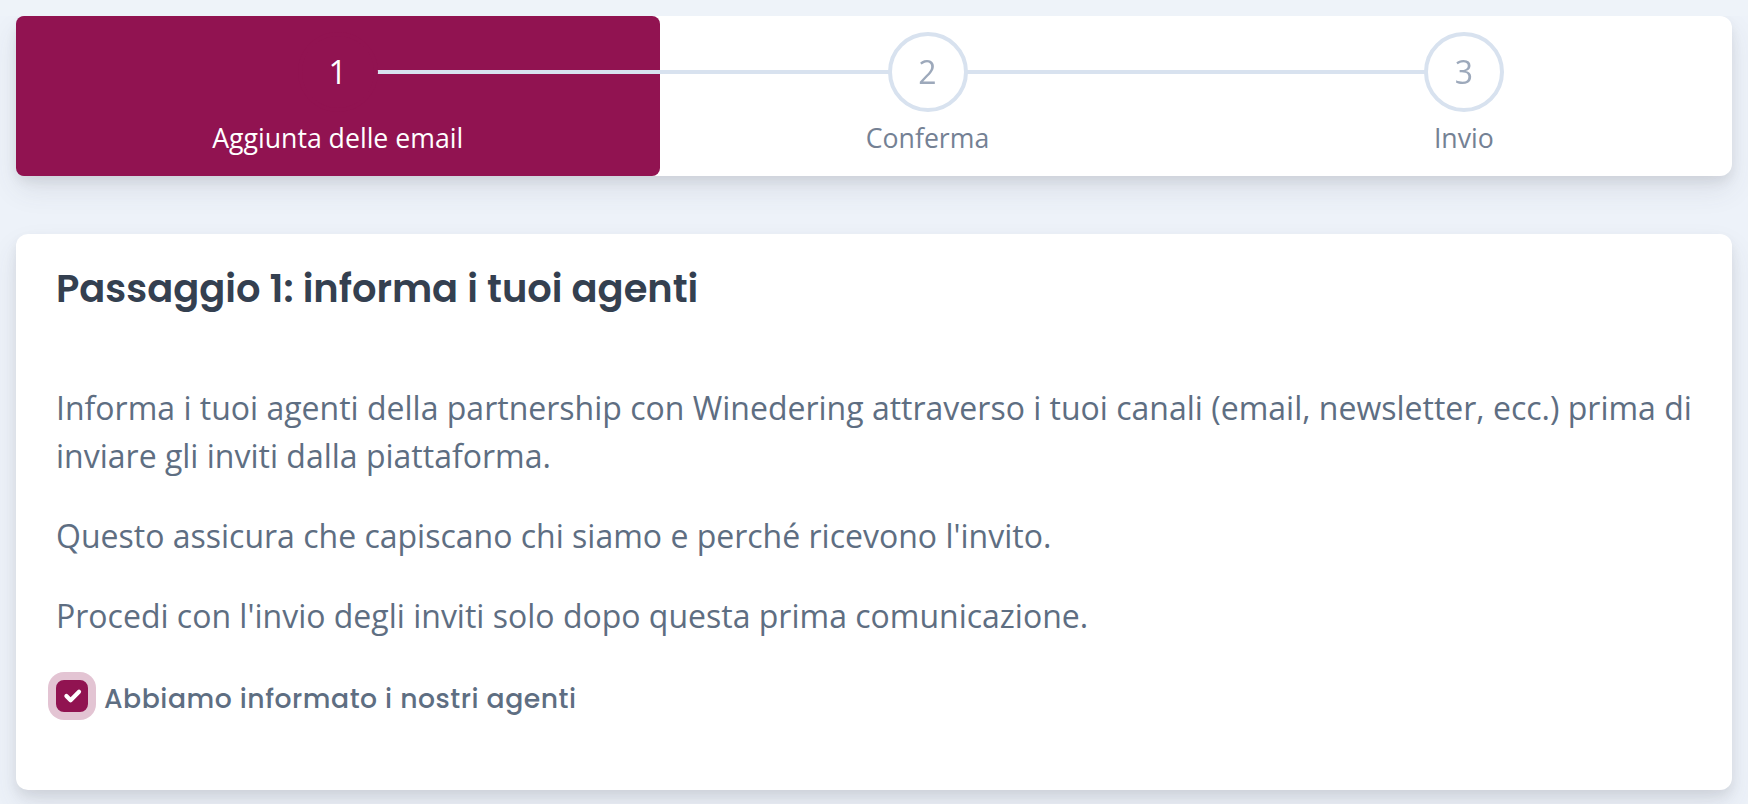
Step 1 of the invitation wizard with the confirmation that your agents have been informedStep 1 of the invitation wizard with the confirmation that your agents have been informedStep 1 of the invitation wizard with the confirmation that your agents have been informedStep 1 of the invitation wizard with the confirmation that your agents have been informedStep 1 of the invitation wizard with the confirmation that your agents have been informed

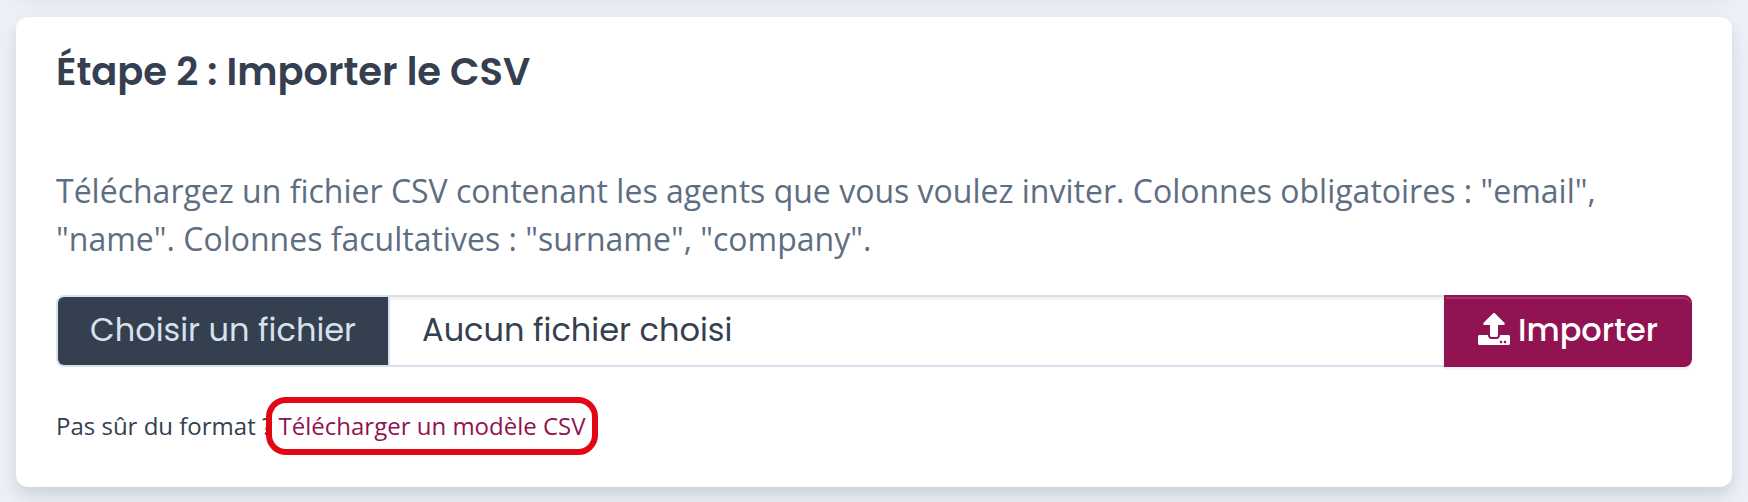
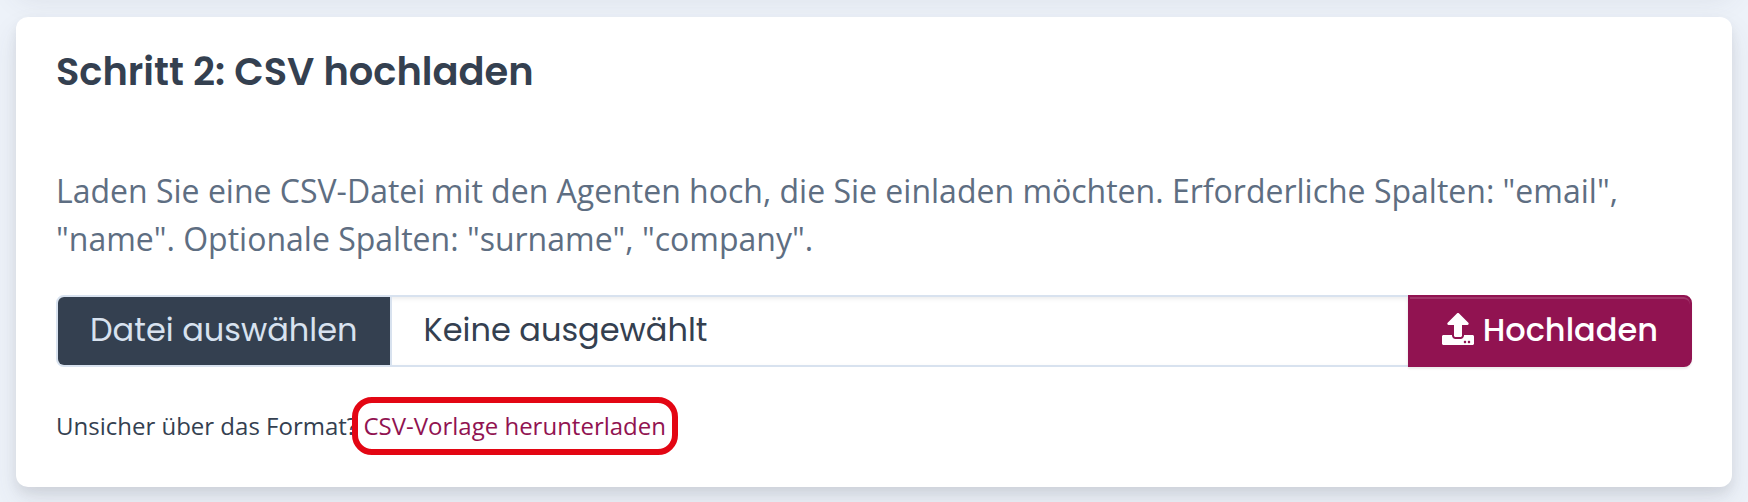
Step 2 - Upload the CSV file

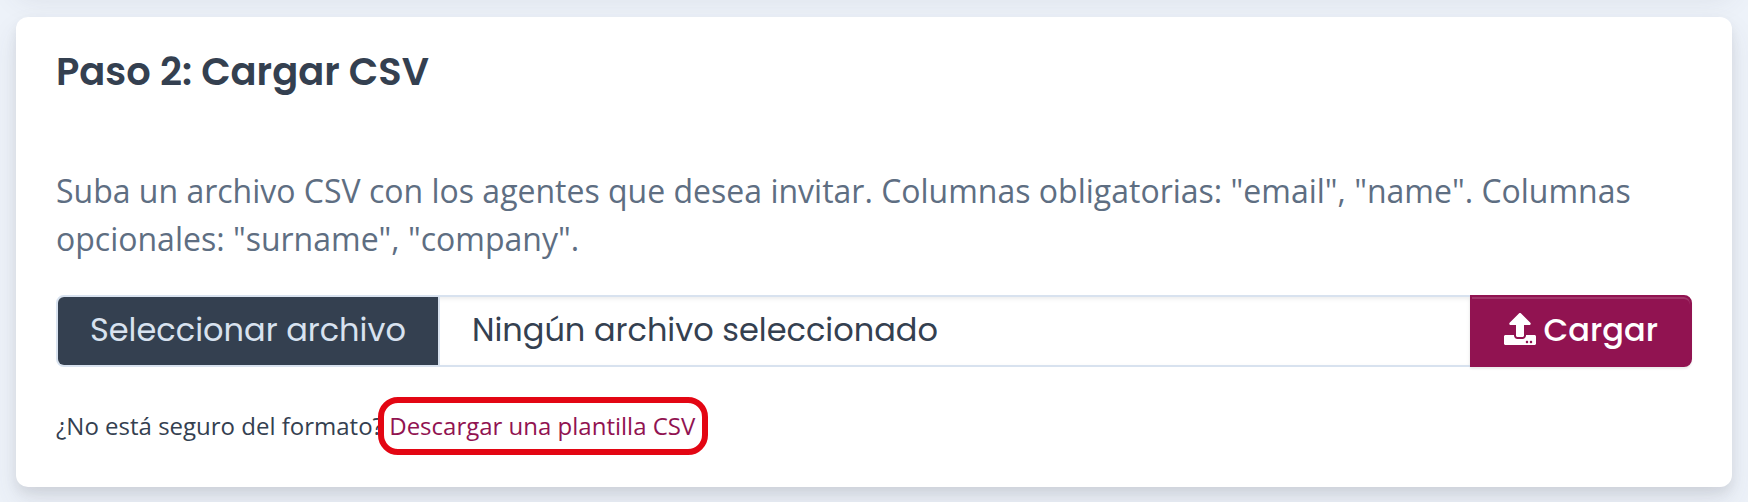
Prepare a CSV file containing your SubAgents’ details.

Email Required
Name Required
Surname Optional
Company Optional

If you are unsure how to format the file, you can download the sample template directly from the page.
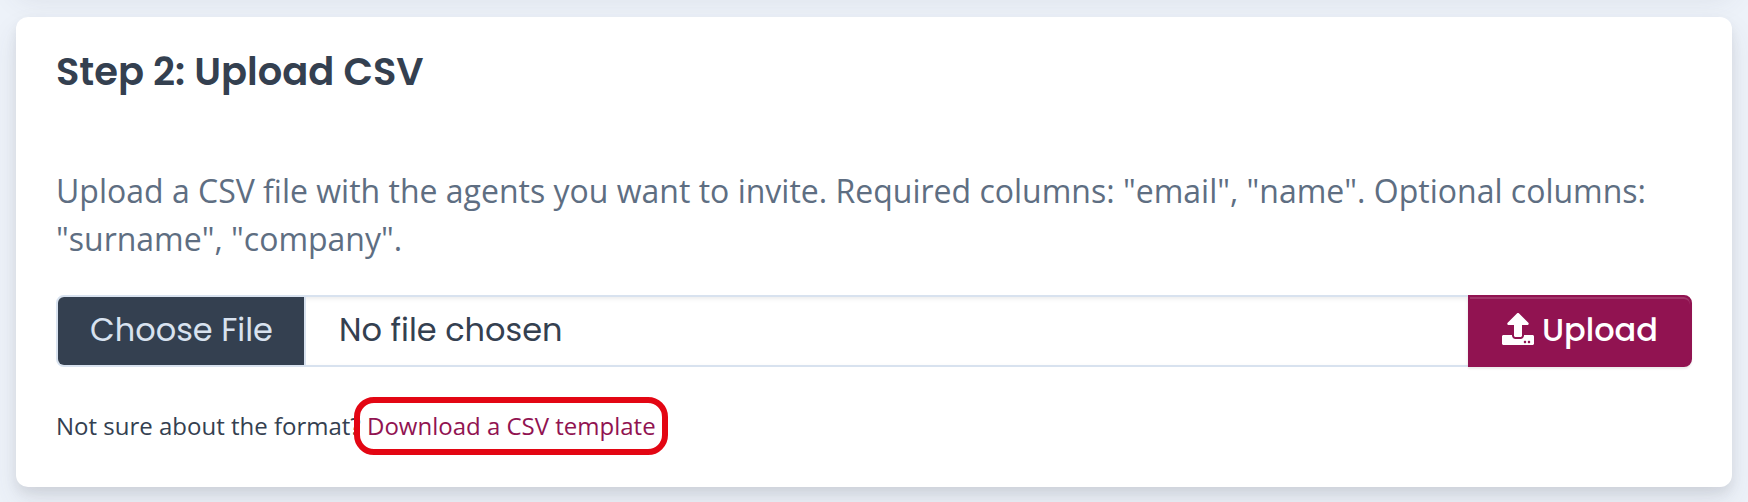
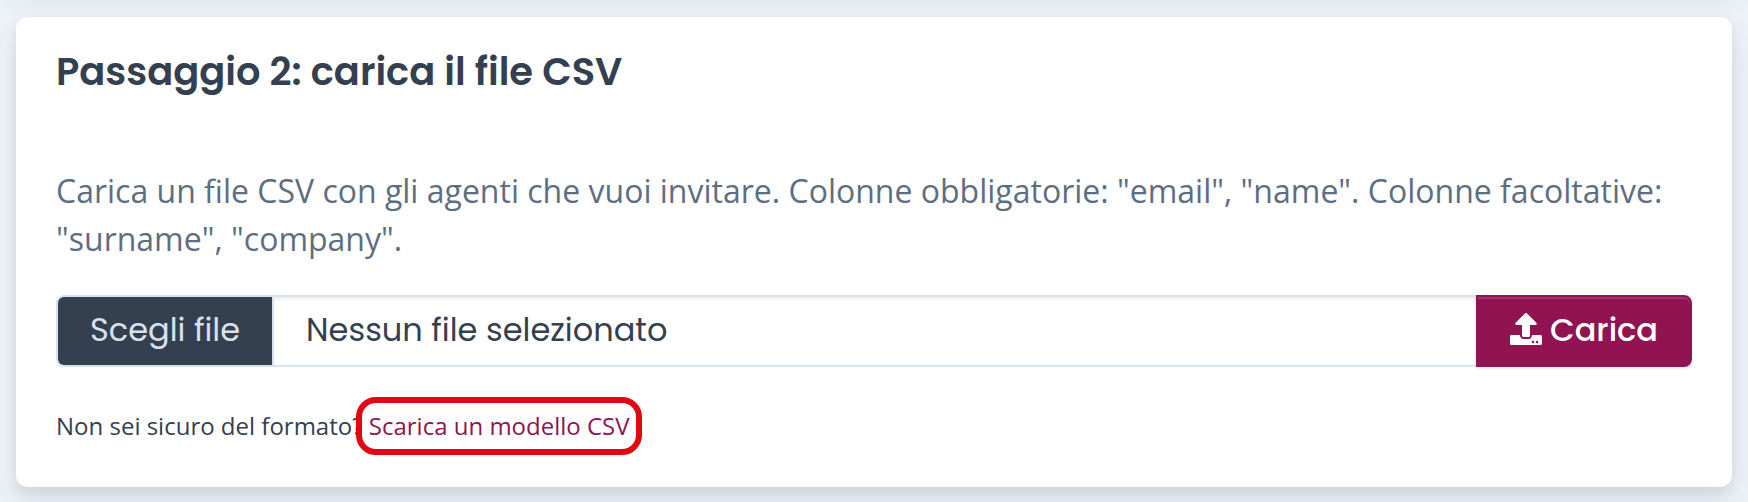
Step 2: upload the CSV file, with the link to download a CSV templateStep 2: upload the CSV file, with the link to download a CSV templateStep 2: upload the CSV file, with the link to download a CSV templateStep 2: upload the CSV file, with the link to download a CSV templateStep 2: upload the CSV file, with the link to download a CSV template

Please note:

  • Do not modify the column headers in the template.

  • The Email and Name columns are mandatory (as indicated on the screen).

Upload the file and click “Upload”.

The system will validate the data and notify you of any errors.

Possible Errors:
  • Invalid email format
    Error message for a row with an invalid email addressError message for a row with an invalid email addressError message for a row with an invalid email addressError message for a row with an invalid email addressError message for a row with an invalid email address

If necessary, correct the file and upload it again.


Step 3 - Confirm and Send Invitations

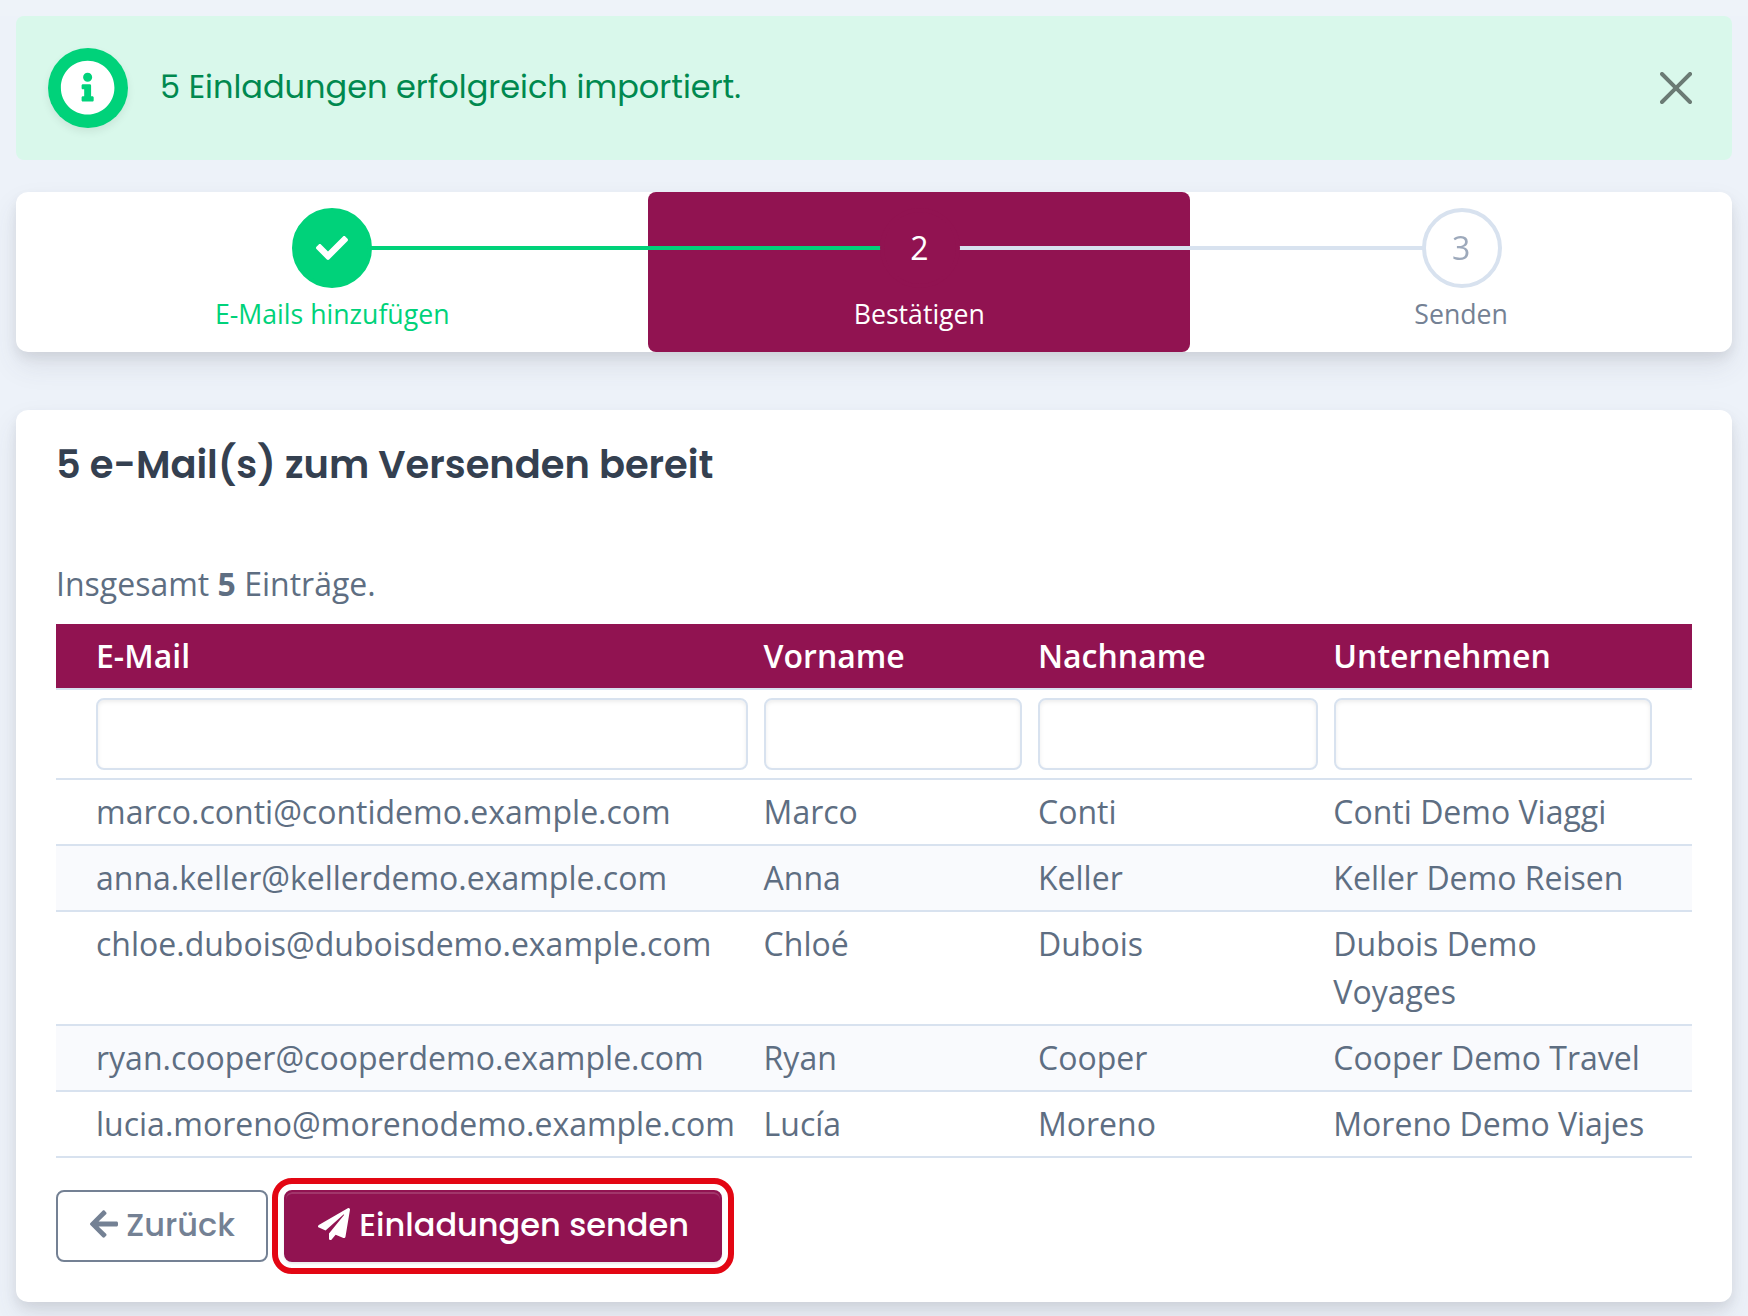
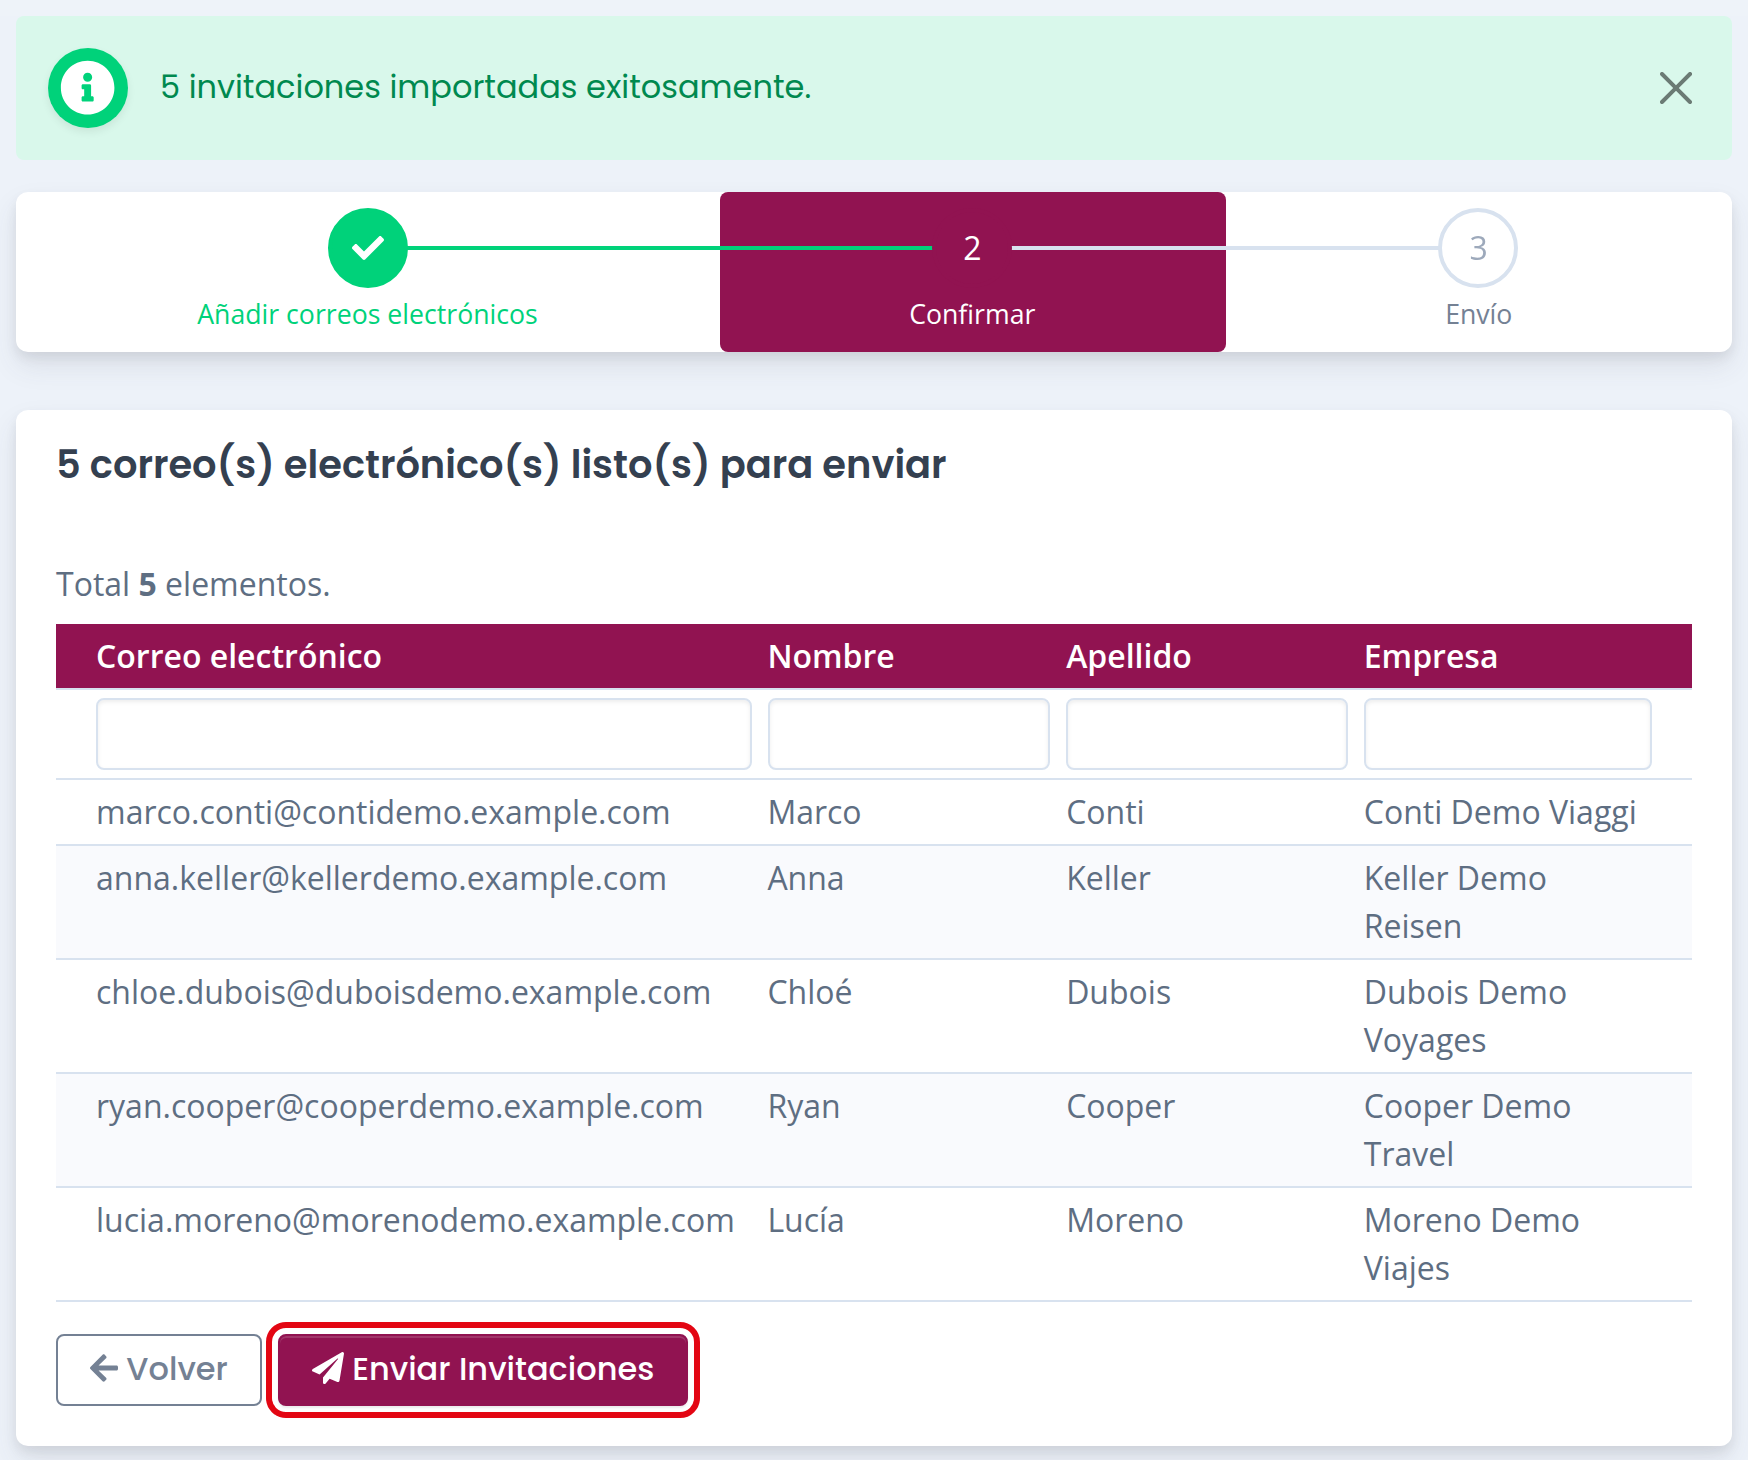
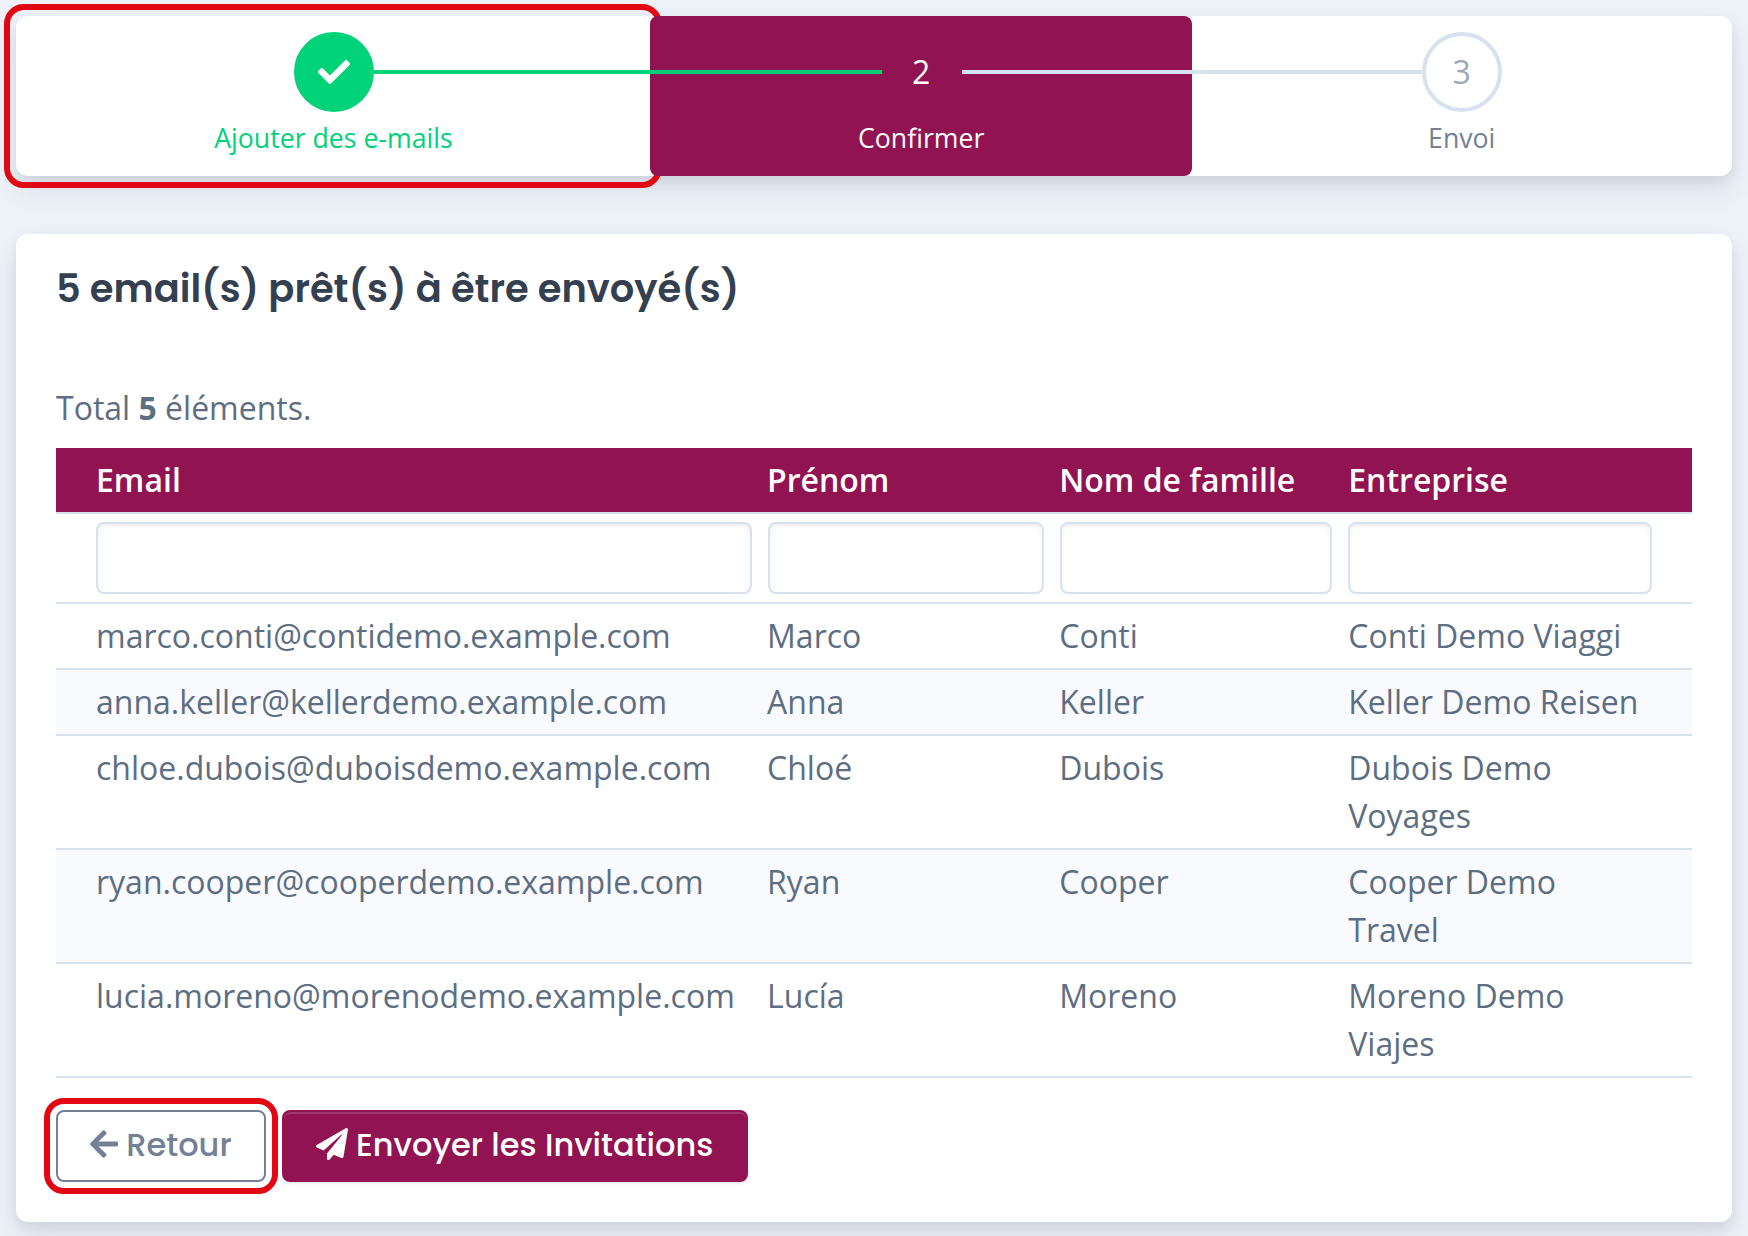
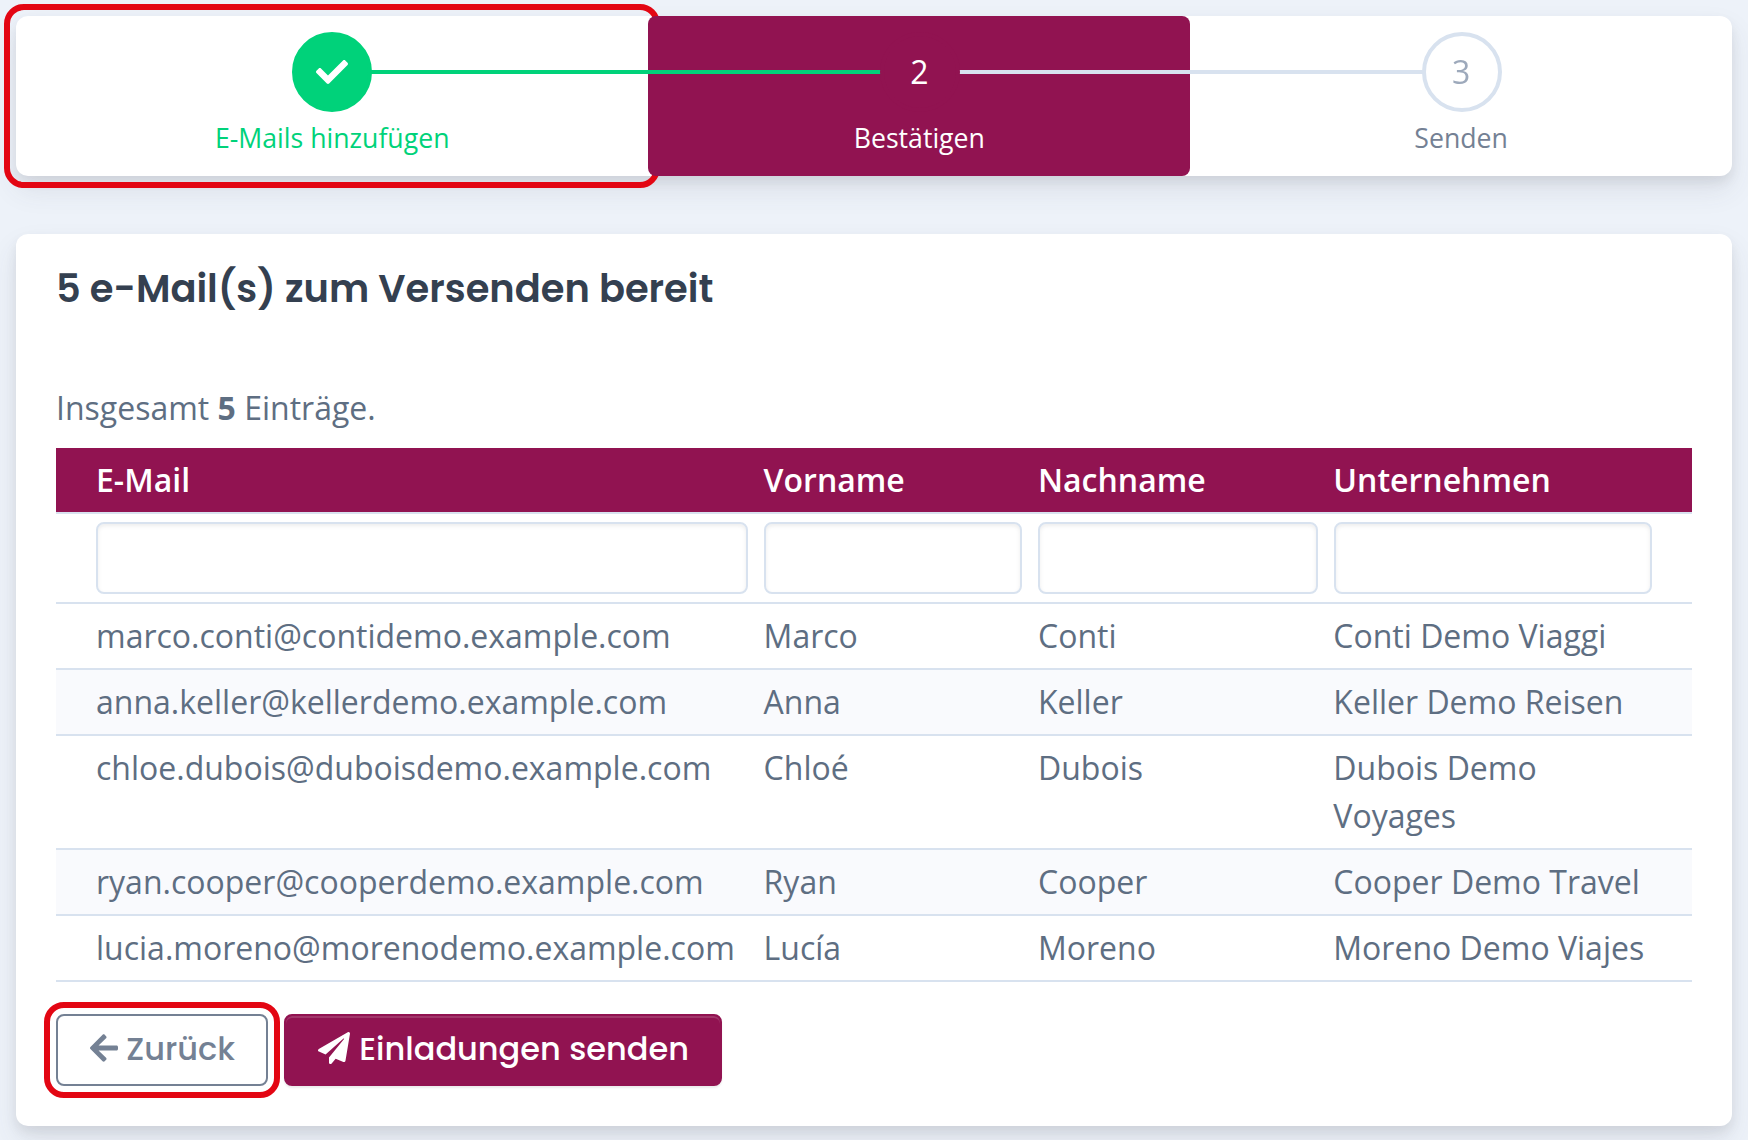
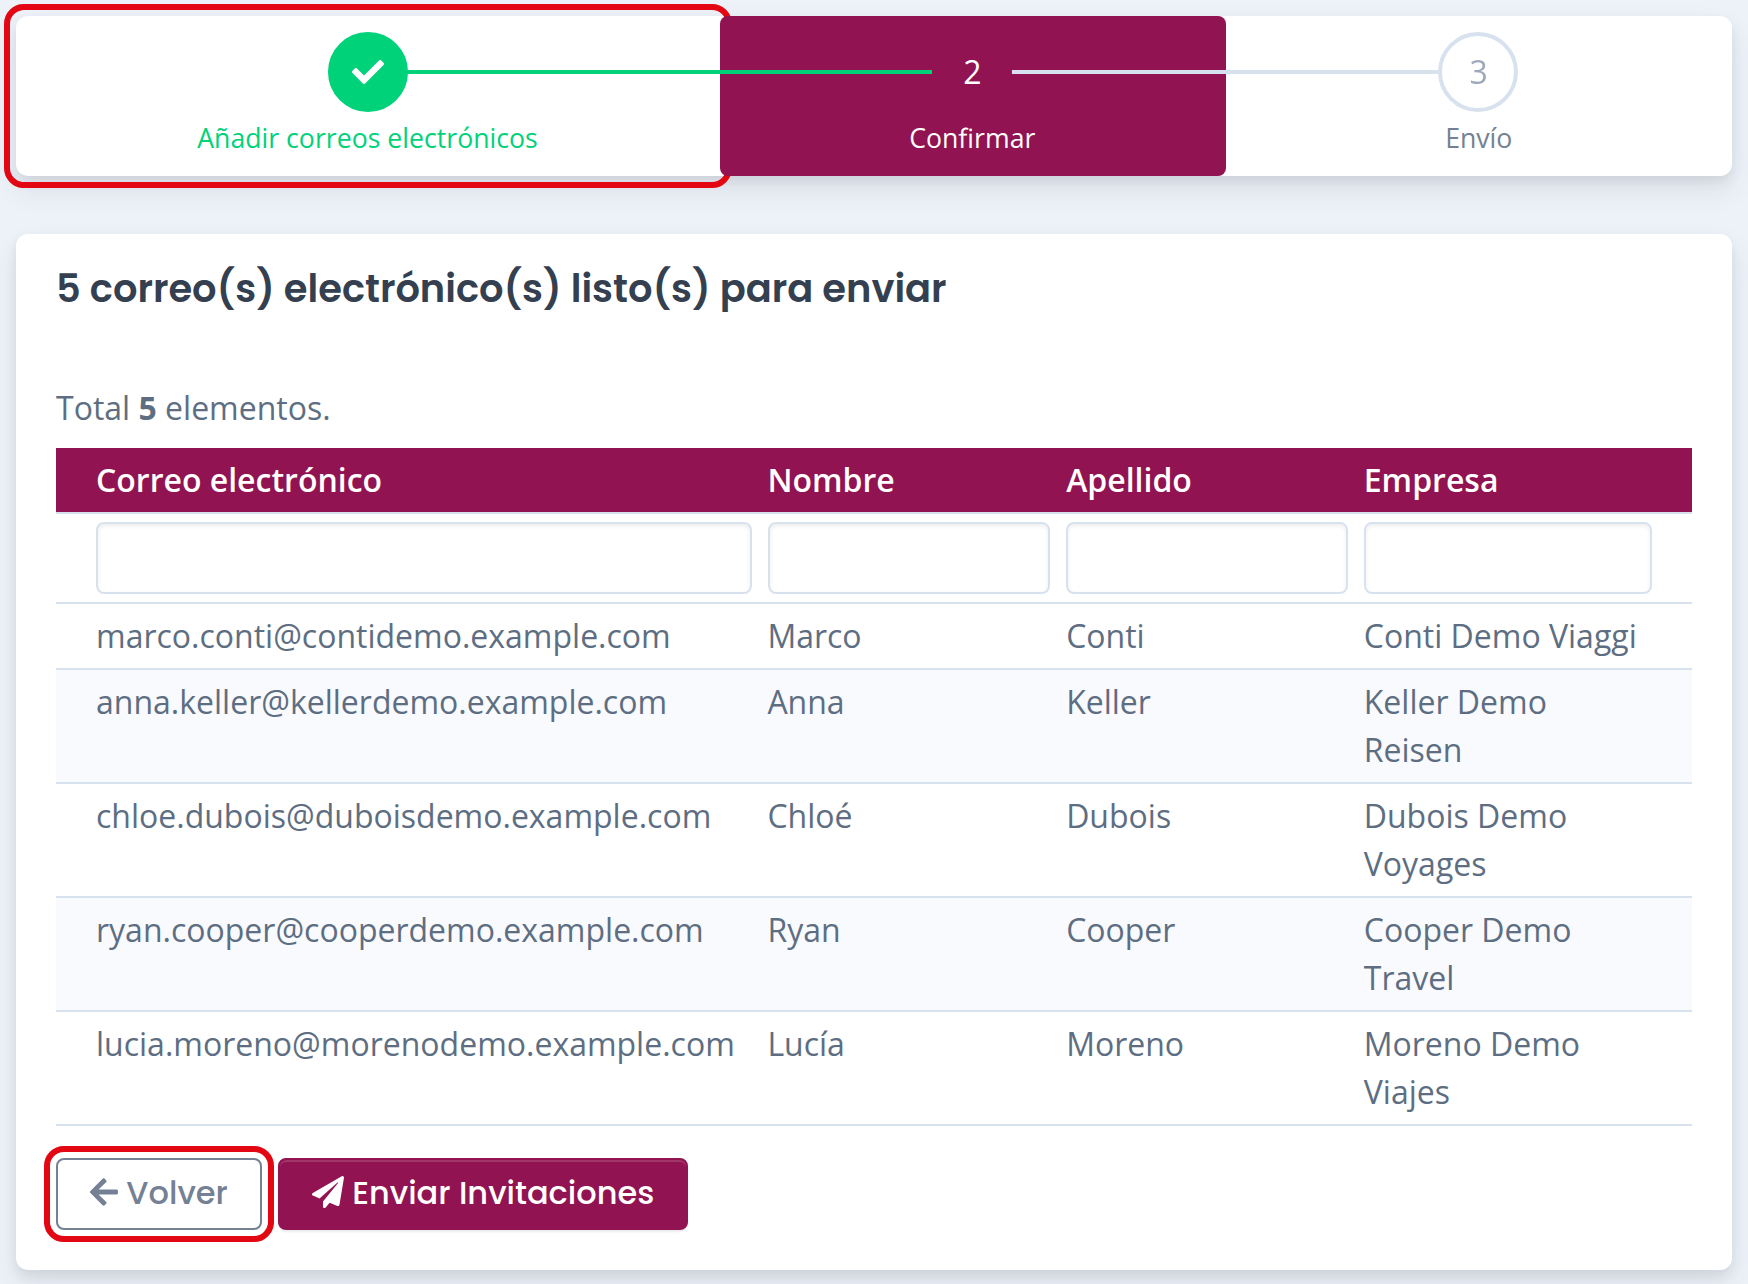
Once the upload is complete, you will see all invitations listed in the grid with the status “To Be Confirmed.”

Here you can:

  • Send all invitations included in the CSV file. 
    Important: Invitations are not sent in real time. To avoid being filtered or banned by mail servers, delivery may be delayed by several hours for some SubAgents.
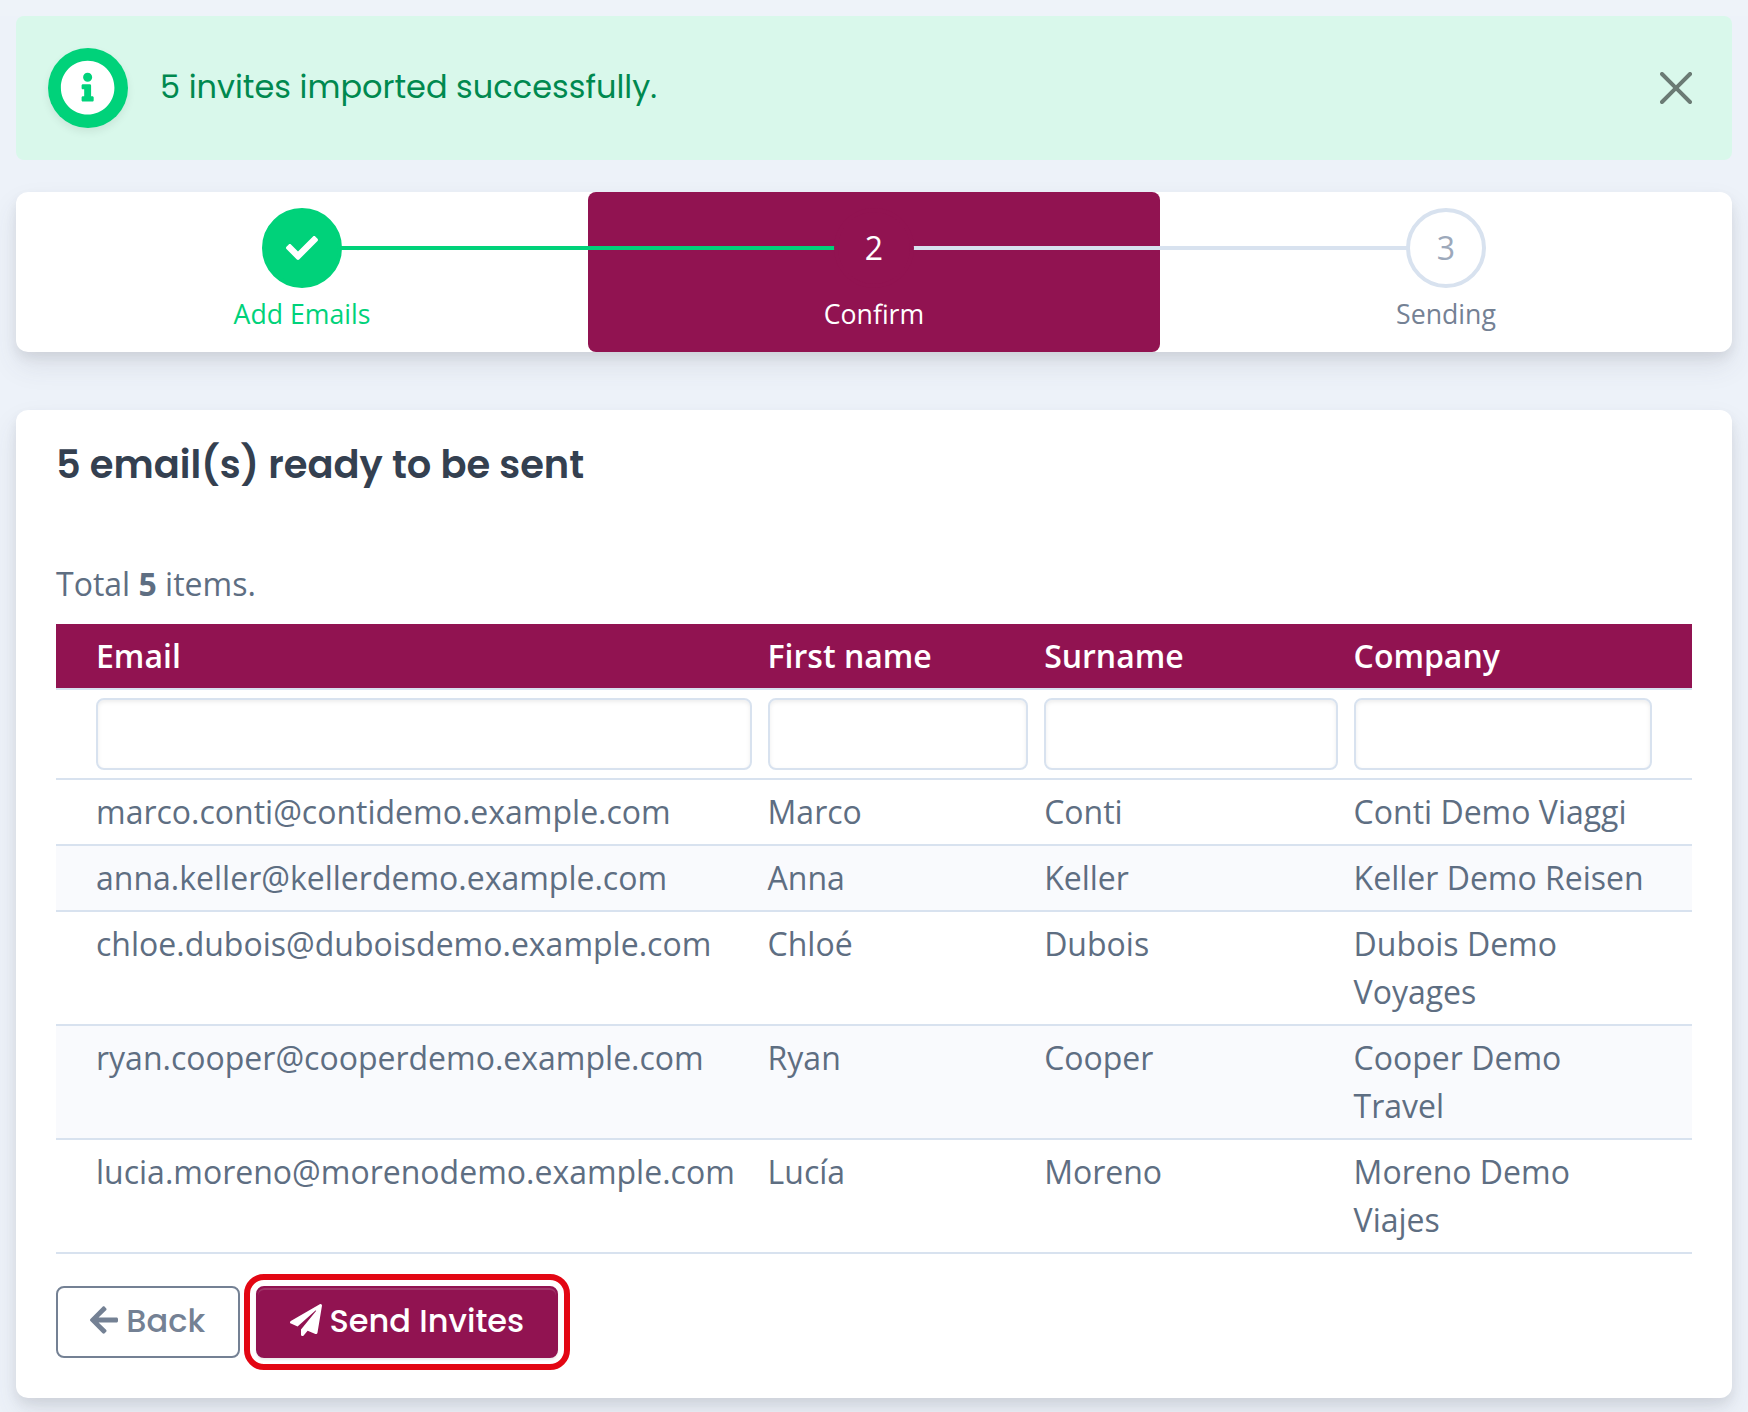
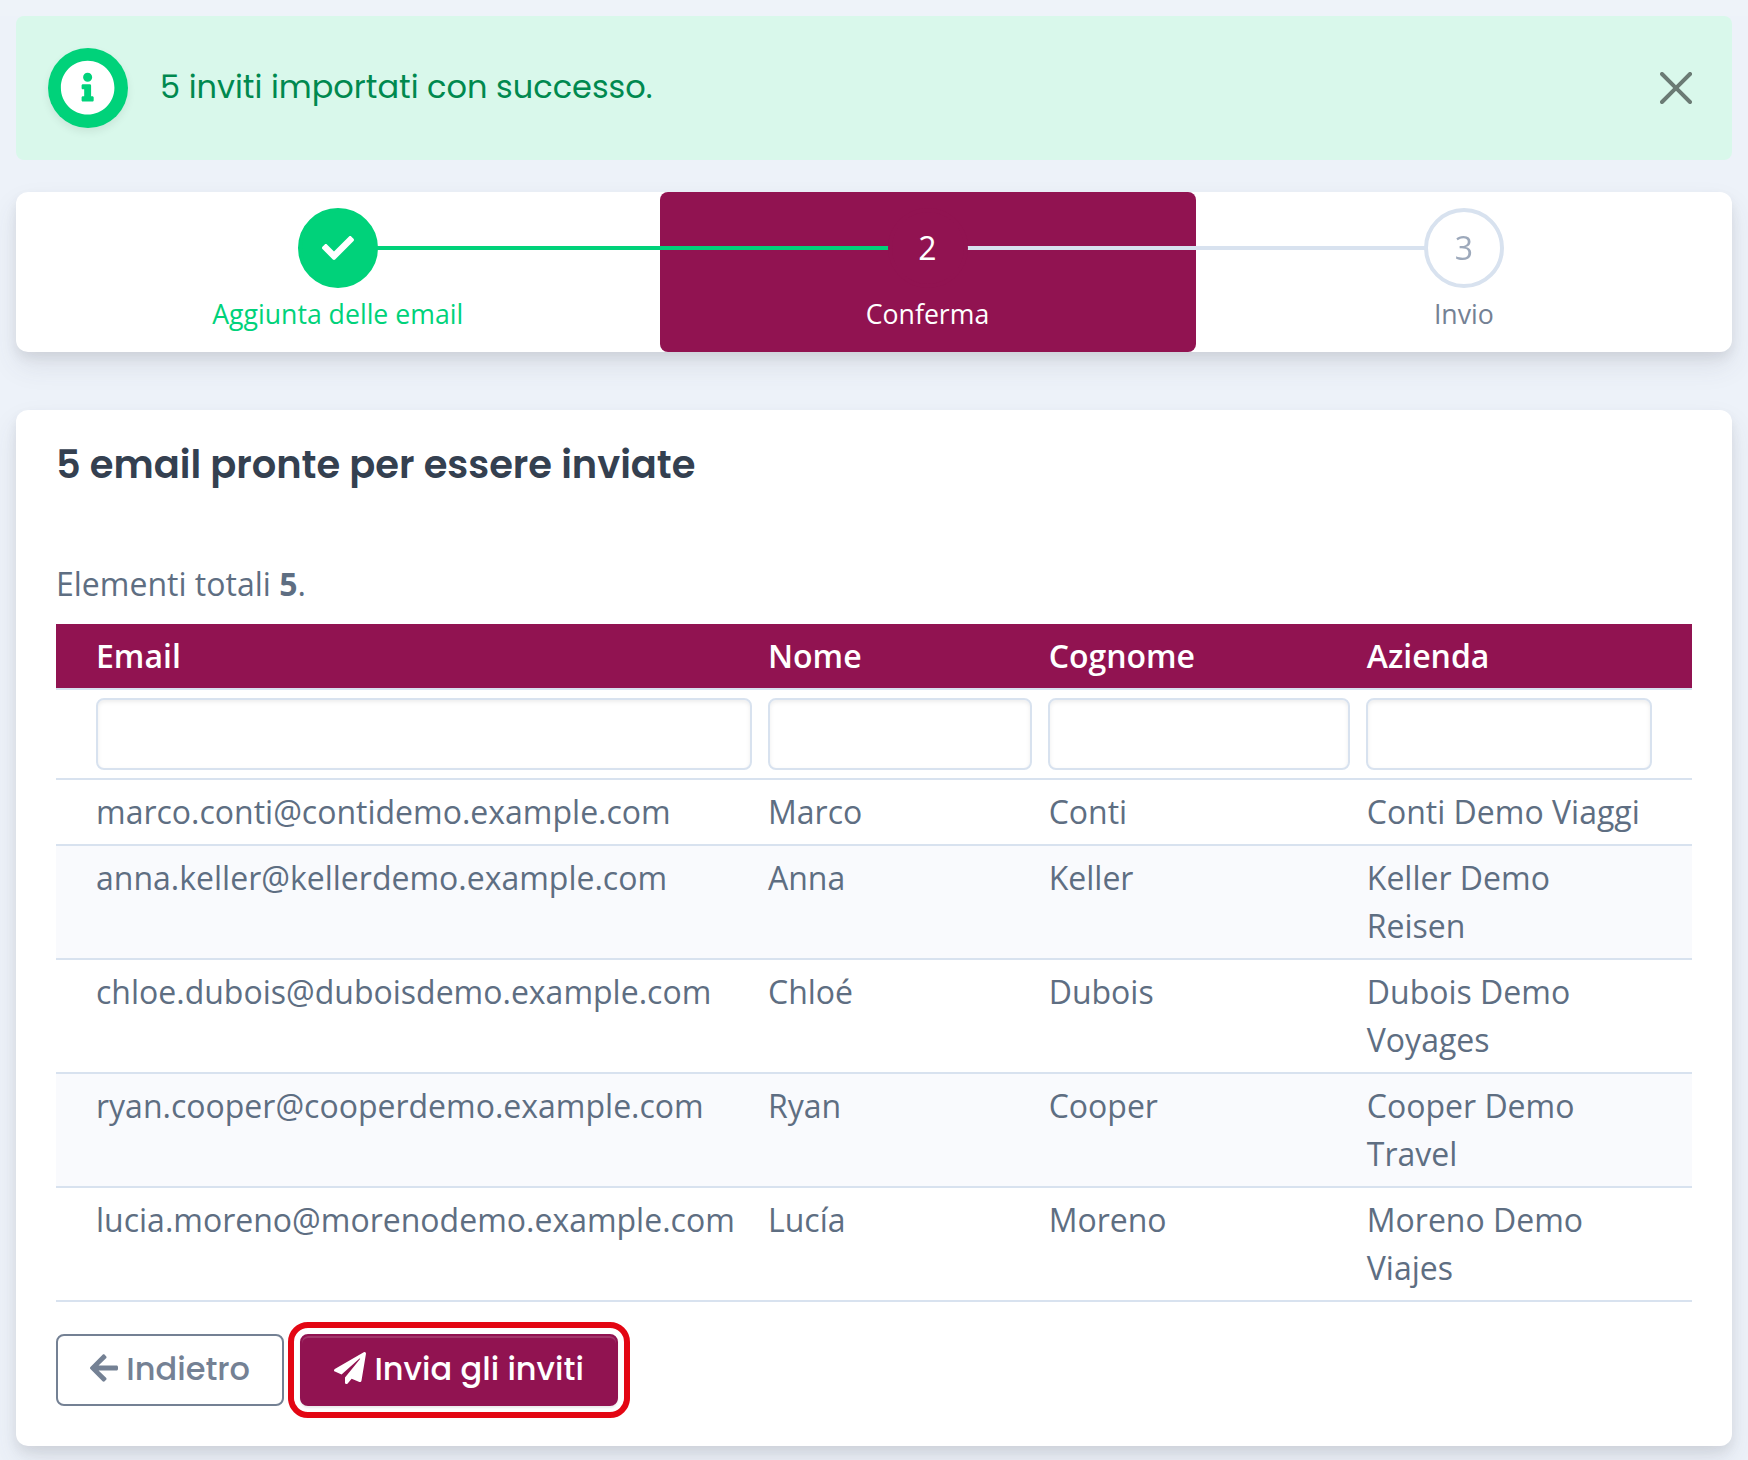
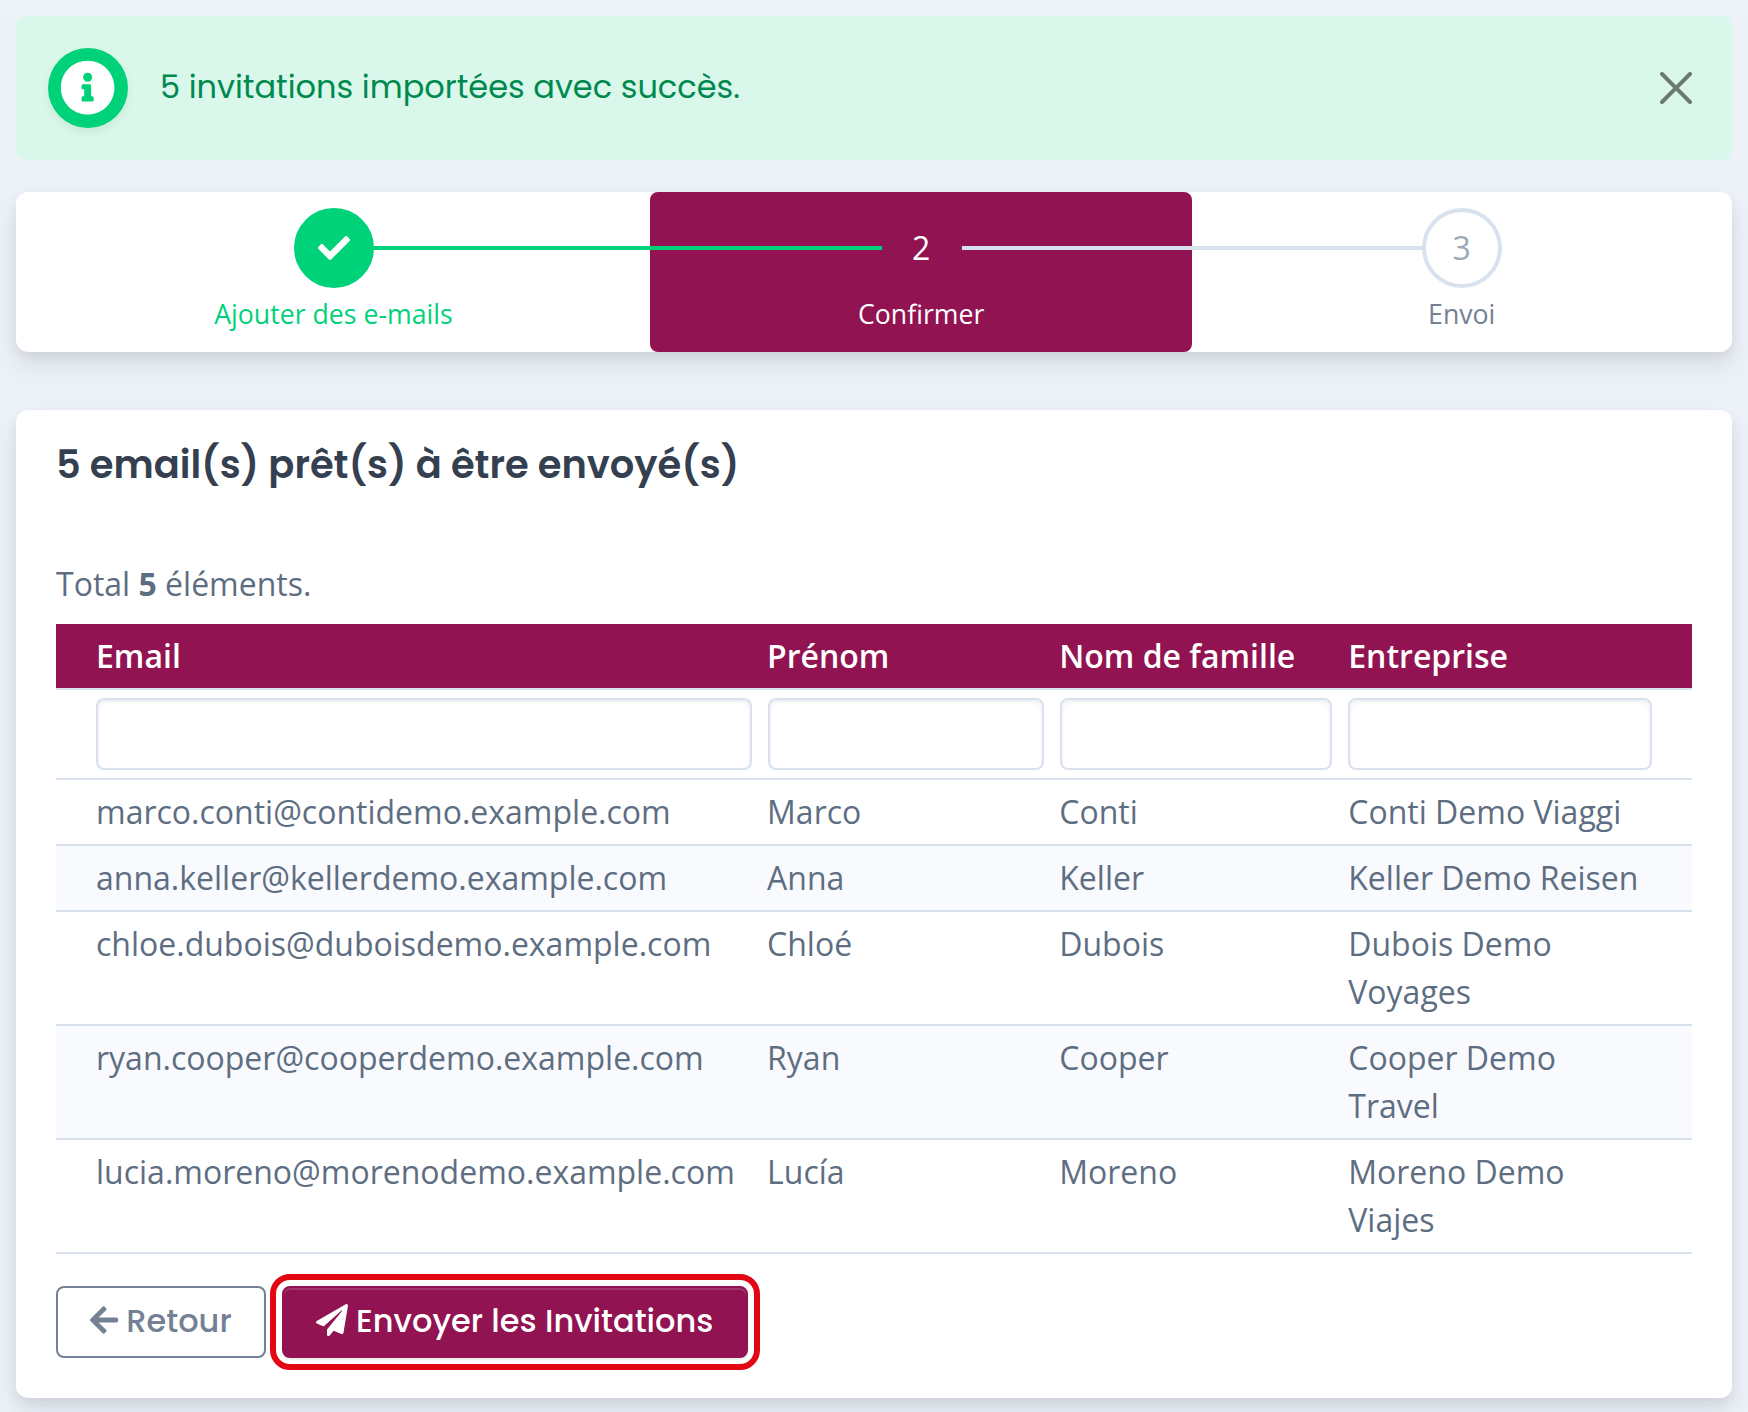
    Confirmation step with the imported agents and the Send invites buttonConfirmation step with the imported agents and the Send invites buttonConfirmation step with the imported agents and the Send invites buttonConfirmation step with the imported agents and the Send invites buttonConfirmation step with the imported agents and the Send invites button

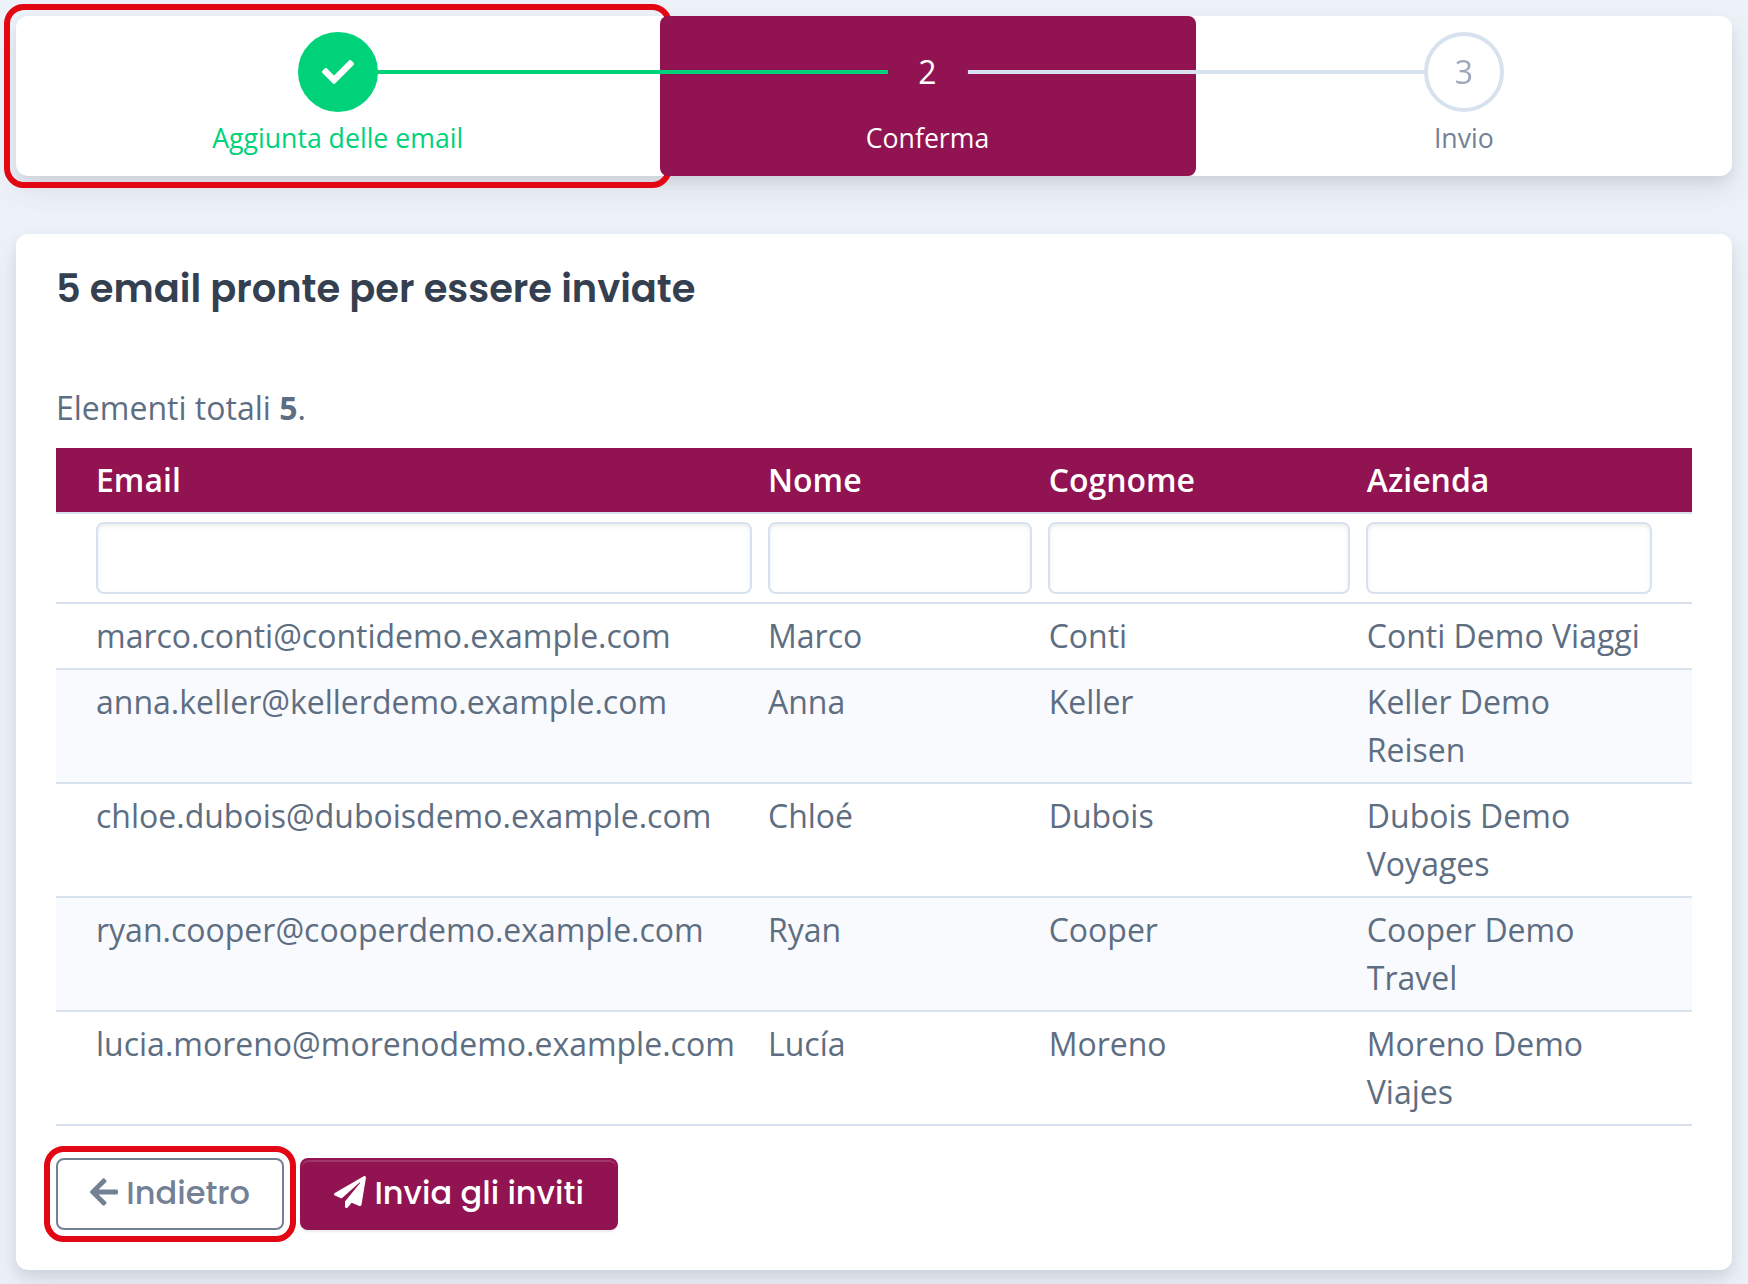
  • Delete all invitations by clicking the “Back” button, or the first step “Add Emails” at the top of the wizard. Both delete the emails not yet sent and take you back to the start. 
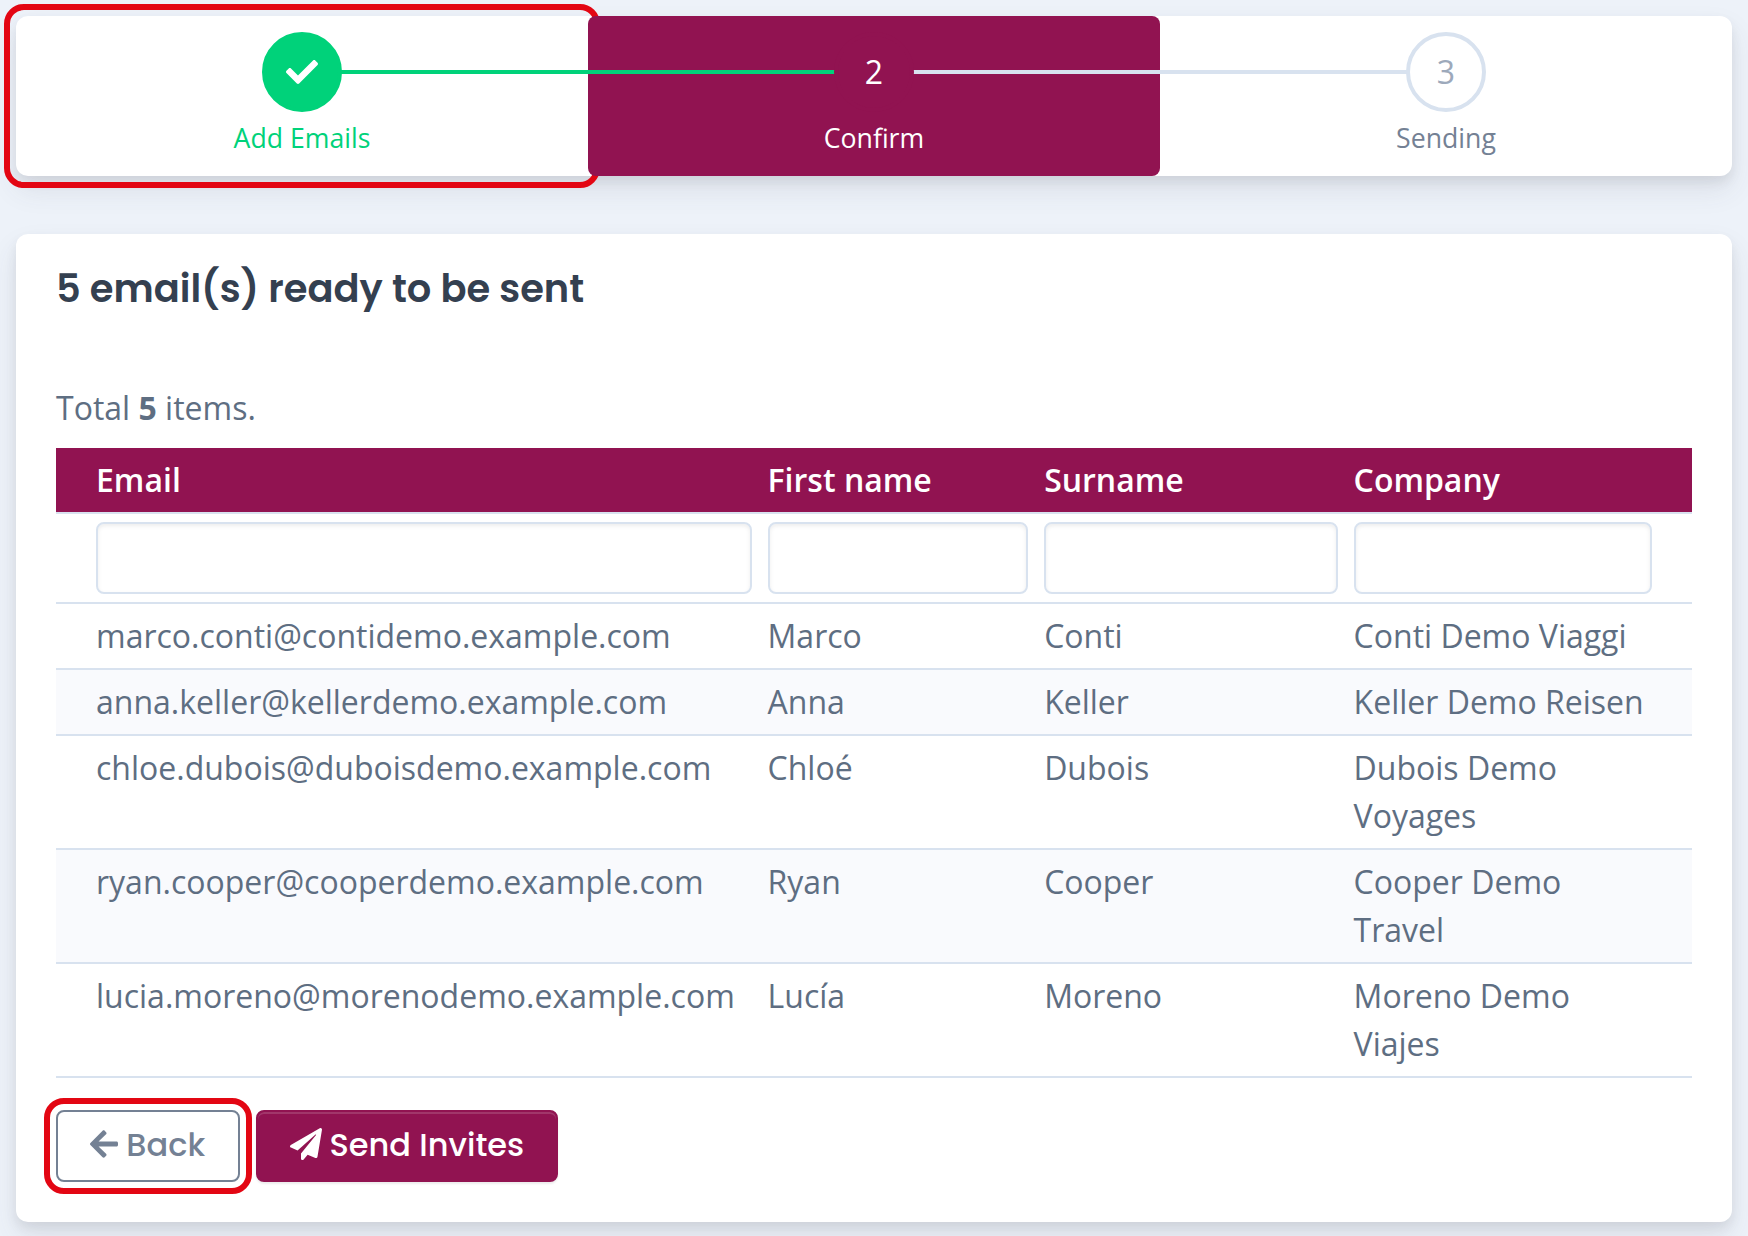
    Confirmation step with the Back button and the Add Emails stepConfirmation step with the Back button and the Add Emails stepConfirmation step with the Back button and the Add Emails stepConfirmation step with the Back button and the Add Emails stepConfirmation step with the Back button and the Add Emails step


Step 4 - Check Invitation Status

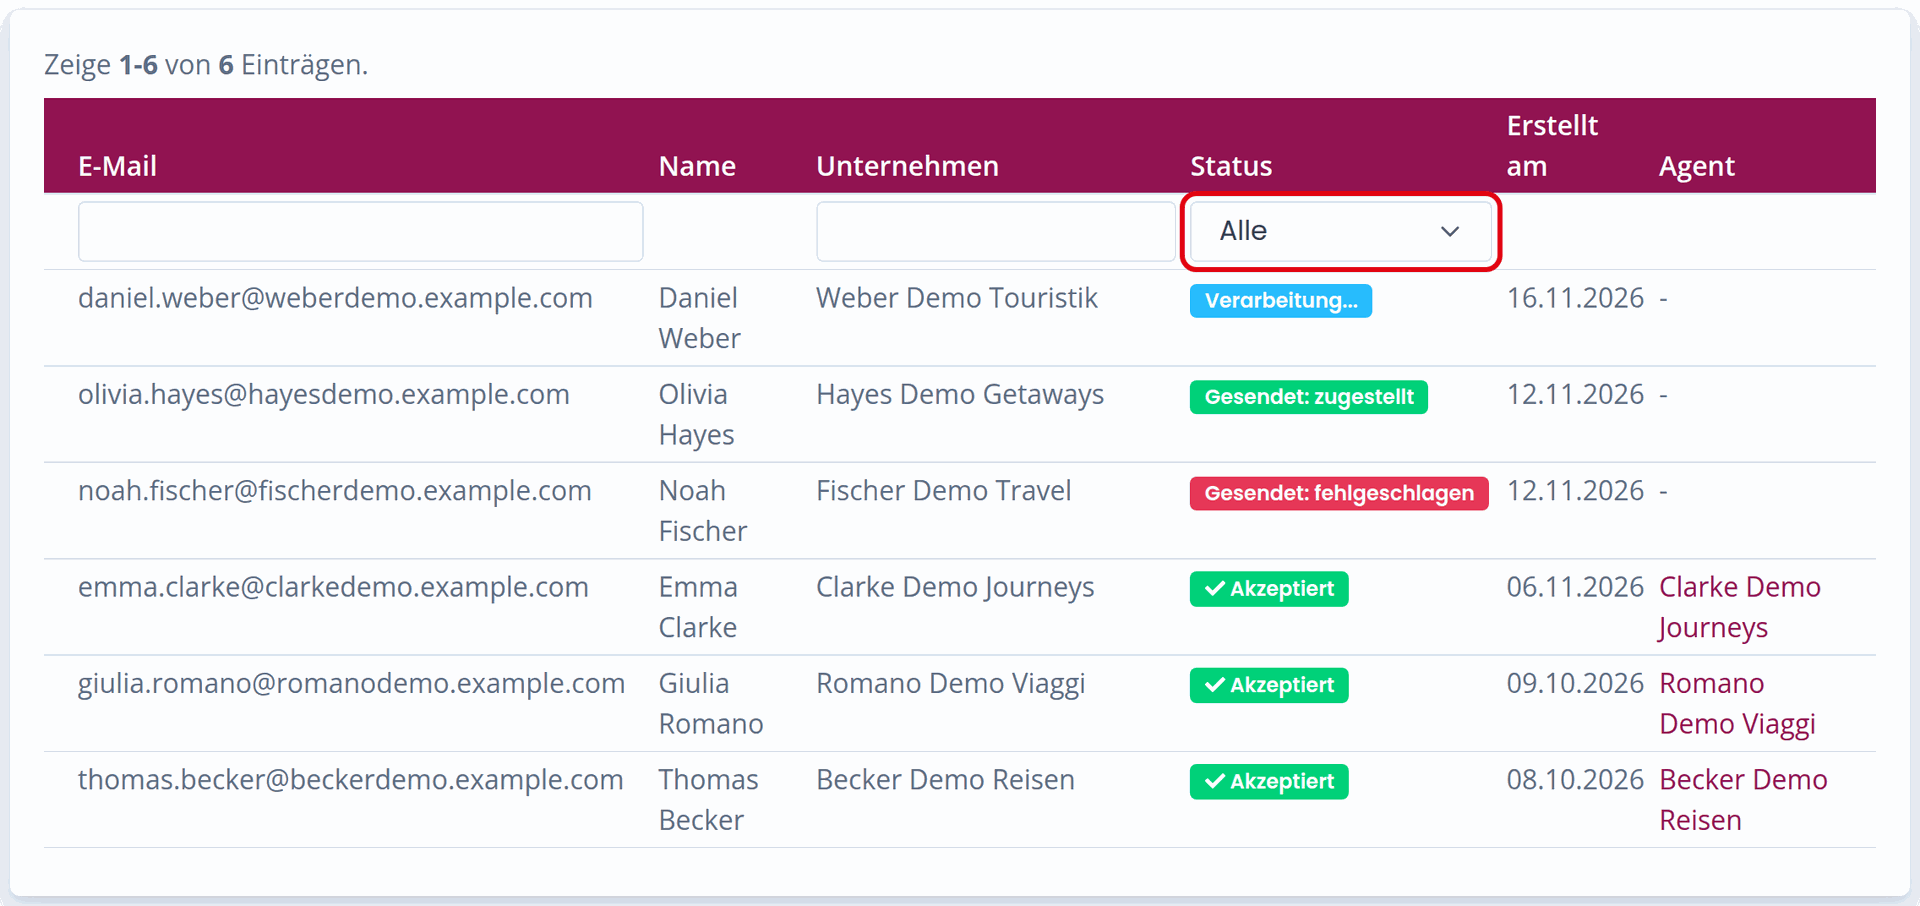
After sending the invitations, you can monitor their status at any time from the Invites page.
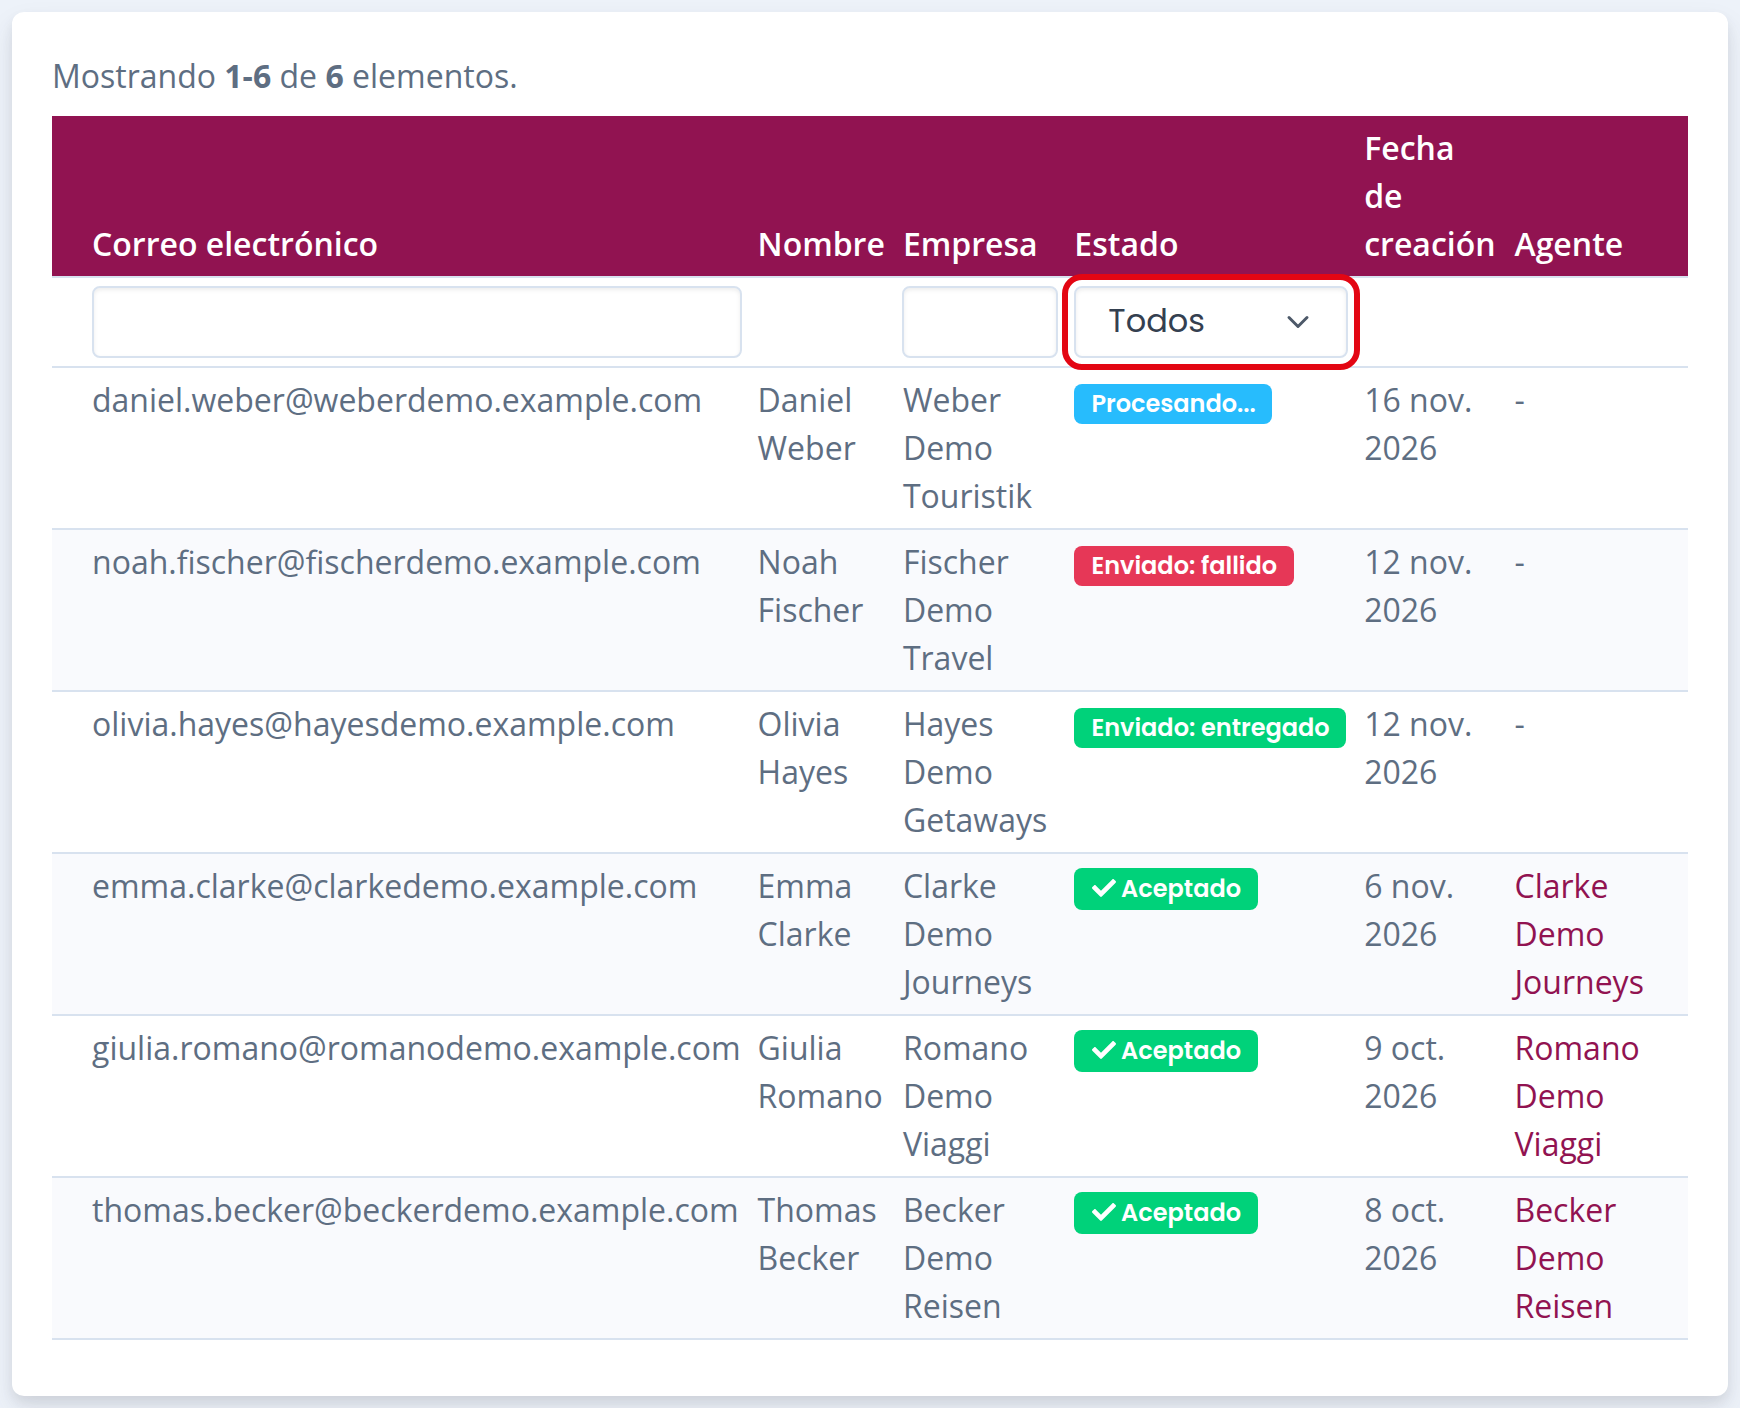
You can filter by status using the dropdown menu in the “Status” column.
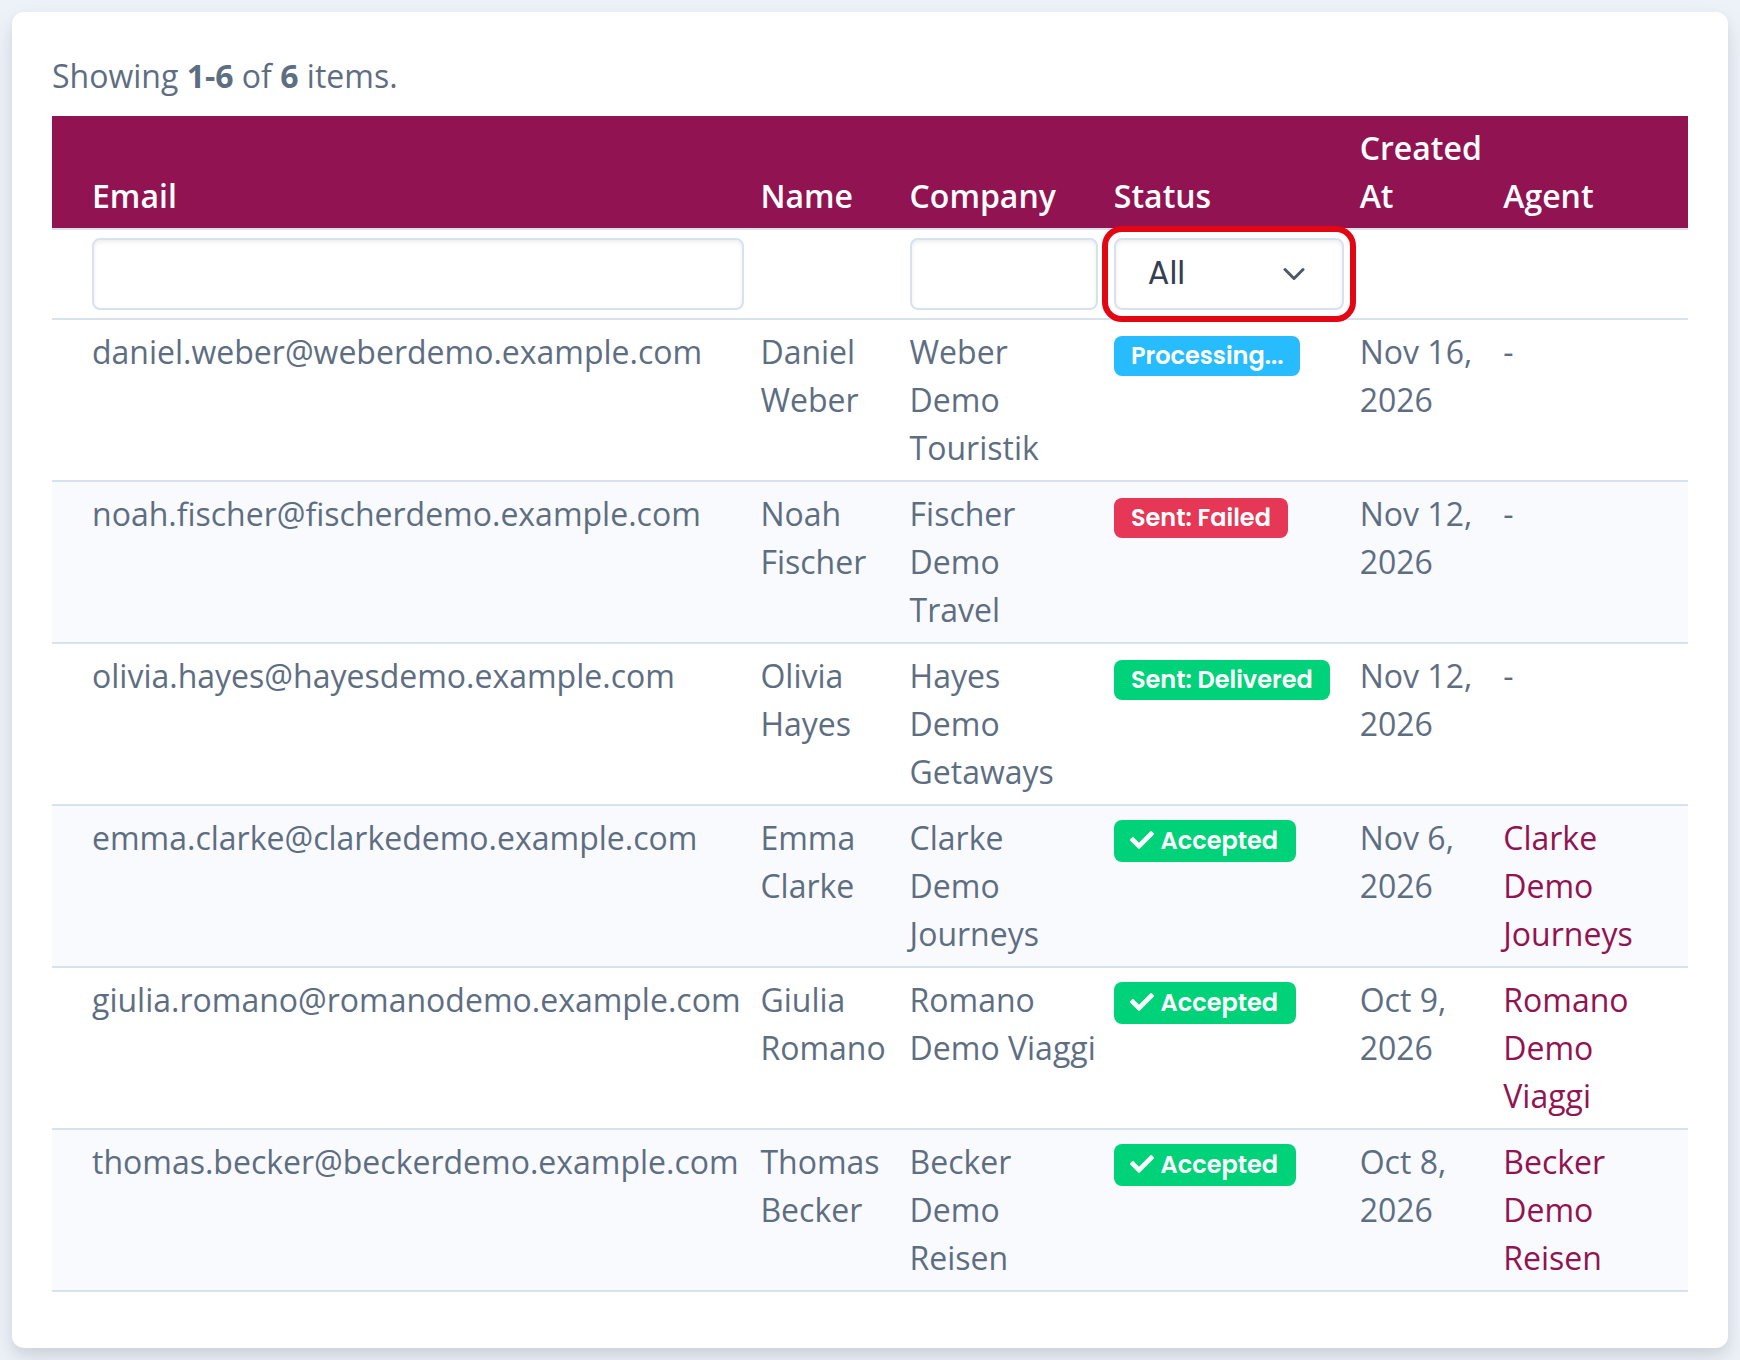
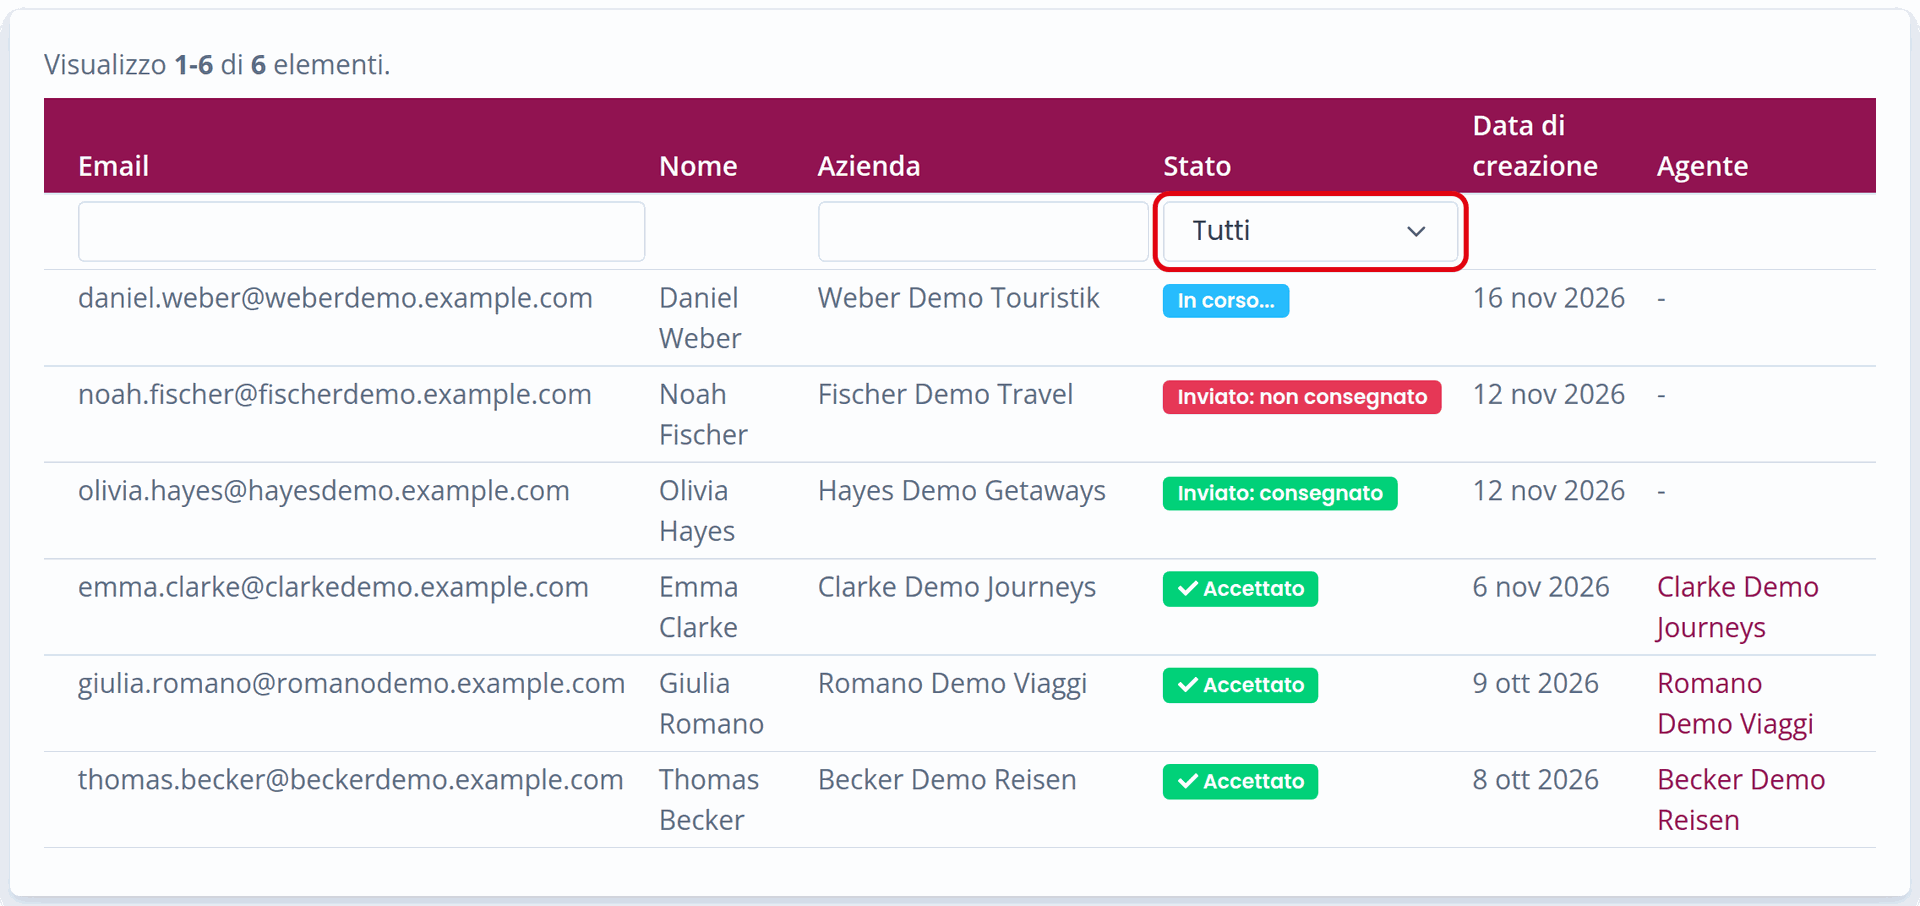
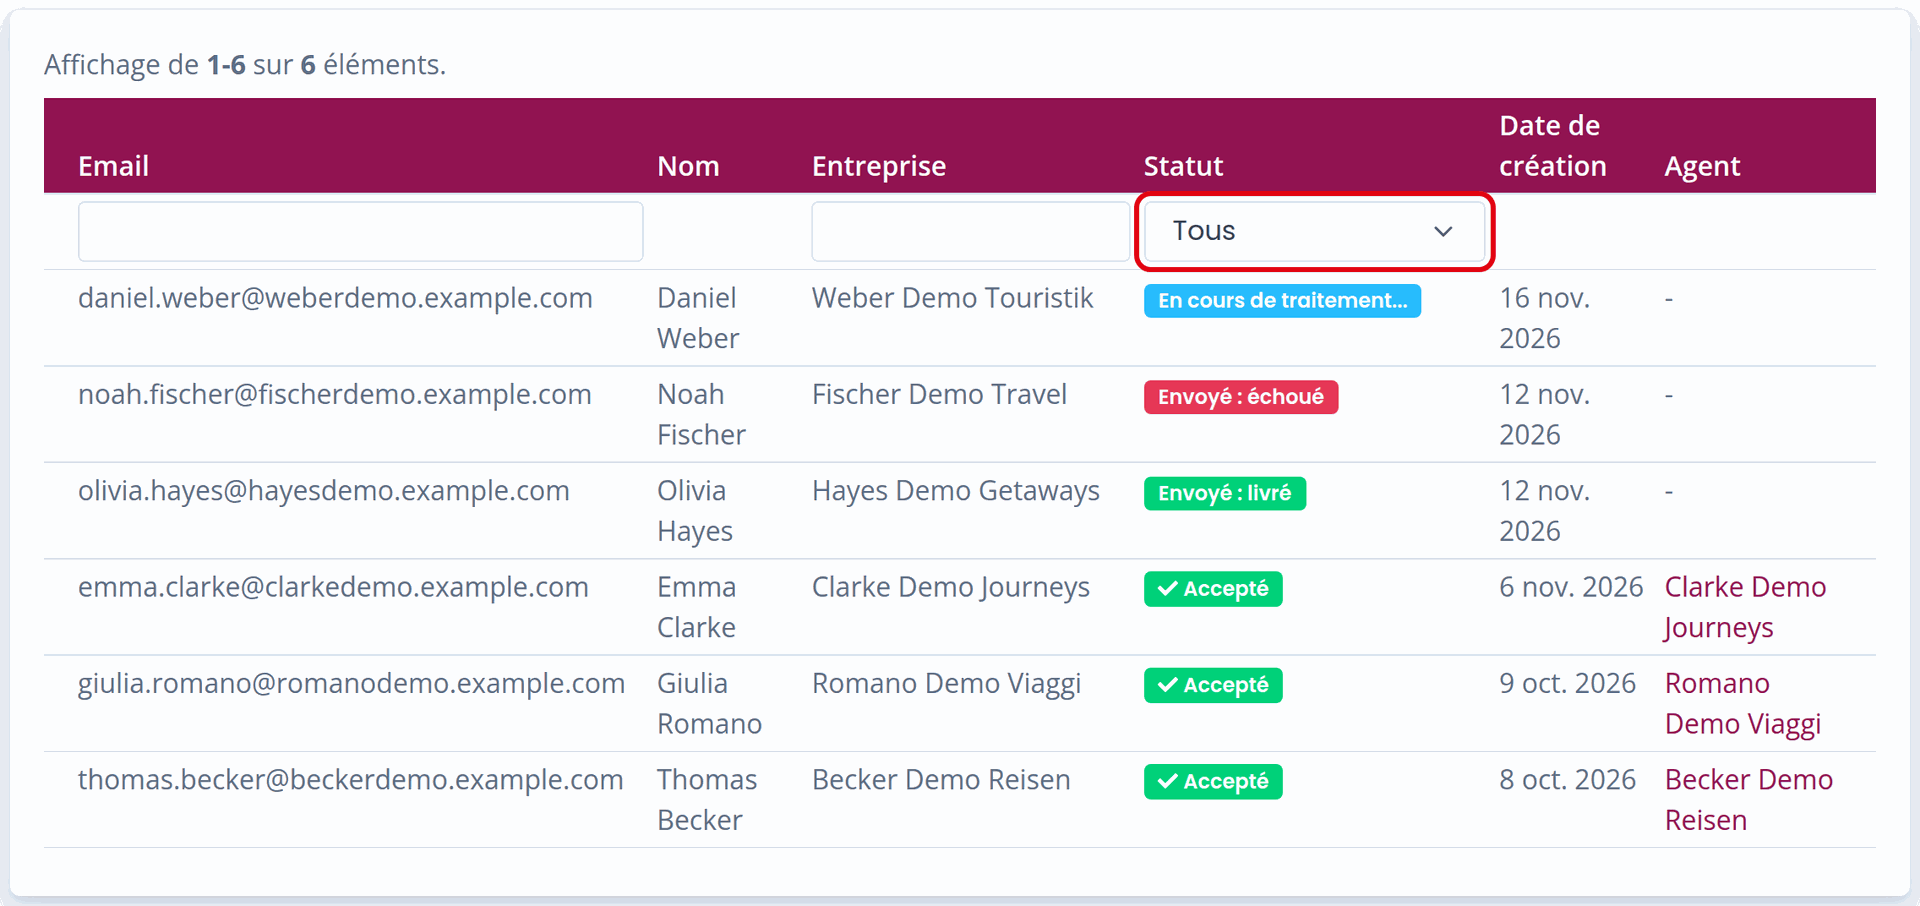
List of sent invitations with the status filterList of sent invitations with the status filterList of sent invitations with the status filterList of sent invitations with the status filterList of sent invitations with the status filter

Possible Statuses:

  • Processing: The invitation has been confirmed and is waiting to be sent to the mail server. It can still be canceled.

  • Sent: The invitation has been sent to the mail server.
    You may also see additional delivery details:

    • Sent: Dispatched when the mail server has accepted the request but no final outcome is available yet.

    • Sent: Delivered when the recipient’s mail server has accepted the email.

    • Sent: Failed when the email could not be delivered (non-existent address, full mailbox, or other technical issues). In this case, you can contact us for assistance.

  • Accepted:  The SubAgent clicked the link in the email and completed the registration on Winedering.


View Your Agents

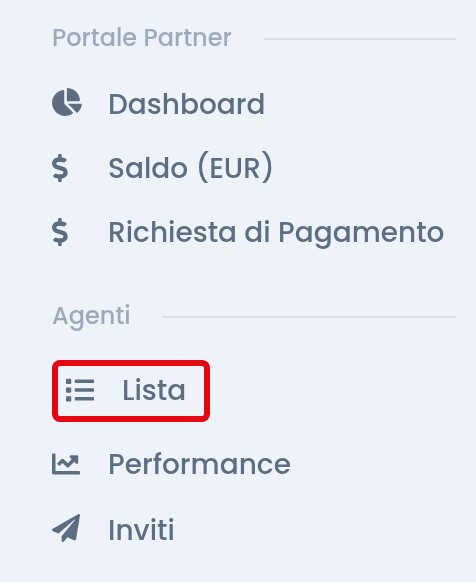
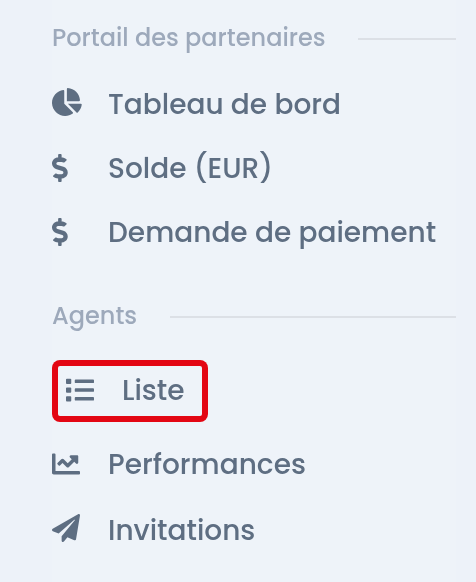
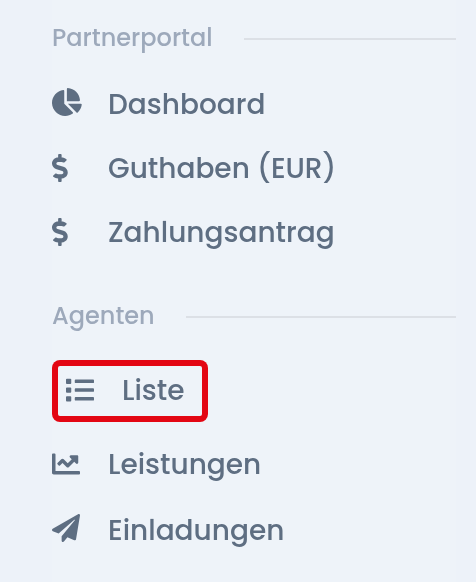
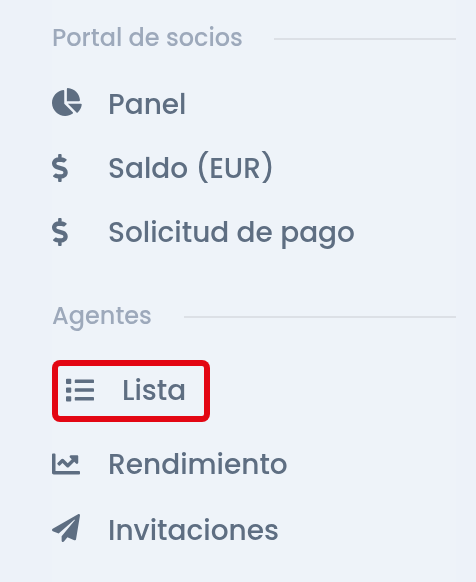
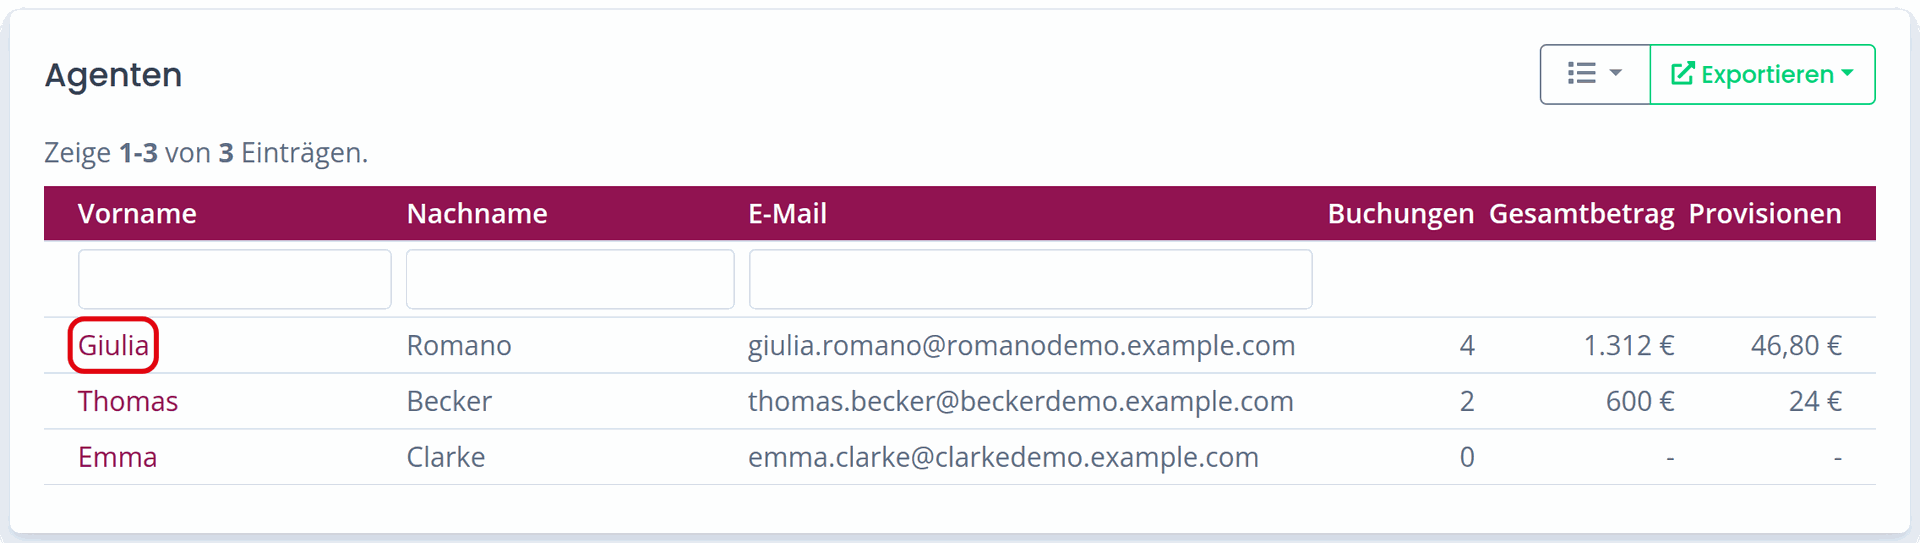
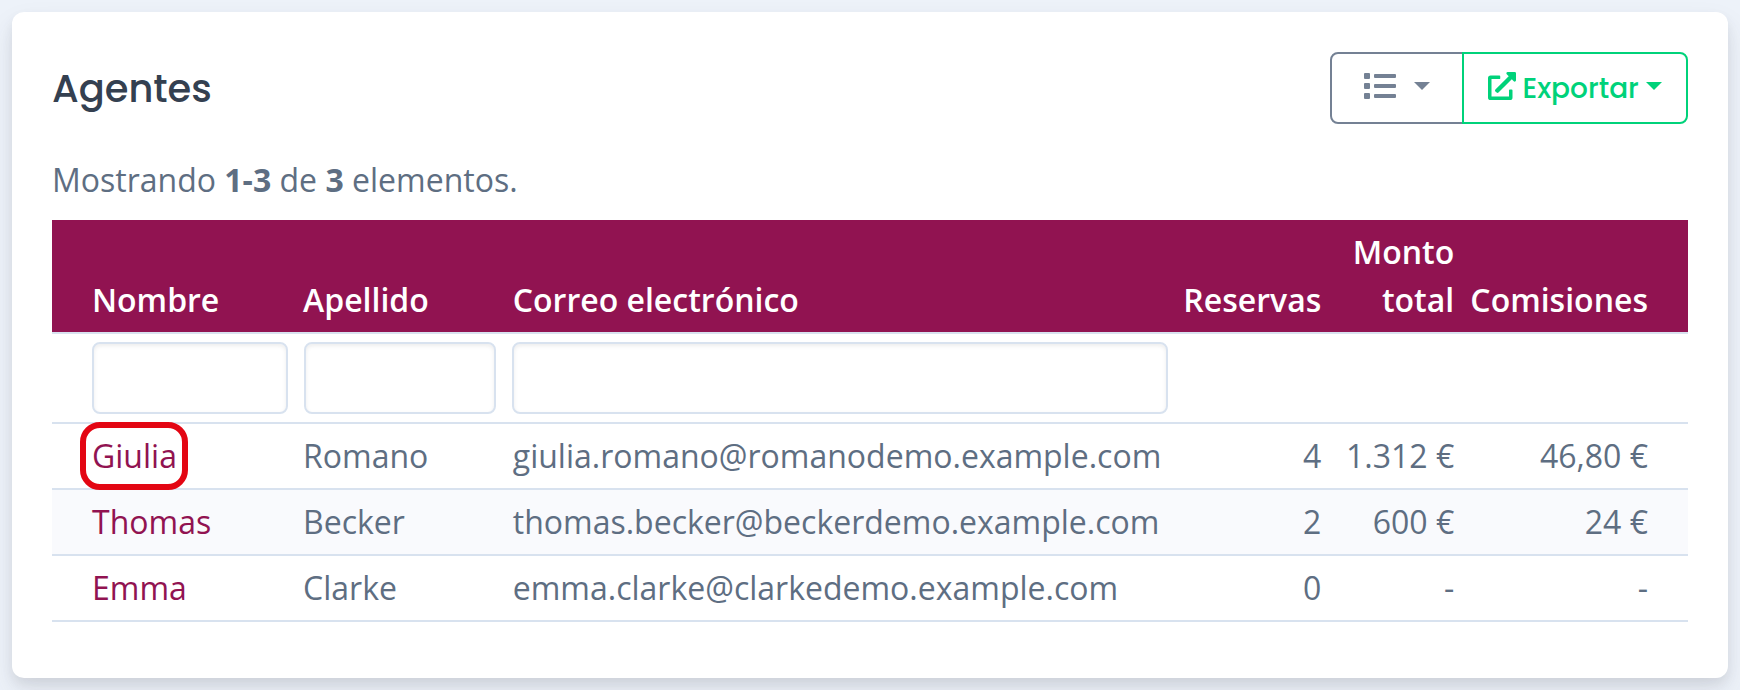
To see all the agents associated with you, click the “List” button in the Agents menu.
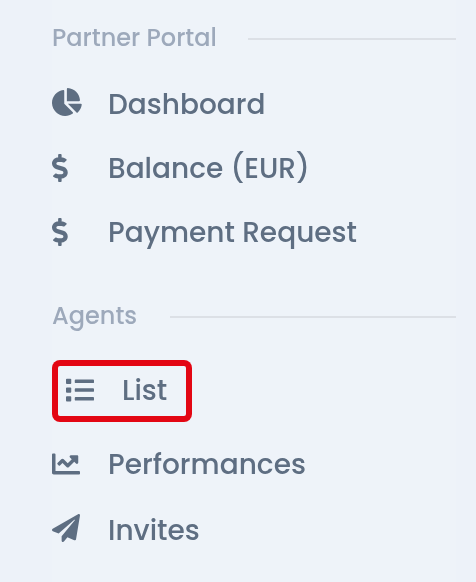
Agents menu with the List itemAgents menu with the List itemAgents menu with the List itemAgents menu with the List itemAgents menu with the List item

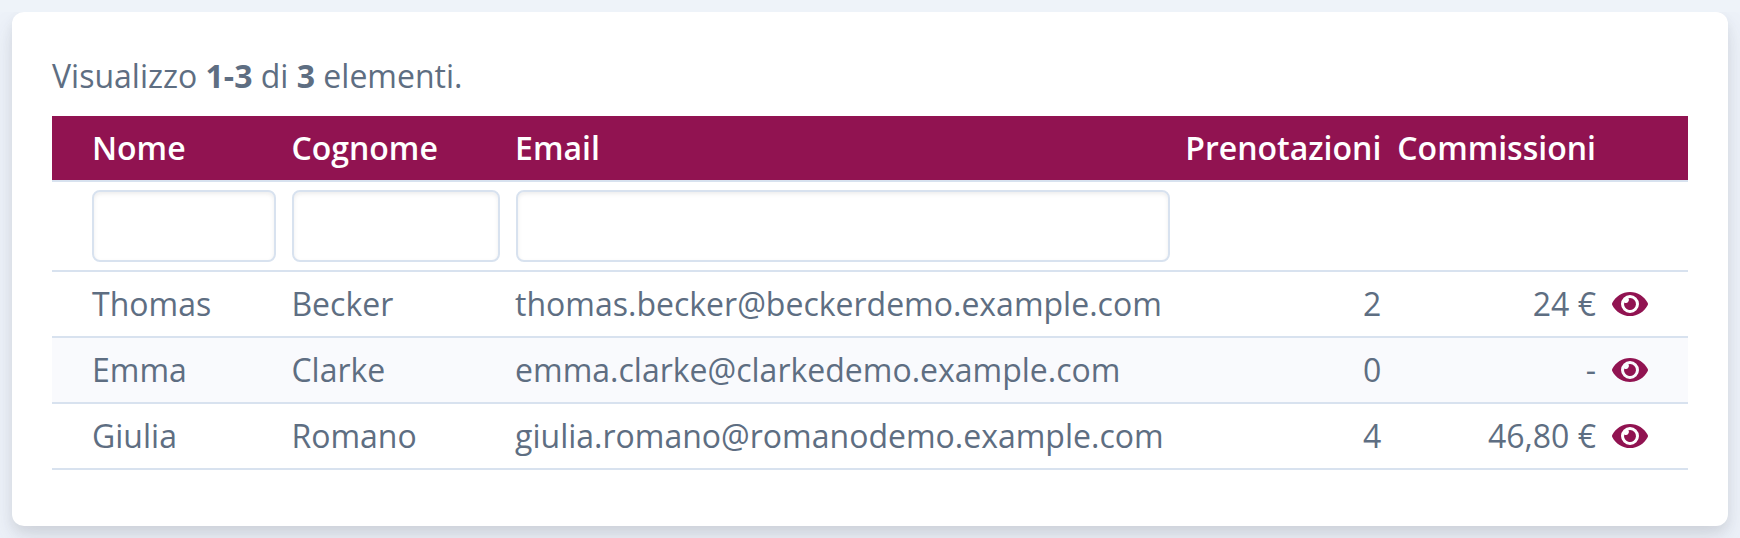
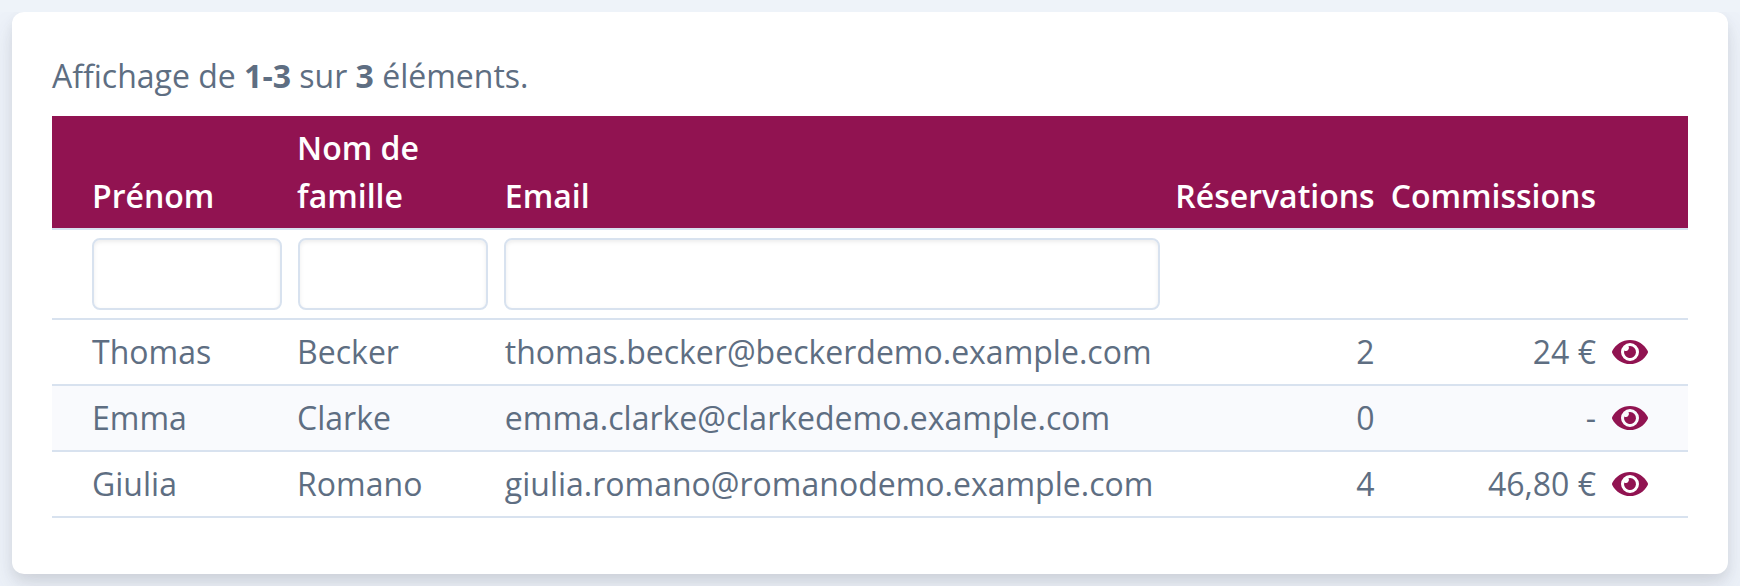
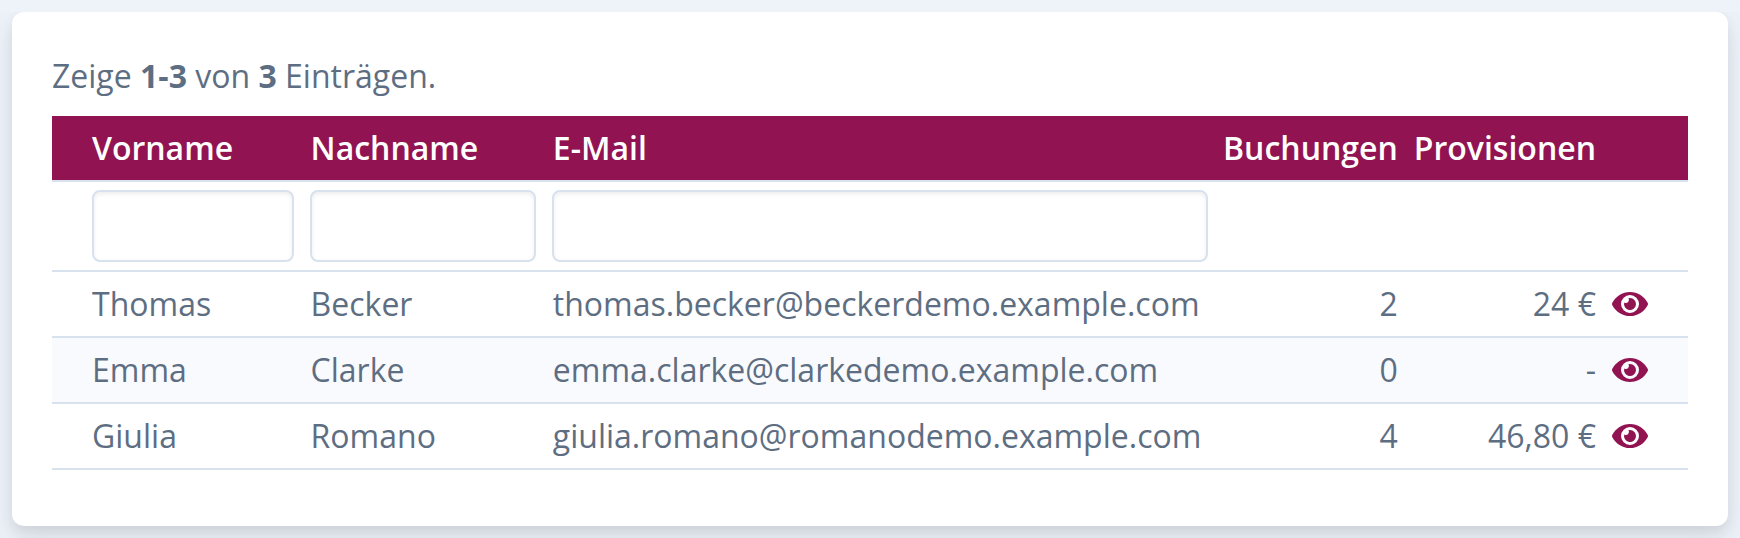
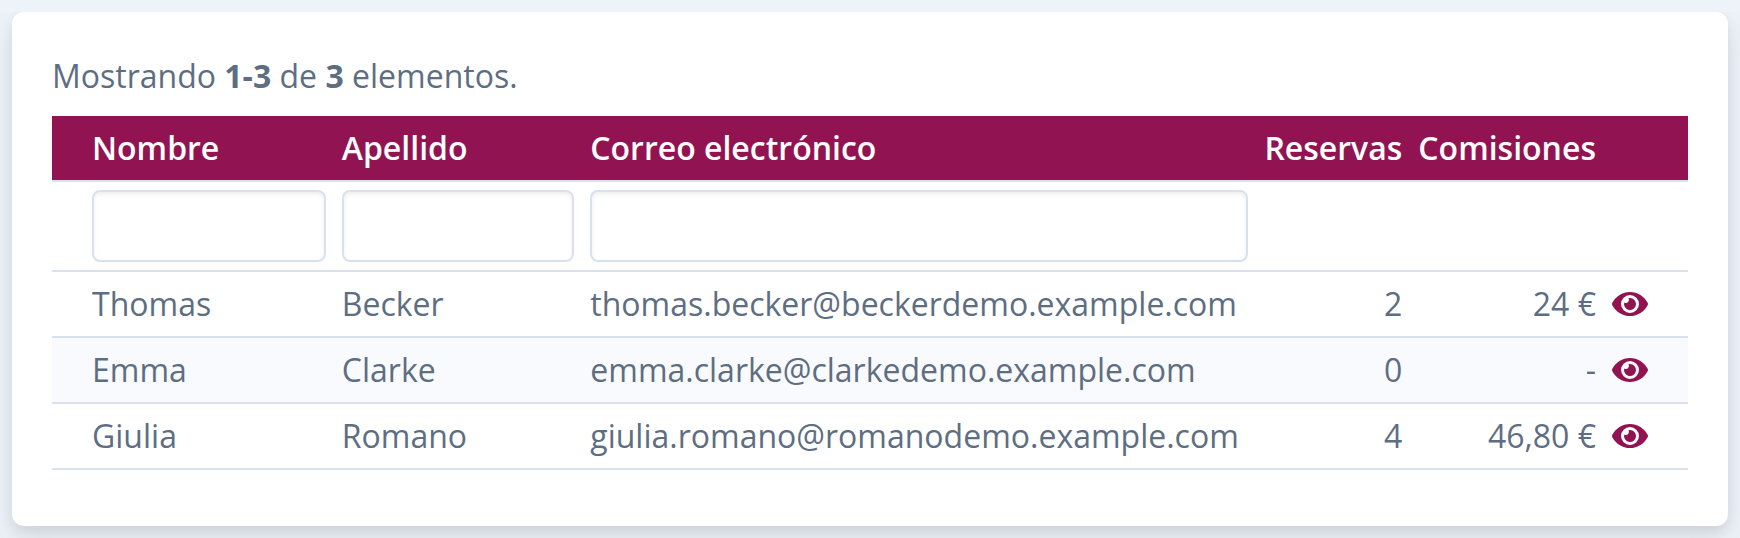
This will open a page displaying the complete list of your agents.
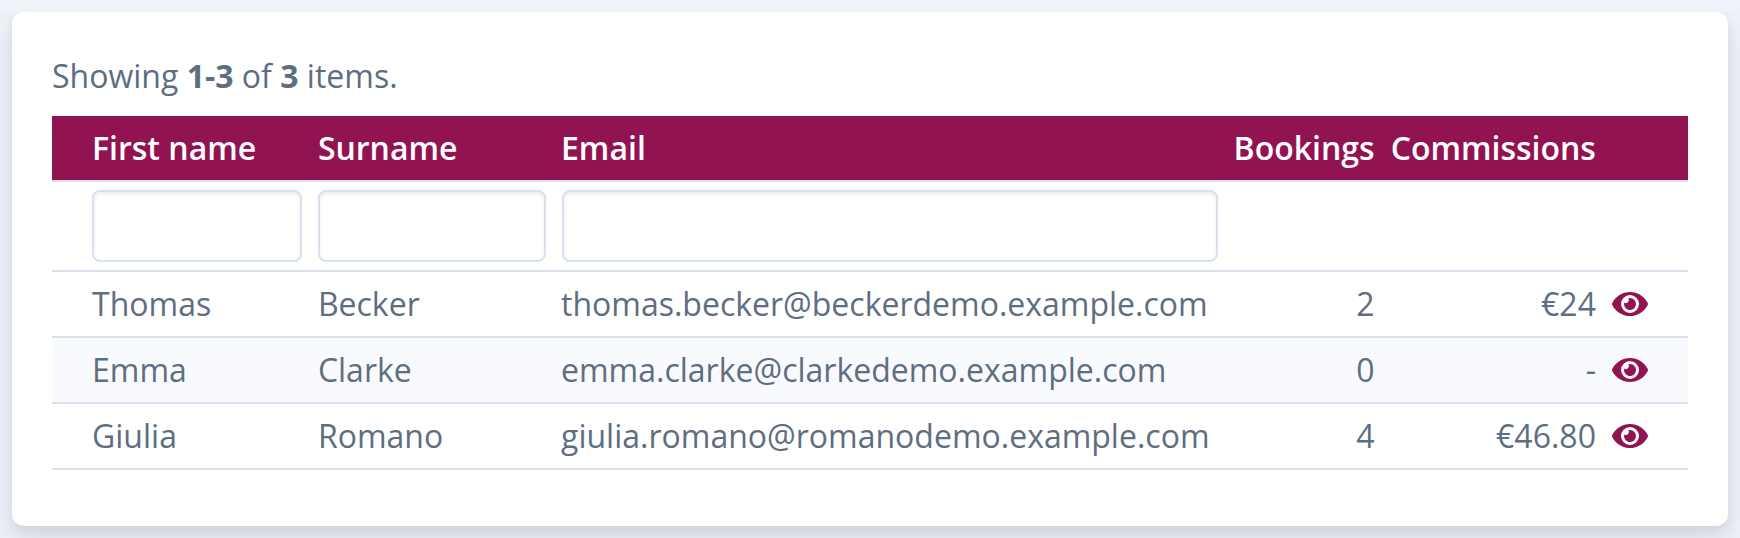
List of your agents with bookings and commissionsList of your agents with bookings and commissionsList of your agents with bookings and commissionsList of your agents with bookings and commissionsList of your agents with bookings and commissions

Monitor Your SubAgents’ Performance

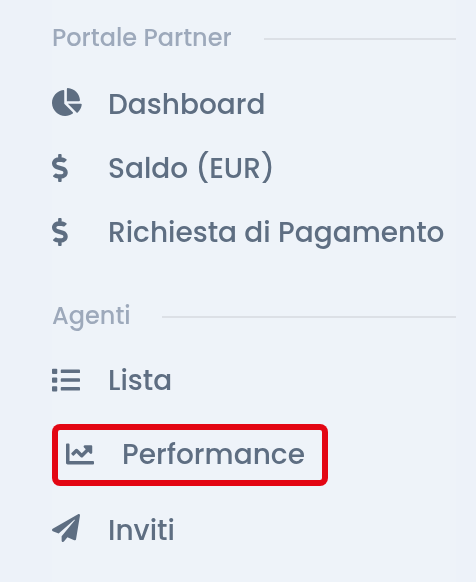
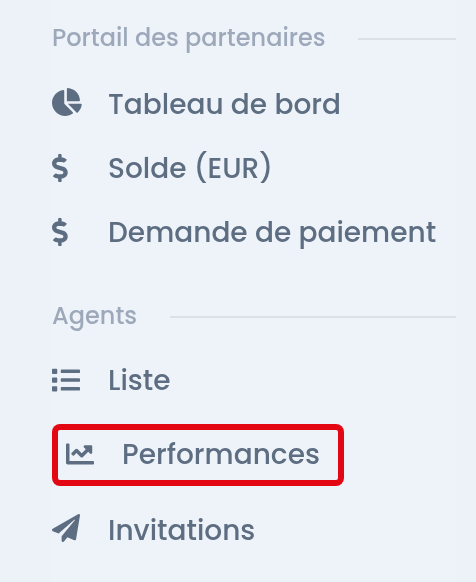
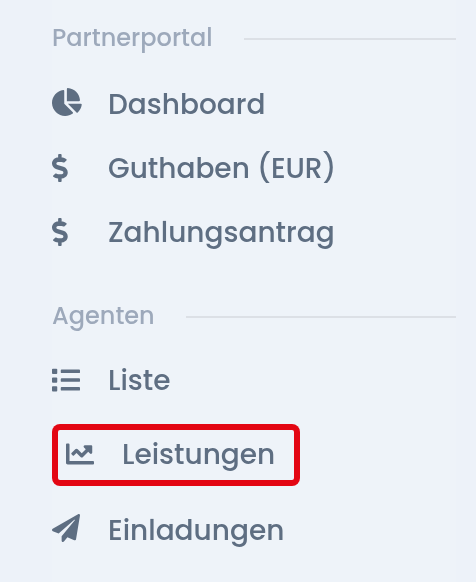
You can monitor your SubAgents’ performance at any time by accessing the Performances section.
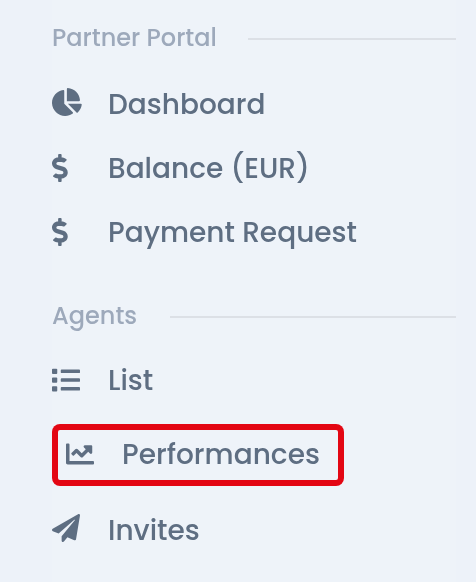
Agents menu with the Performances itemAgents menu with the Performances itemAgents menu with the Performances itemAgents menu with the Performances itemAgents menu with the Performances item

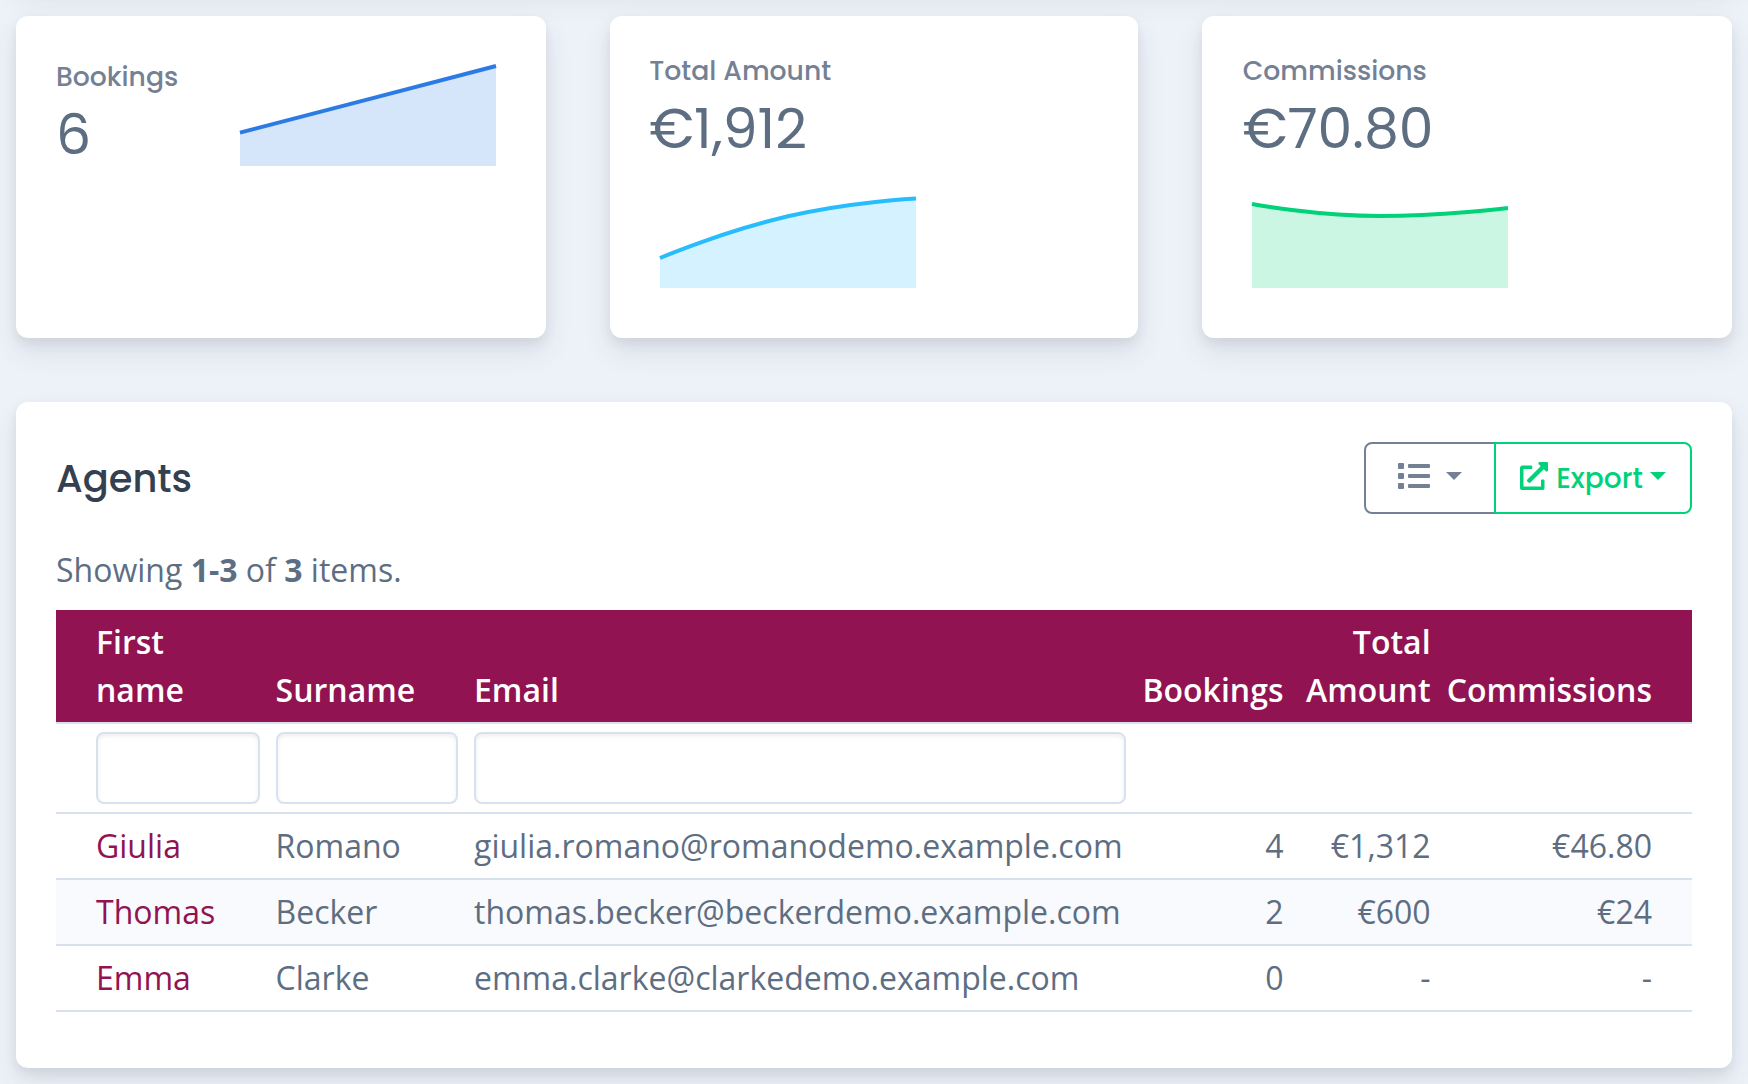
In this area, you have a complete overview of activities, with the ability to:

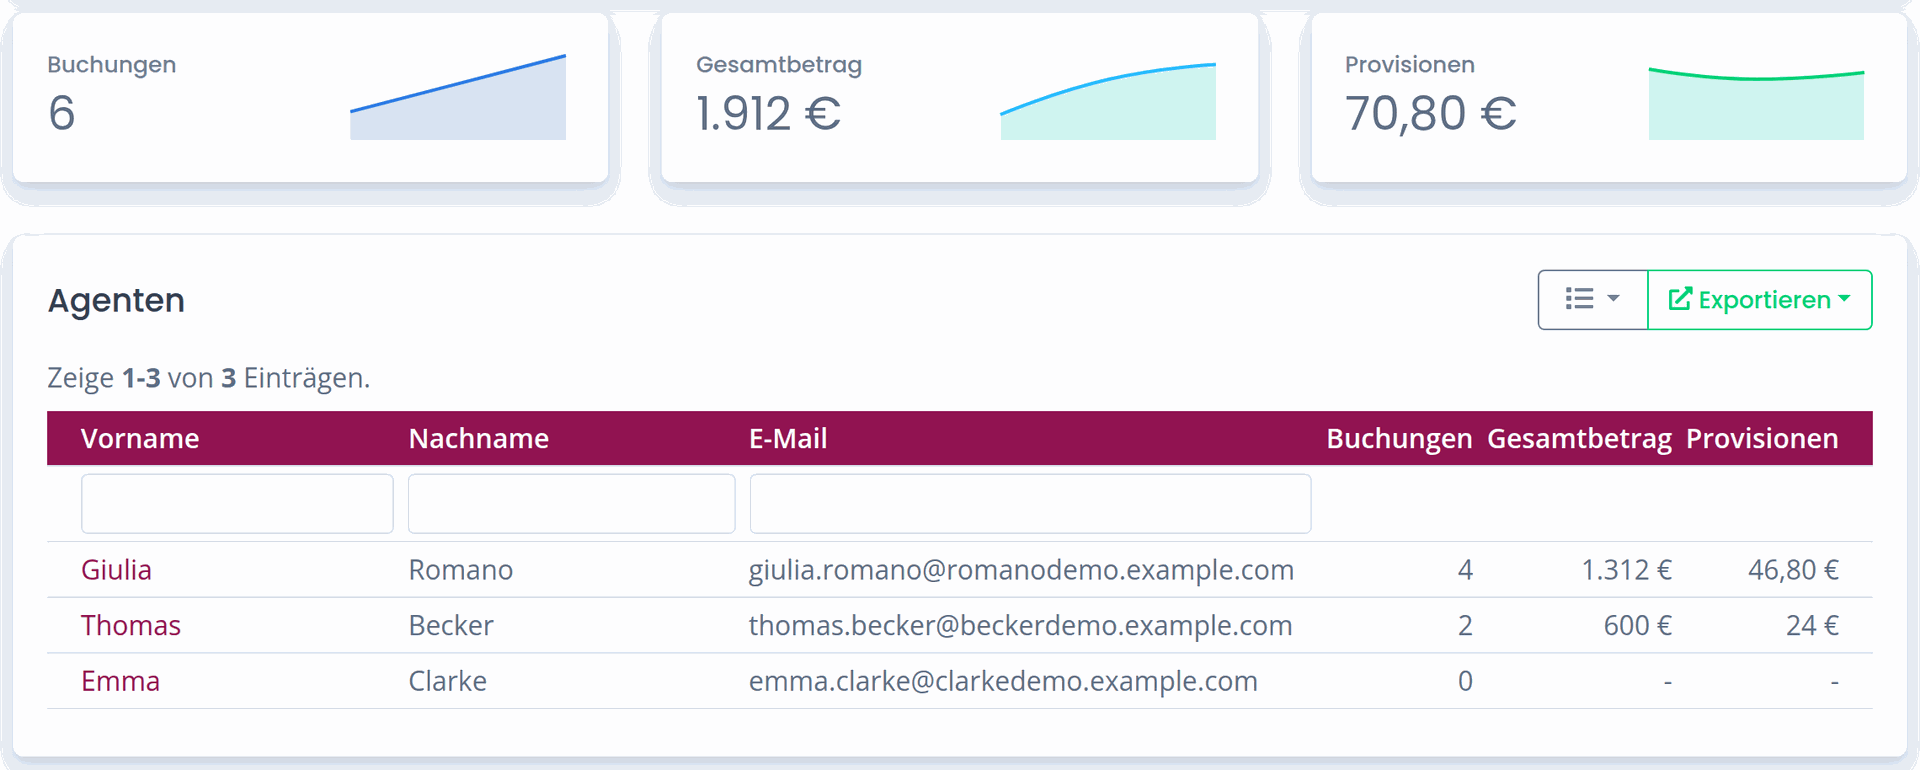
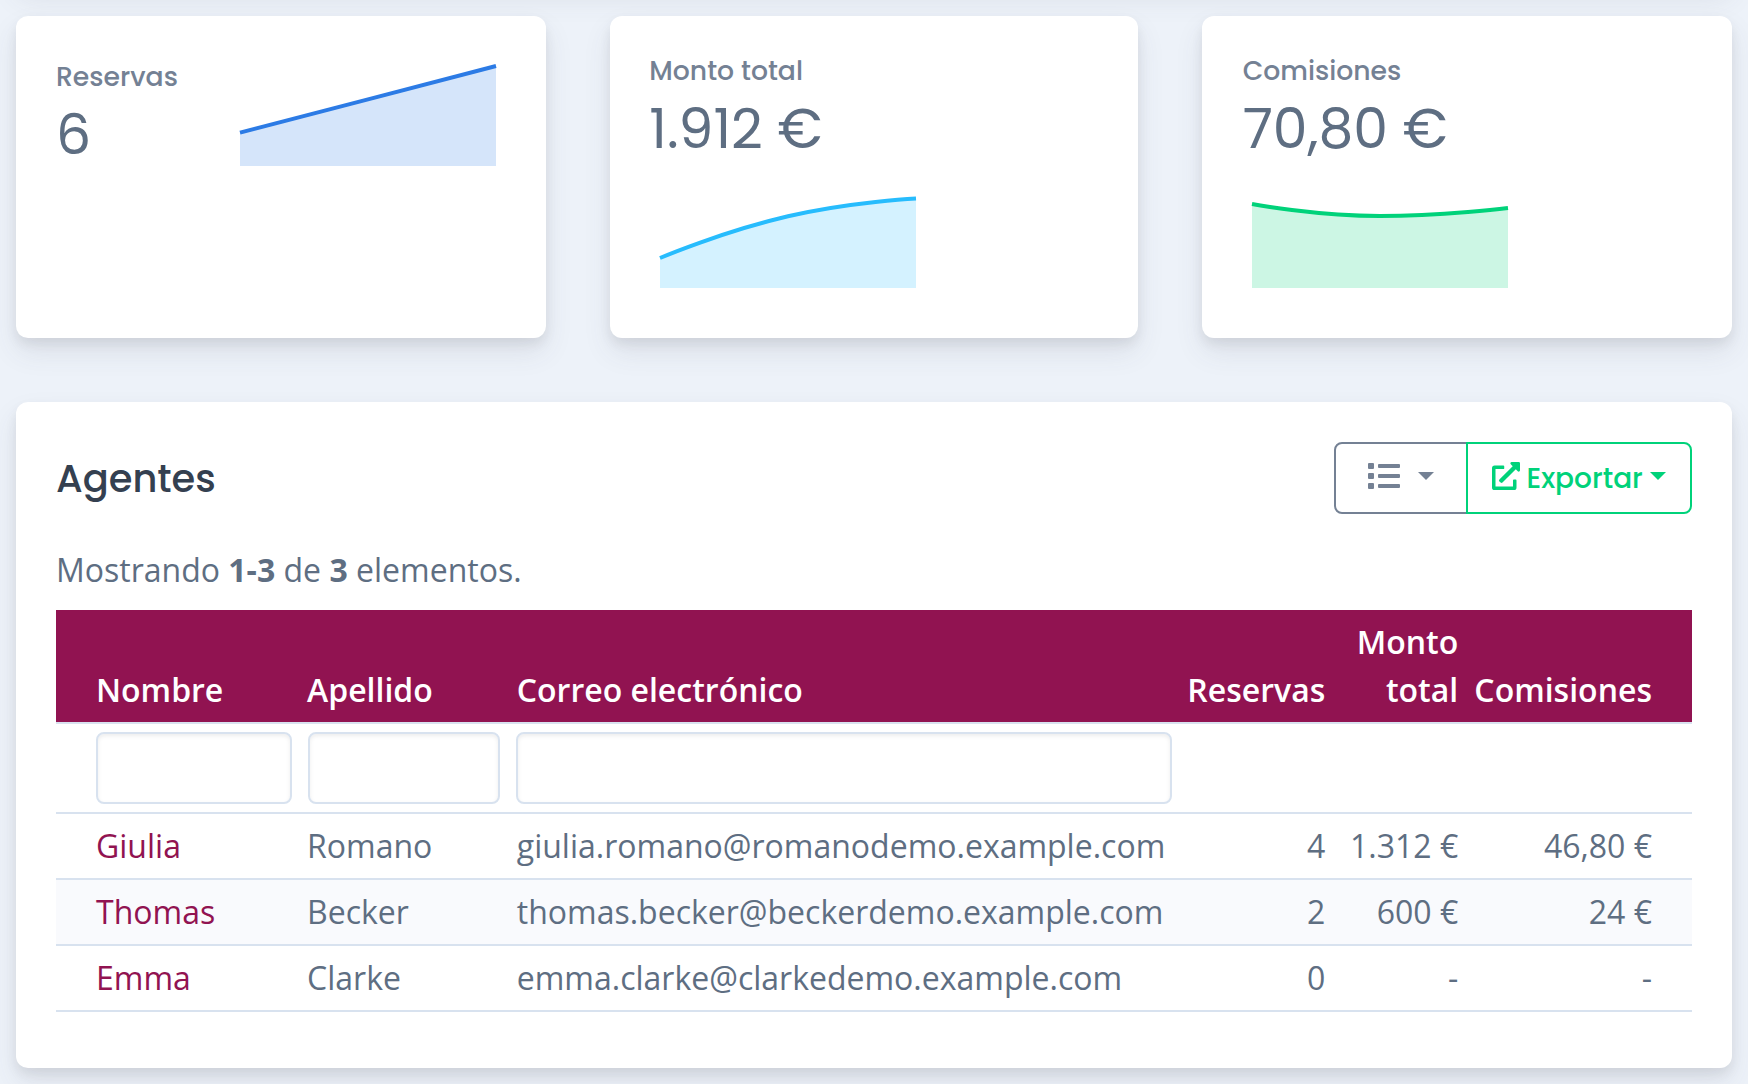
  • View aggregated performance data 

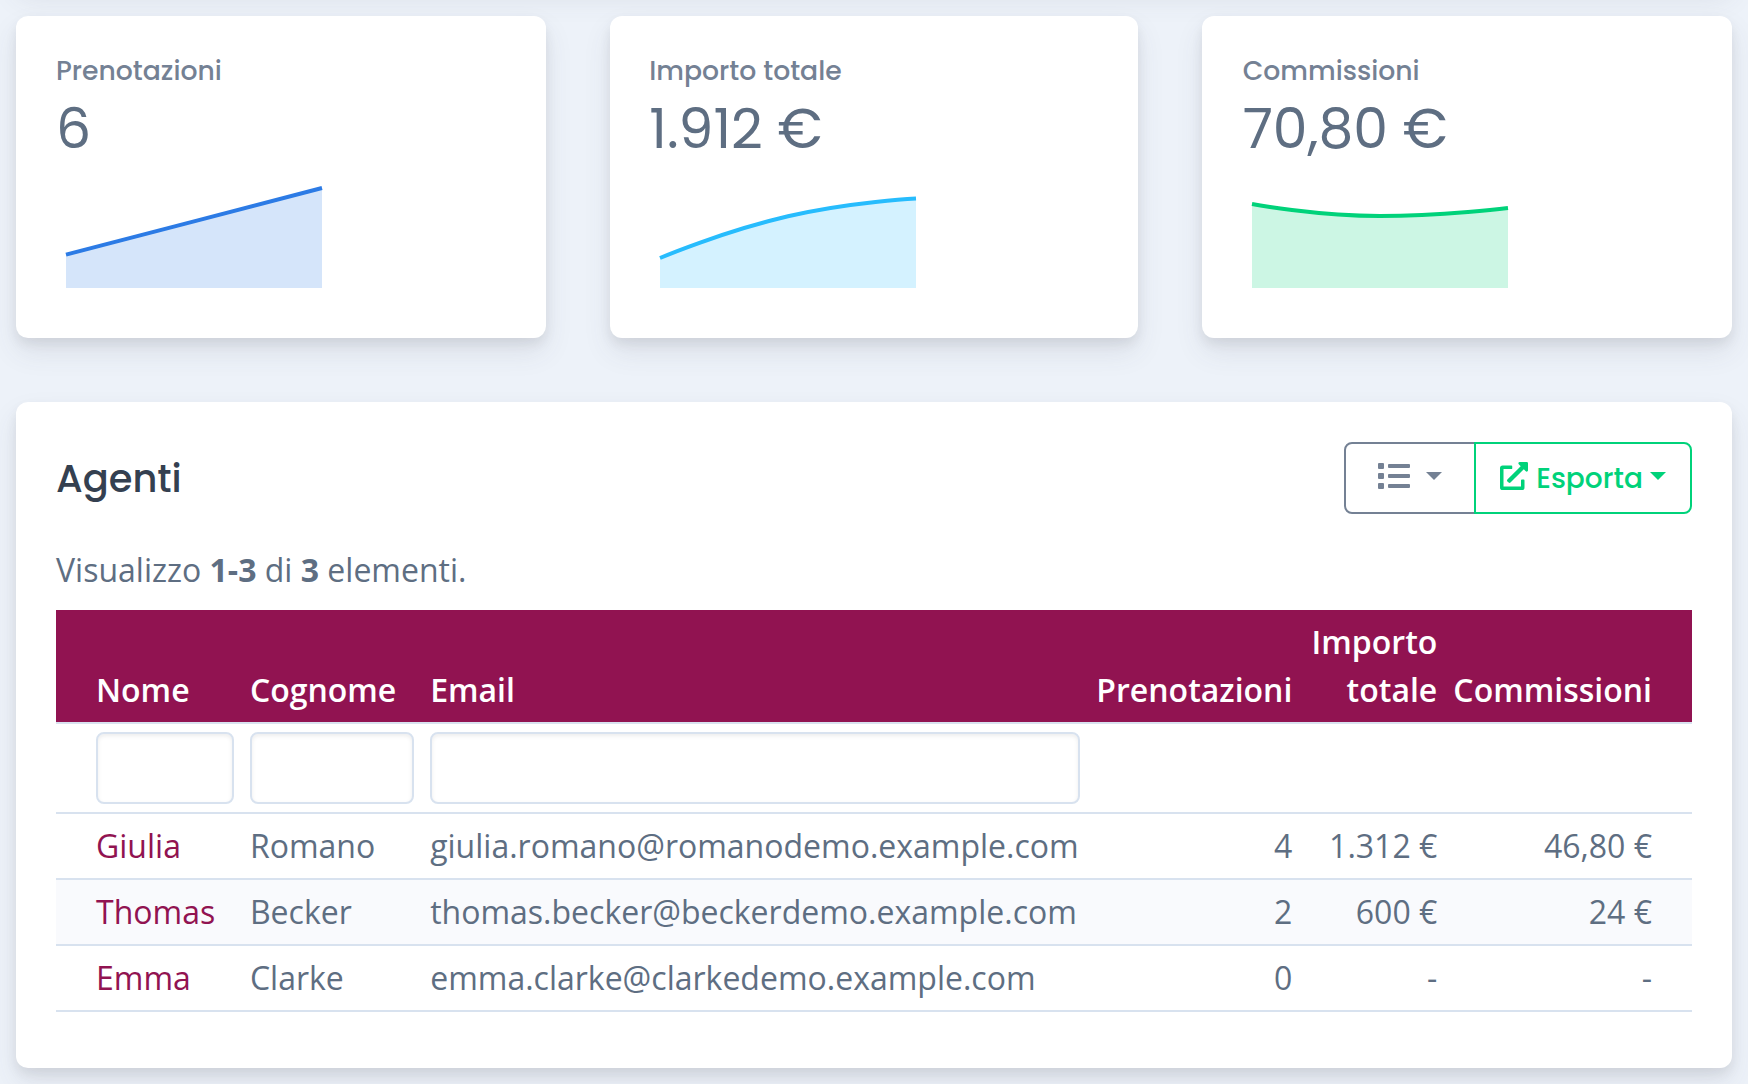
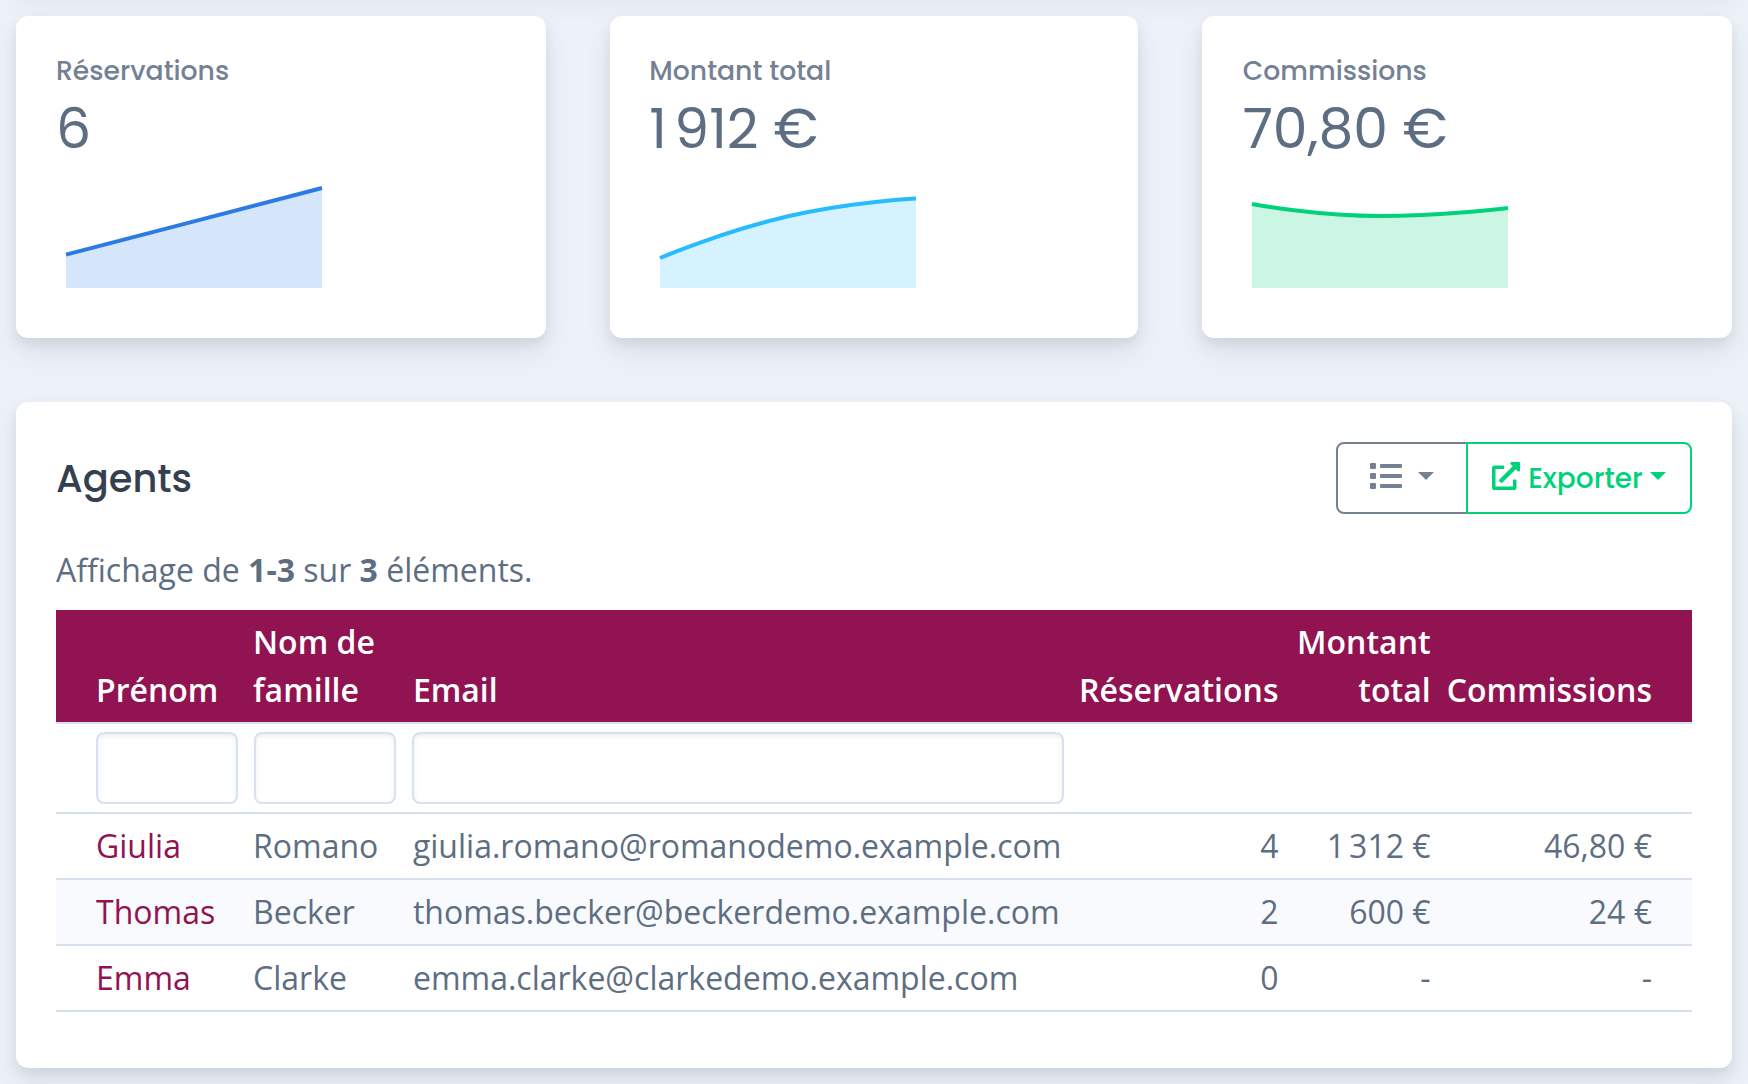
    Performance overview: bookings, total amount, commissions and agents tablePerformance overview: bookings, total amount, commissions and agents tablePerformance overview: bookings, total amount, commissions and agents tablePerformance overview: bookings, total amount, commissions and agents tablePerformance overview: bookings, total amount, commissions and agents table

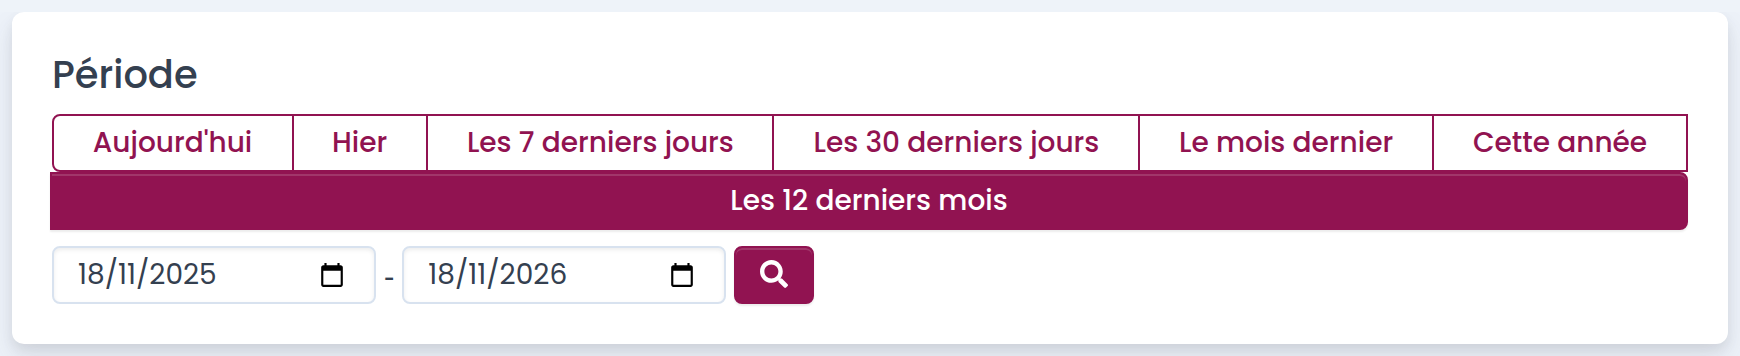
  • Filter data by period

    Period filter with quick ranges and custom datesPeriod filter with quick ranges and custom datesPeriod filter with quick ranges and custom datesPeriod filter with quick ranges and custom datesPeriod filter with quick ranges and custom dates

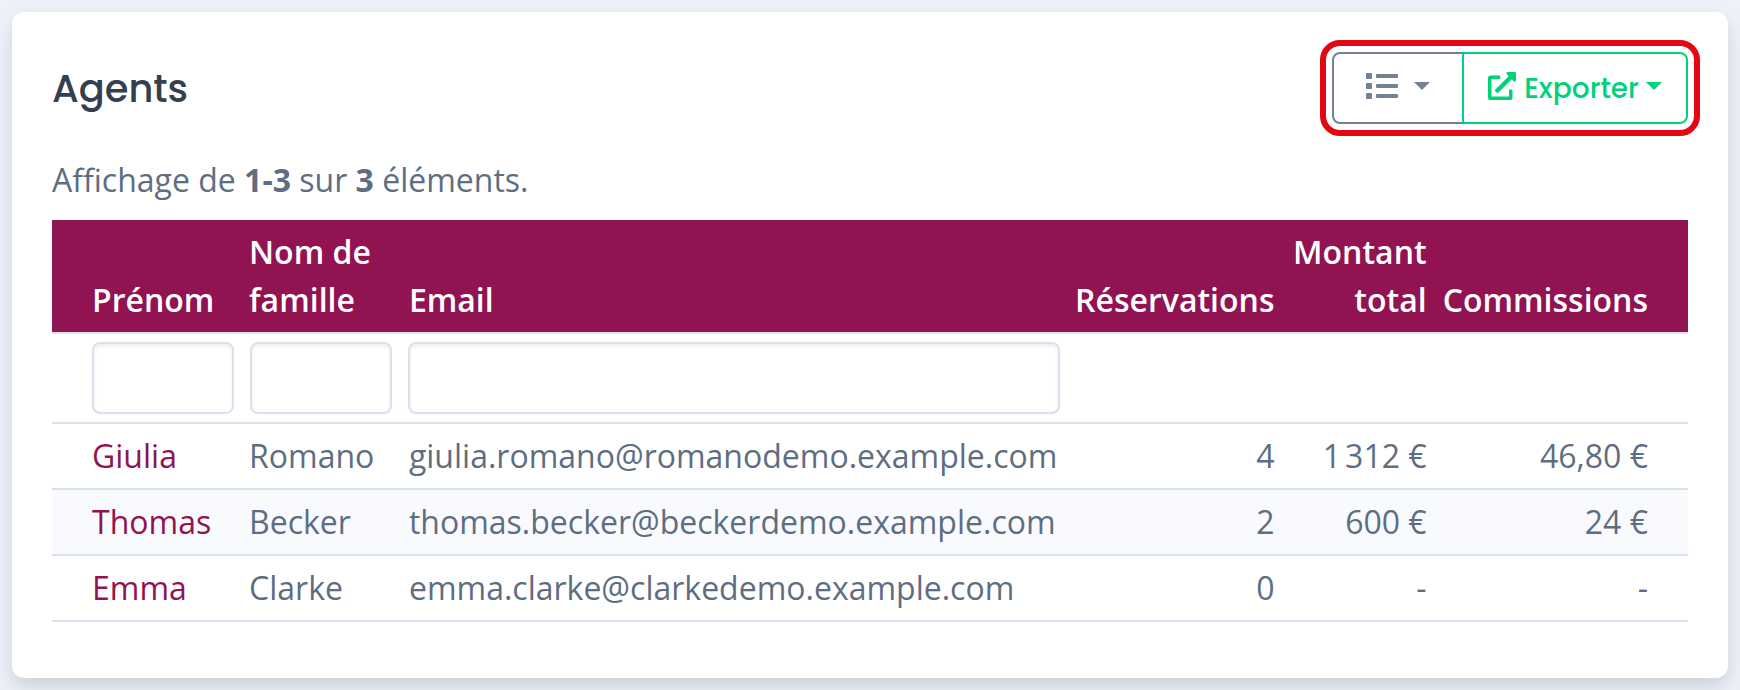
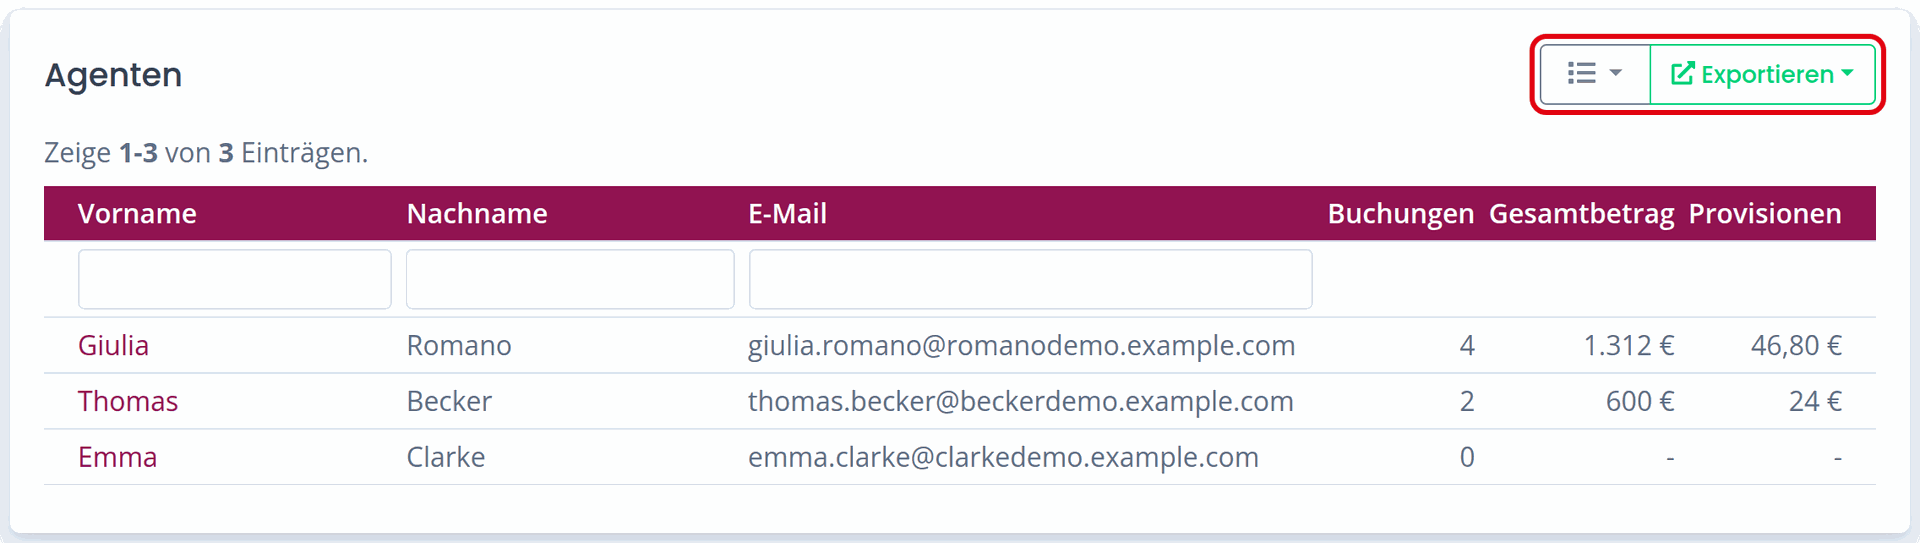
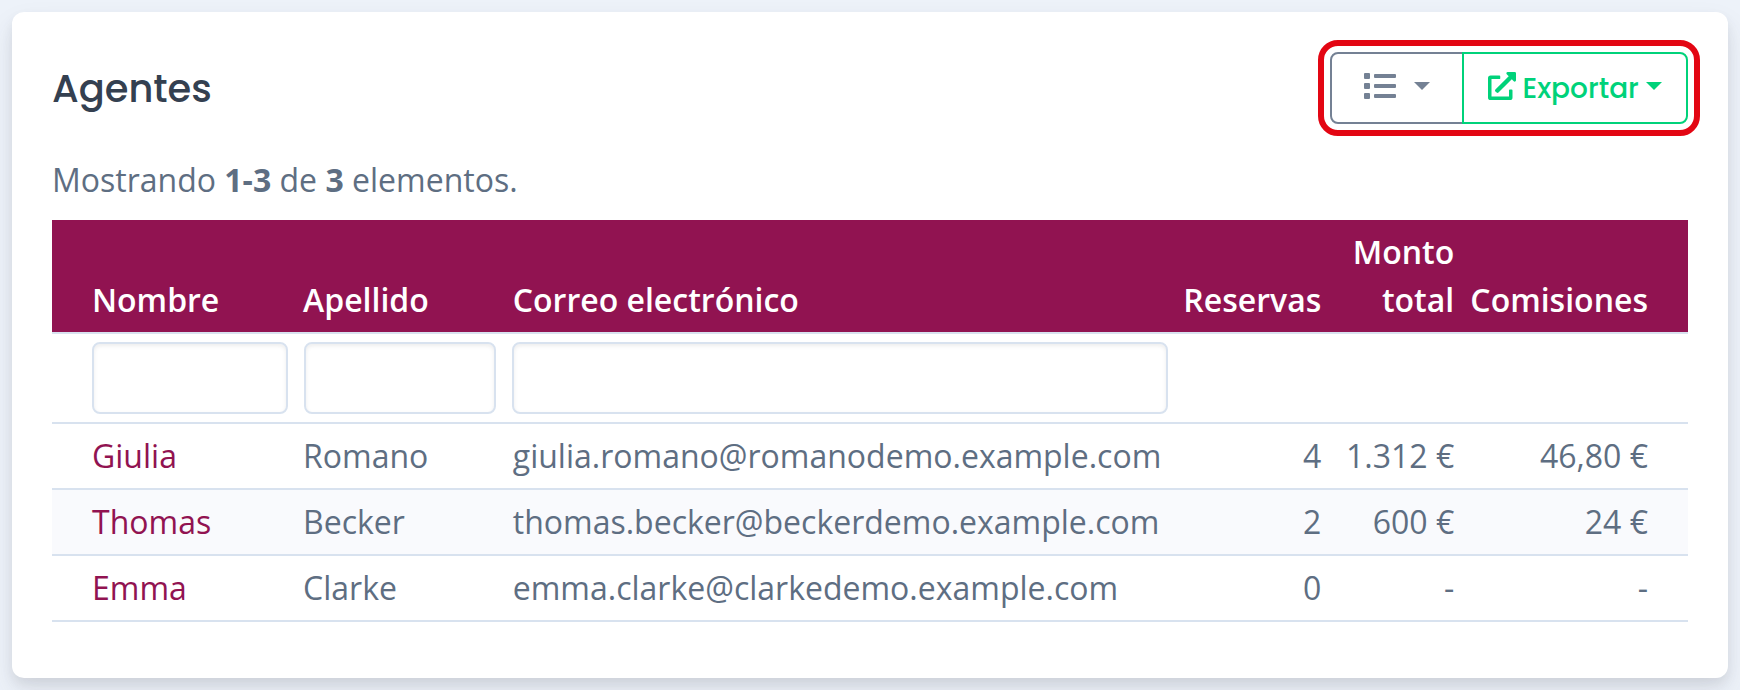
  • Export aggregated data divided by agent and period, so you can review the commissions generated by each agent for a specific timeframe
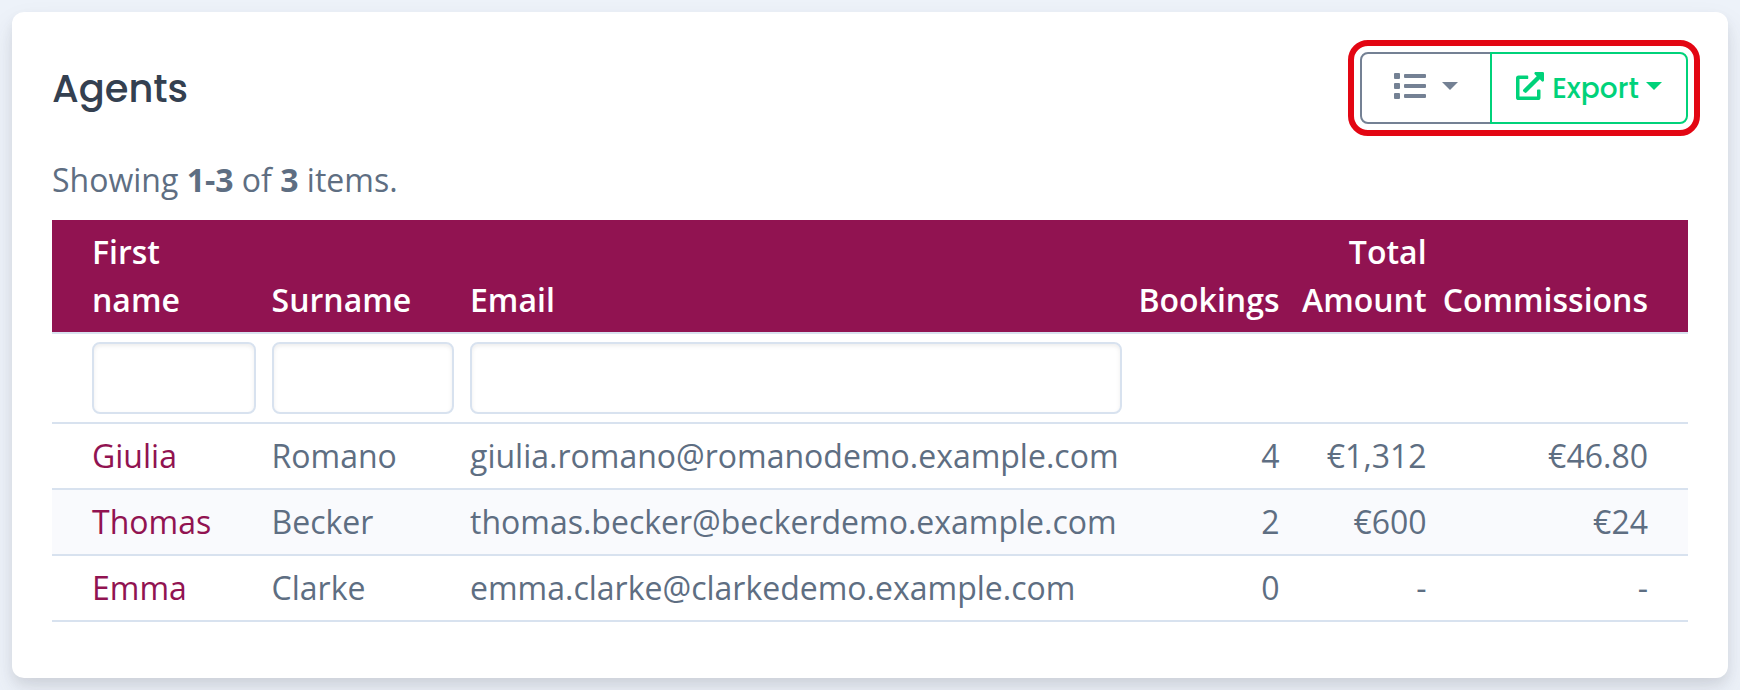
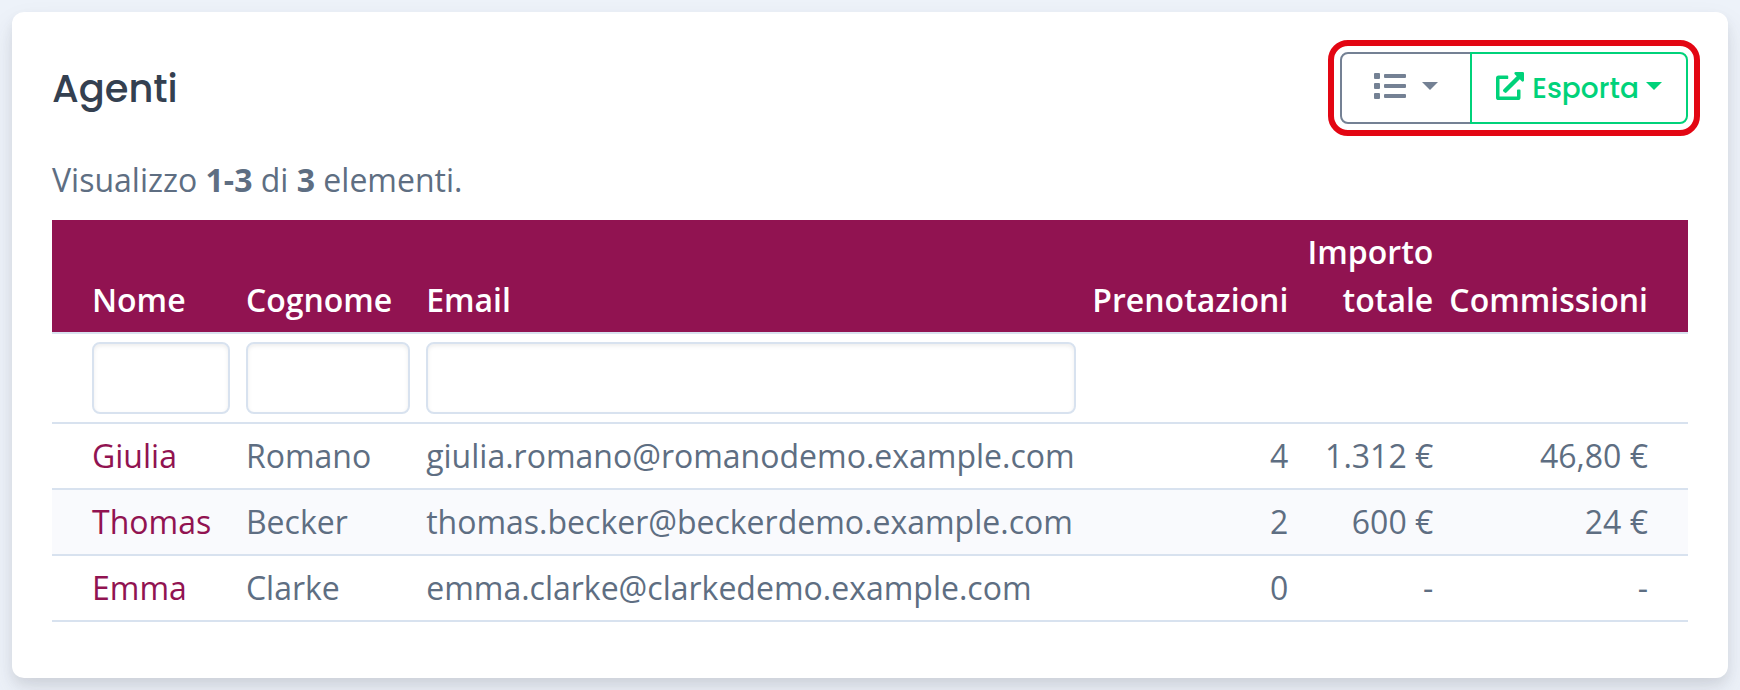
    Agents table with the column and export buttonsAgents table with the column and export buttonsAgents table with the column and export buttonsAgents table with the column and export buttonsAgents table with the column and export buttons

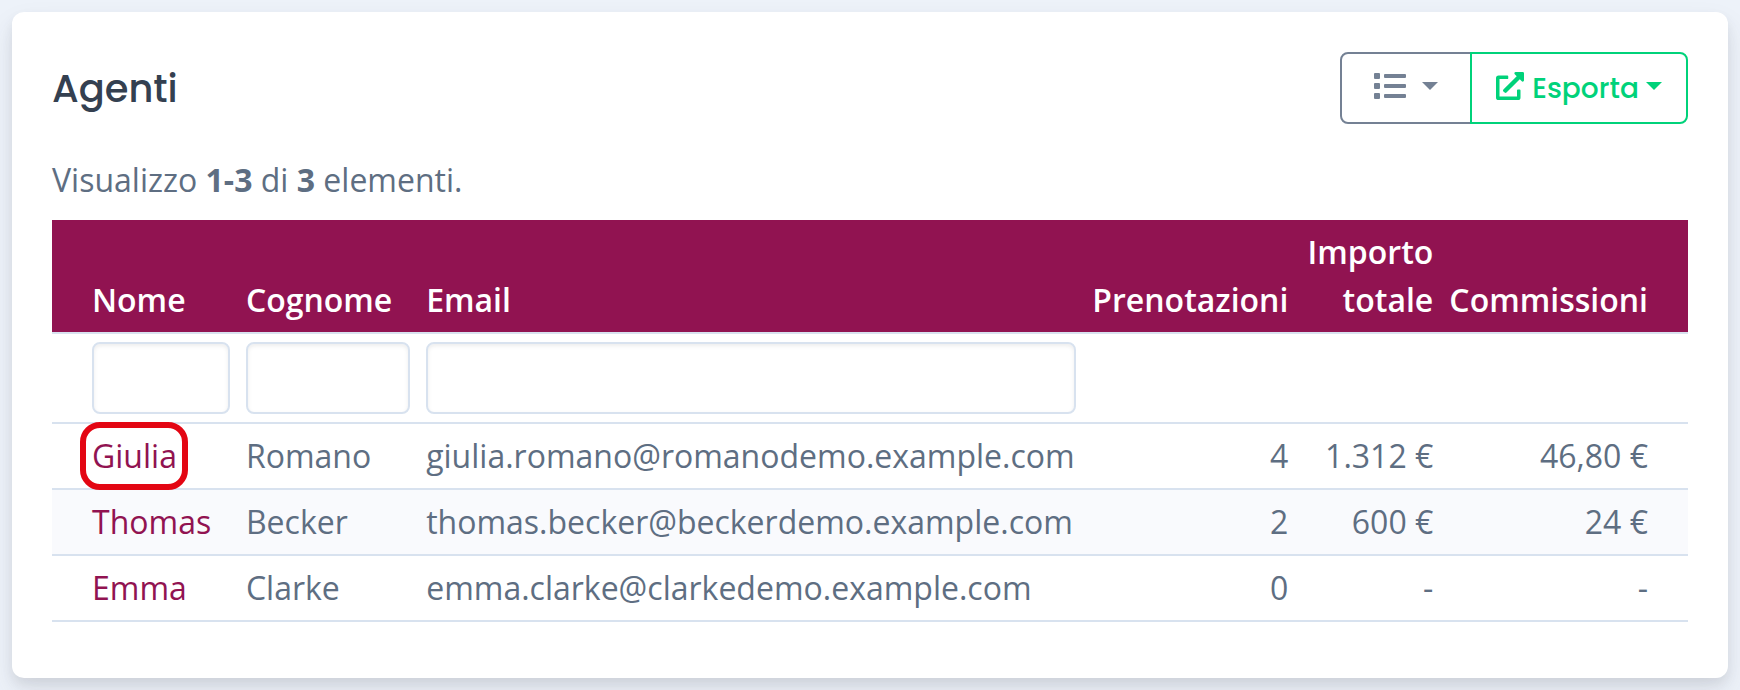
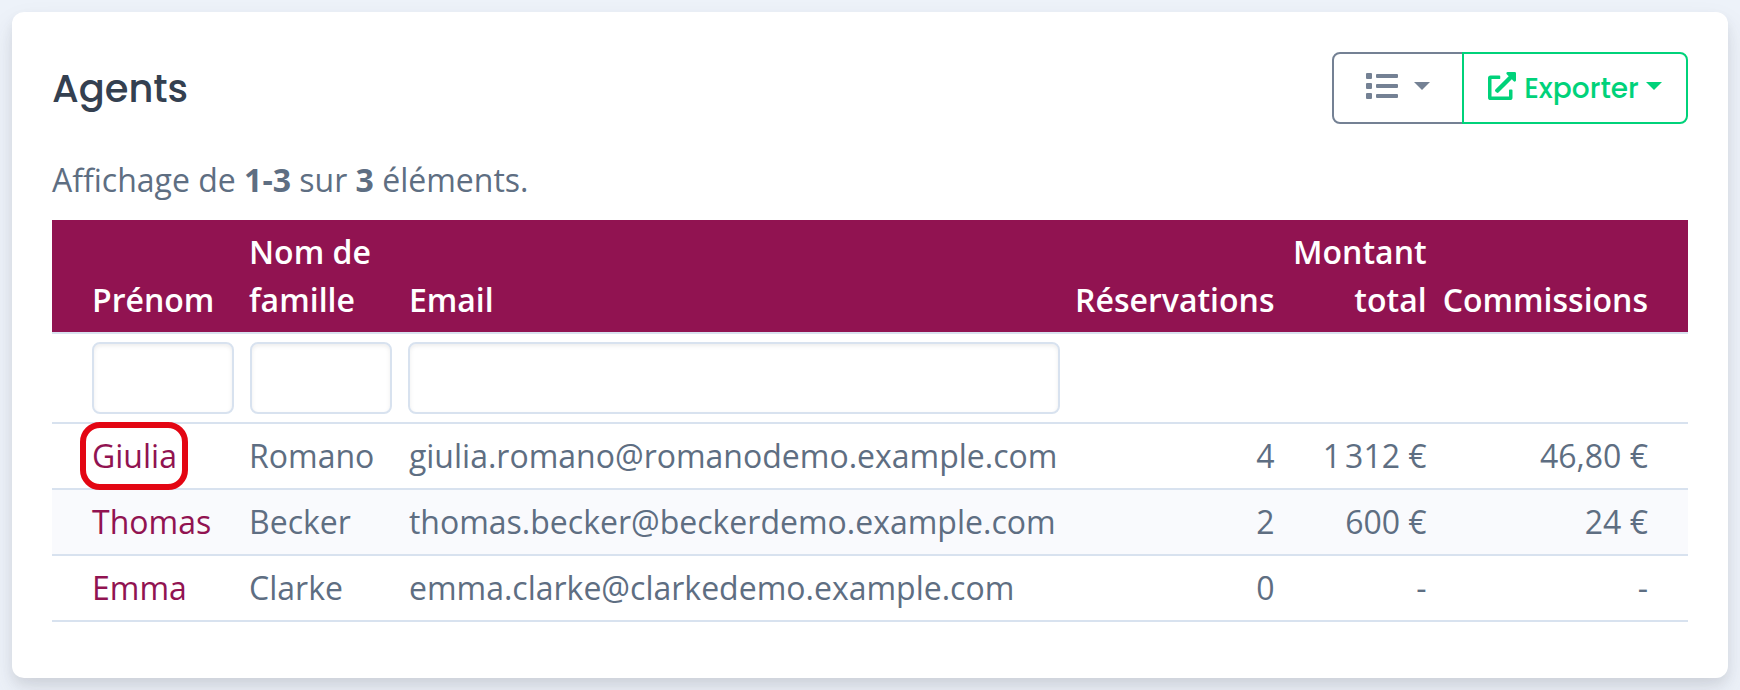
By selecting a SubAgent’s name, you can access their detailed profile.
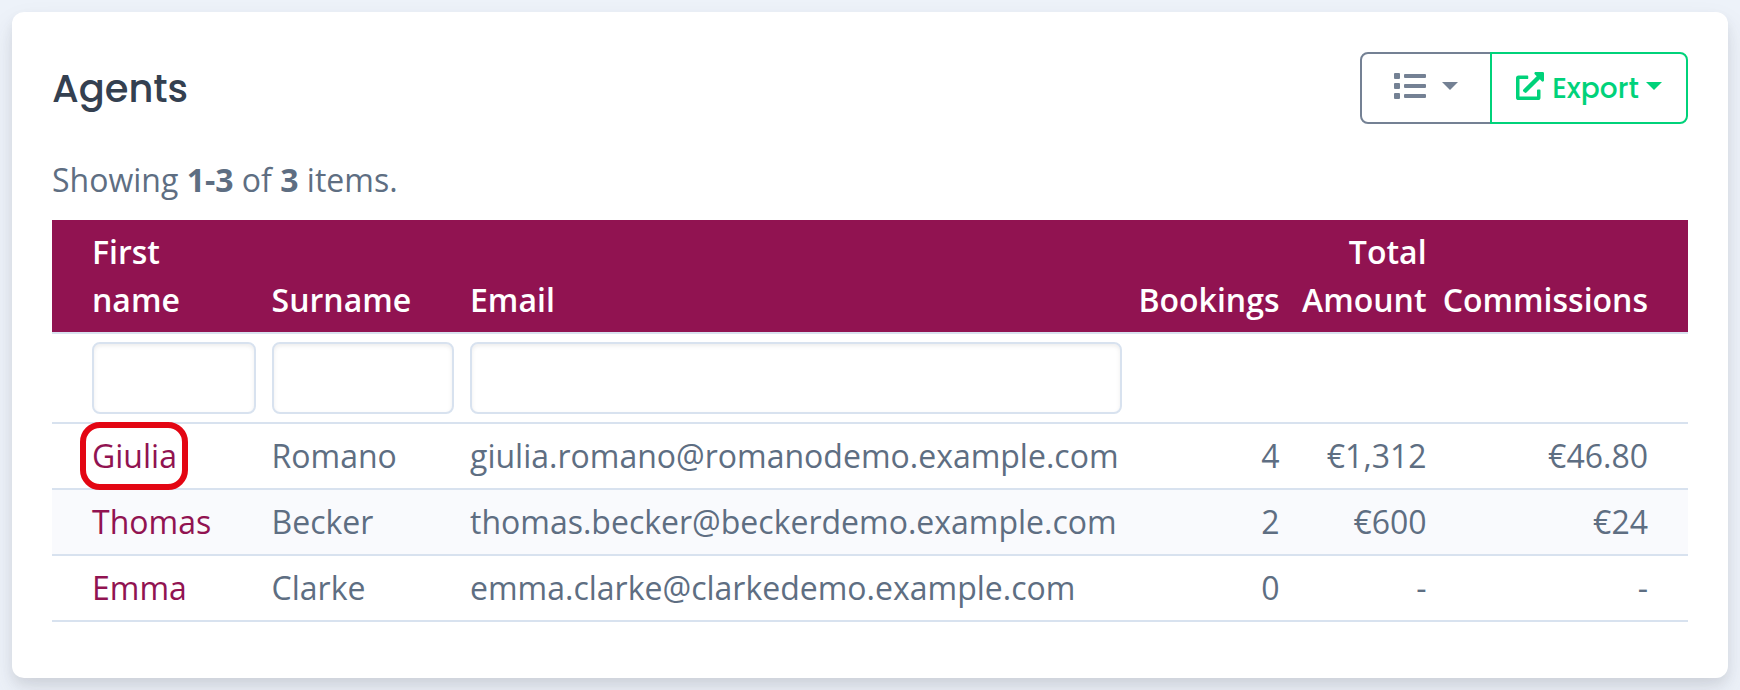
Agents table with an agent name to open the detailed profileAgents table with an agent name to open the detailed profileAgents table with an agent name to open the detailed profileAgents table with an agent name to open the detailed profileAgents table with an agent name to open the detailed profile

Inside the profile, you will find:

  • Personal details

  • Performance charts

  • A list of the top booked experiences

  • Completed bookings with the related commissions

This allows you to easily analyze results and monitor the growth of each individual SubAgent.